2
Product Description
This device is a certified Z-Wave Plus smart home controller which can be used to connect and control different Z-Wave
devices within one network and additionally provides high-level Home Automation functionality (scripting etc.).
The Popp HUB functionality can be accessed via the Web UI, which can be opened in a browser on a PC, and also via
iOS and Android applications. For custom integrations, HTTP / JavaScript API is available. The Popp HUB is based on
Z-Way software stack from Z-Wave.Me. For more information about Z-Way software stack and its features, please see
Z-Wave.Me forum at
As a certified Z-Wave Plus device the HUB can communicate with all other Z-Wave certified devices regardless of vendor
or year of origin and it implements the enhanced functions of Z-Wave Plus. The HUB can communicate in a secure
environment if the other device supports the secure environment too. If not the controller will fall back to the normal
communication mode automatically. During inclusion the use of secure environment can be suppressed for performance
reason if desired.
In Z-Wave all non-battery powered device will act as routers for other devices to form a so-called meshed network.
Installation Guideline
1.
Connect the HUB
to your local network using Ethernet cable.
2.
Power up the controller.
After up to 2 minutes the HUB is ready to use and the white LED will breathe
normal. Now you can
connect your computer or mobile device to the new WIFI Popp-xxxx
(xxxx=last 4
digits of MAC address displayed on device label, WIFI-password on label too). Attention: For security
reasons the initial configuration is available via WIFI only. Later on you have more options.
3.
Point your browser to
http://192.168.115.1
.
If you use a mobile device
install and start the Popp HUB
app (Use the QR code on page 13).
4.
The welcome screen displays your
unique device ID
. Remember it! Define your access password for the
default login name ‘admin’ and your email for password recovery.
5.
In case there is a firmware update you will see a message screen. Please confirm and update the firmware.
Make sure not to un-power the device during the firmware update.
6.
Now you can
access your controller from outside your home too
using the service
.
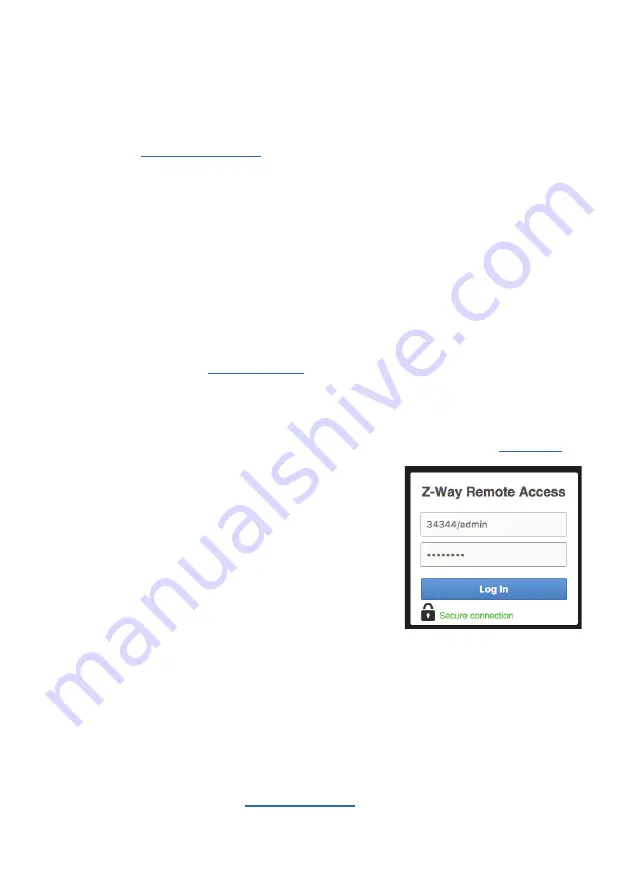
Use
DEVICE_ID/LOGIN (e.g. 12345/admin) and your password.
7.
Start adding Z-Wave devices and apps and have fun. To add
your first Z-Wave device, go to
Setup
Devices
Z-Wave
Add New
and follow the instructions.
8.
You may want to change the timezone of your device and allow
access to the Hub User Interface using the Ethernet address
(otherwise you can only access using find.popp.eu and using
WIFI). Please go to
Setup
Applications
Active
and
change settings in "Time Zone and Access from WAN" app.
The Popp HUB can be placed on the table or mounted on the wall using the
mounting plate attached to the enclosure. It runs stand-alone (no connection
to the outer world or to any other network) and connected to the Internet. In
this case the device acts as WIFI router too.
The User Interface
The Web UI of the Popp HUB has two parts:
•
Smart Home UI
•
Expert UI
When you log in into the Web UI, you get into the Smart Home UI.
The Smart Home UI:
•
Provides a subset of Z-Wave related functionality (most typically used functions).
•
Provides high-level home automation functionality (applications, rooms, scripting etc.).
•
Is available via the following URL:


