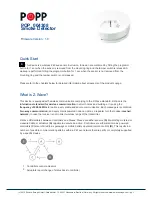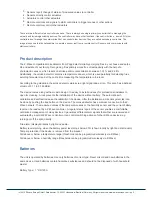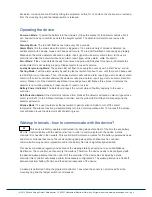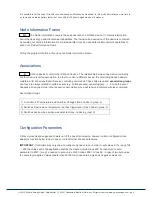
Installation Guidelines
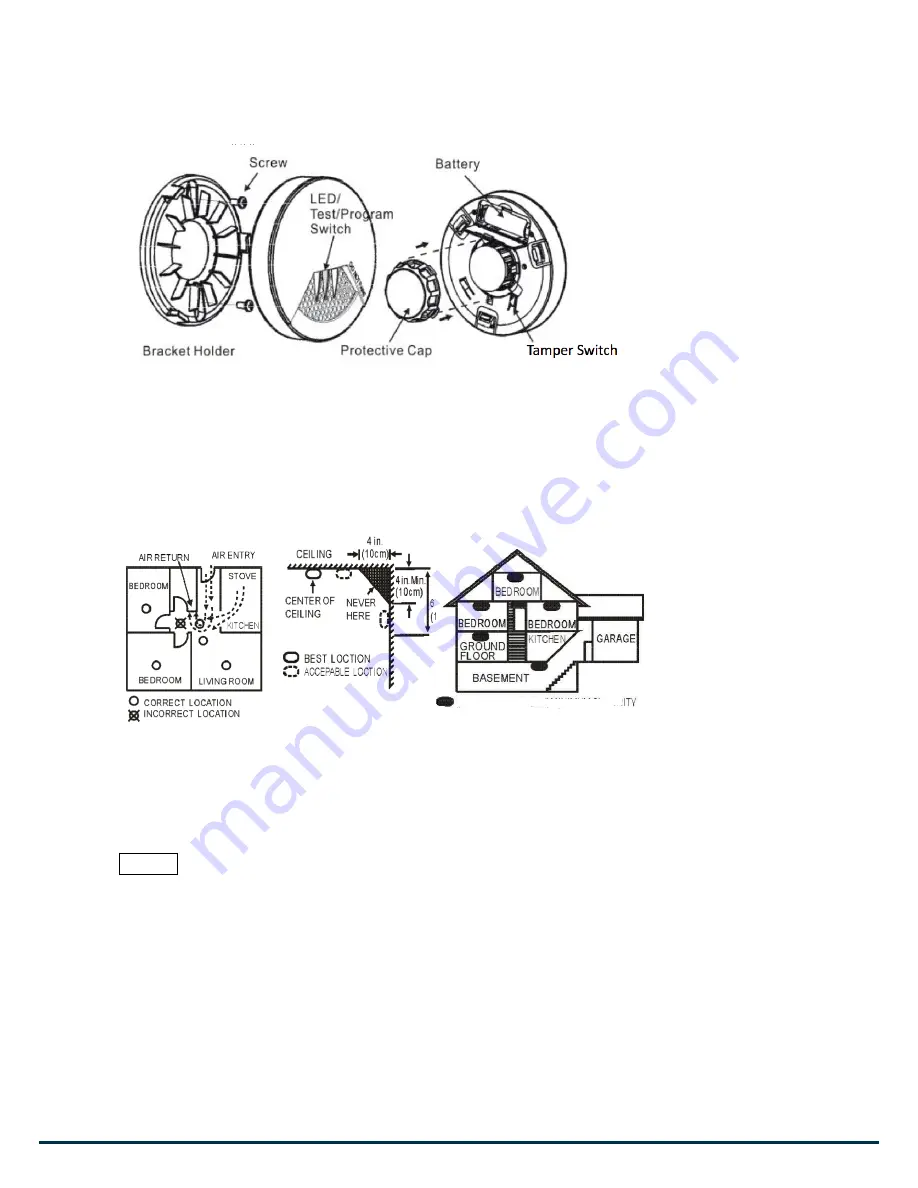
Remove the bracket from the detector by rotating it counter-clockwise.
Place the bracket where you are going to install the detector. In each of keyhole slots, draw a mark to locate
plastic anchor and screw. Using a 3/16-inch (5mm) drill bit, drills two holes at the marks and insert plastic
anchor, and attached the bracket by using the screws.
Open the battery cover to insert the batteries, and then replace the cover. Fix the detector with bracket by
rotating it clockwise.
Please follow the recommendations about amount as position of the sensor in your home as given above.
Avoid to place the sensor into the angle of walls, prefer positions in the middle of the room.
Behavior within the Z-Wave network
I
On factory default the device does not belong to any Z-Wave network. The device needs to join an
existing wireless network to communicate with the devices of this network. This process is called Inclusion.
Devices can also leave a network. This process is called Exclusion. Both processes are initiated by the
primary controller of the Z-Wave network. This controller will be turned into exclusion respective inclusion
mode. Please refer to your primary controllers manual on how to turn your controller into inclusion or
exclusion mode. Only if the primary controller is in inclusion or exclusion mode, this device can join or leave
the network. Leaving the network - i.e. being excluded - sets the device back to factory default.
If the device already belongs to a network, follow the exclusion process before including it in your network.
Otherwise inclusion of this device will fail. If the controller being included was a primary controller, it has to
be reset first.
(c) 2012 Z-Wave Europe GmbH, Goldbachstr. 13, 09337 Hohenstein-Ernstthal, Germany, All rights reserved, www.zwaveeurope.com - pp 3

