28
4.
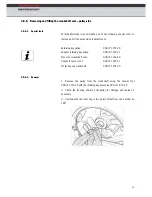
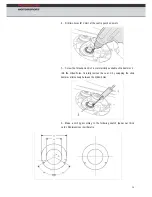
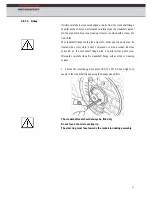
Push the new crankshaft seal -1- onto the crankshaft flange (mounting
position: steel disc to pulley)
5.
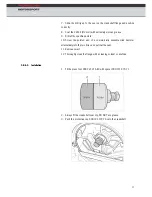
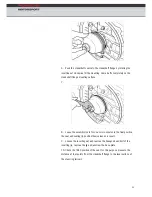
Push the press tool (see 1) onto the crankshaft flange and fit the
hexagon-head bolt -3- (17 mm AF)
6.
Tighten the hexagon-head nut -4- till the spacer -2- touches the
crankshaft flange
7.
Leave the tool fitted for approximately two minutes so that the seal
seats correctly
8.
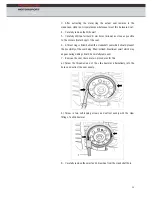
Loosen the hexagon-head bolt -4-, remove the hexagon-head bolt and
tool
9.
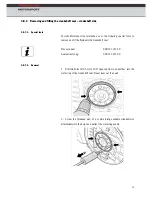
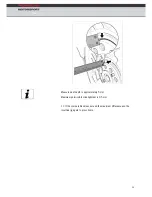
Remove the protective cap
Summary of Contents for 911 GT3R 2010
Page 1: ...Technical Manual Model 2010...
Page 10: ...7 3 3 Engine power and torque curves...
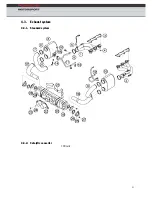
Page 44: ...41 4 3 Exhaust system 4 3 1 Standard system 4 3 2 Catalytic converter 100 cells...
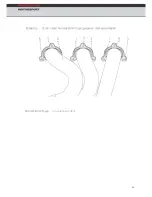
Page 45: ...42...
Page 79: ...76 rm 6 3 2 4 Trailing a 8 mm Buchse 28 mm Buchse...
Page 107: ...104 r 9 2 1 Front bumper 9 2 Exterio...
Page 108: ...105 9 3 Rear wing P1 P12 Left wing support Gurney 10mm...
Page 139: ...136 10 12 Relay and fuse ass 10 12 1 Fuse holder ignment...
Page 141: ...138 10 12 4 MS4 sensor system...

