

Before each use:
●
Drain water from air compressor tank and condensation from air lines. See air compressor’s
operators manual.
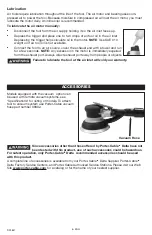
Disconnect the tool from the air supply before lubricating or changing
abrasive disc.
●
Lubricate tool, see “Maintenance” section in this manual.
●
Place abrasive disc onto sander pad. See "To Install Abrasive Disc" paragraph in the
"Maintenance" section.
●
Connect tool to air hose of recommended size.
NOTE:
The use of a quick connect set makes
connecting easier.
IMPORTANT: The use of air filters and air line lubricators is recommended.
To use:
●
Turn air compressor on and allow air tank
to fill.
●
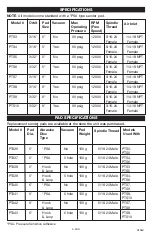
Set the air compressor’s regulator to 90
PSI. This tool operates at a maximum
90
PSI
pressure.
●
Depress trigger to operate tool.
●
Release trigger to stop tool.
●
This tool is equipped with an air valve
control lever to adjust RPM speed from
0-12000. It is recommended to operate the
tool with the air valve control at the
maximum setting for the best tool
performance.
●
When job is complete, turn the air
compressor off and store as described in
the air compressor operator manual.
Tips
●
Begin sanding with an abrasive grit sandpaper
coarse enough to remove the high spots.
Progress to a finer grit sandpaper until the
desired finish is obtained.
●
Never change from coarse grit sandpaper to
a very fine grit sandpaper, always progress
gradually to the finer grit.
6- ENG
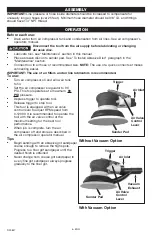
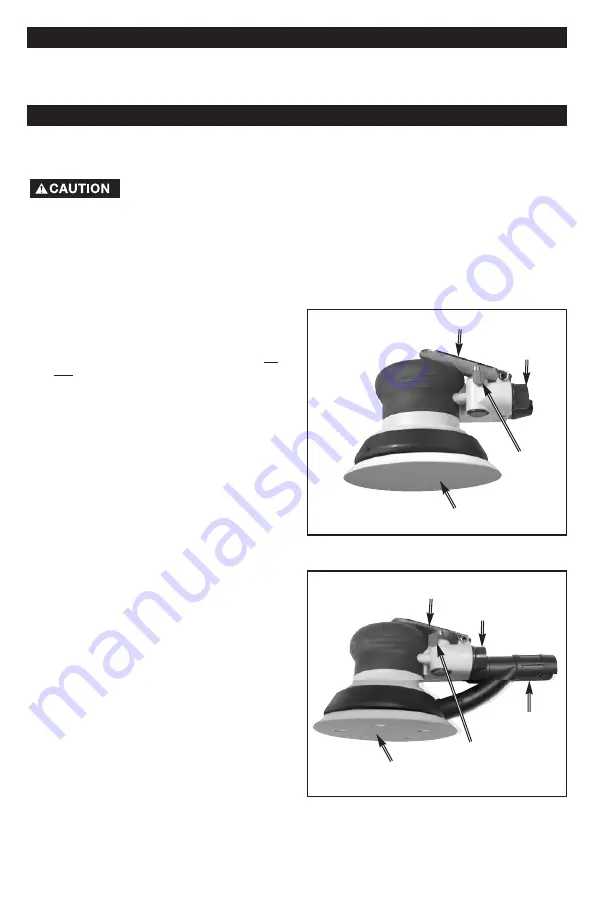
D29847
Air Inlet
Trigger
Sander Pad
Air Valve
Control
Lever
ASSEMBLY
IMPORTANT:
Line pressure or hose inside diameter should be increased to compensate for
unusually long air hoses (over 25 feet). Minimum hose diameter should be 3/8” I.D. and fittings
should have 1/4” NPT thread.
OPERATION
Air Inlet
Trigger
Sander Pad
Air Valve
Control
Lever
Vacuum
Exhaust
Without Vacuum Option
With Vacuum Option
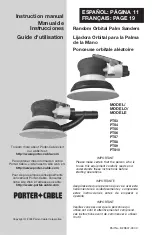
Summary of Contents for PTS10
Page 9: ...9 ENG D29847 NOTES...


