10- ENG
OPERATING INSTRUCTIONS
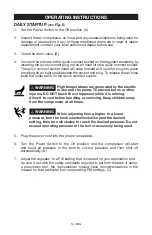
DAILY STARTUP
(see
Fig. 5
)
1. Set the Power Switch to the Off position. (A)
2. Inspect the air compressor, air hose, and any accessories/tools being used for
damage or obstruction. If any of these mentioned items are in need of repair/
replacement, contact your local authorized dealer before use.
3. Close the drain valve. (B)
4. Connect the air hose to the quick connect socket on the regulator assembly by
inserting the quick connect plug on the air hose into the quick connect socket.
The quick connect socket collar will snap forward and lock the plug into place
providing an air tight seal between the socket and plug. To release the air hose
push the collar back on the quick connect socket.
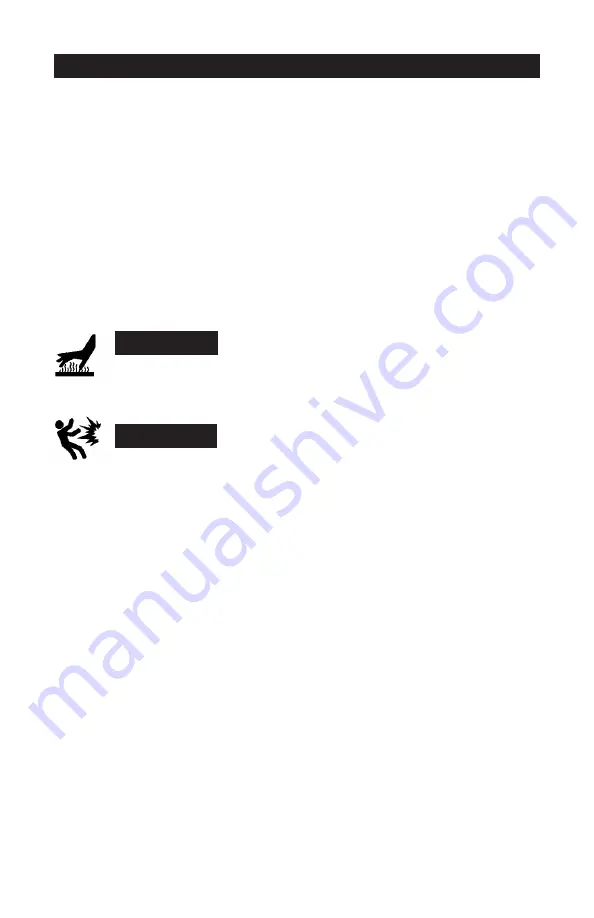
I
WARNING
High temperatures are generated by the electric
motor and the pump. To prevent burns or other
injuries, DO NOT touch the compressor while it is running.
Allow it to cool before handling or servicing. Keep children away
from the compressor at all times.
I
WARNING
When adjusting from a higher to a lower
pressure, turn the knob counterclockwise past the desired
setting, then turn clockwise to reach the desired pressure. Do not
exceed operating pressure of the tool or accessory being used.
5. Plug the power cord into the proper receptacle.
6. Turn the Power Switch to the On position and the compressor will start
and build air pressure in the tank to cut-out pressure and then shut off
automatically. (A)
7. Adjust the regulator to a PSI setting that is needed for your application and
be sure it is within the safety standards required to perform the task. If using
a pneumatic tool, the manufacturer should have recommendations in the
manual for that particular tool on operating PSI settings. (C)
PXCM302_E108930_manual-rev-A_0415_v25.indd 10
4/8/15 4:21 PM
Summary of Contents for PXCM302
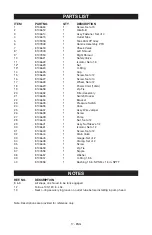
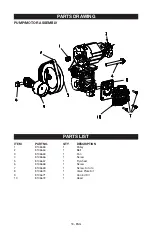
Page 16: ...16 ENG PARTS DRAWING...
Page 37: ...37 FR DESSIN DES PI CES...
Page 59: ...59 SP ESQUEMA DE LA PIEZAS...
Page 67: ...67 SP...


