Flange Machine
Part Number 6Z8303
Sewing Adjustments
41
To increase thread tension, turn the tension knob or thumb screw clockwise.
To decrease thread tension, turn the tension knob or thumb screw
counterclockwise.
Apply tension in the following order:
1
Safety stitch looper thread tensioner
2
Safety stitch needle thread tensioner
3
Overedge looper thread tensioner
4
Overedge needle thread tensioner
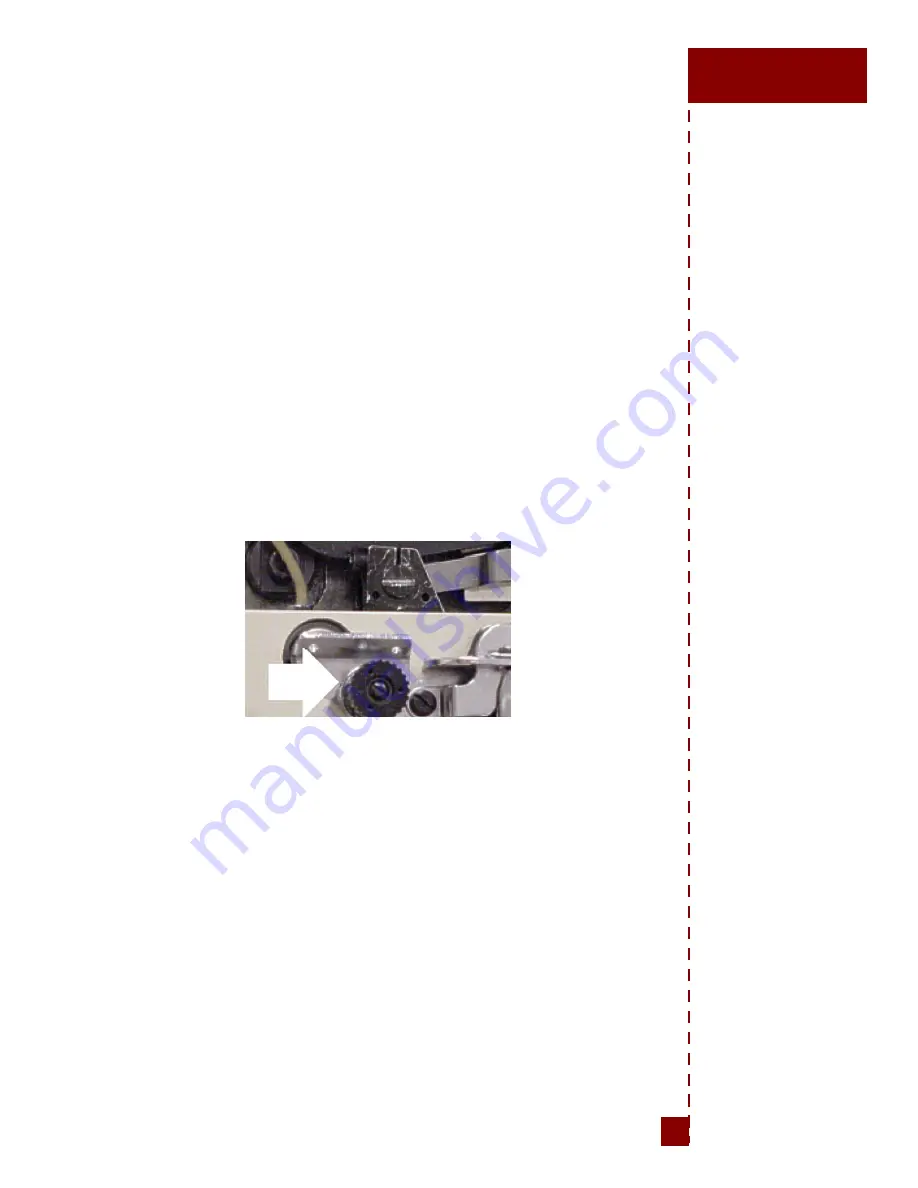
Adjusting the Safety Stitch Looper Thread Tensioner
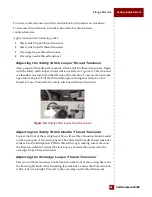
After properly threading the machine, check all of the thread tensioners. Begin
with the safety stitch looper thread tensioner. Refer to
. This tensioner
is a thumb screw located on the left side of the machine. To access the tensioner,
open the cloth plate. Pull the thread through, ensuring that tension on the
thread is loose. Proceed to the safety stitch needle thread tensioner.
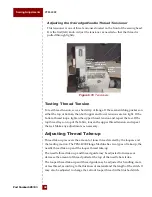
Figure 6.9
Safety stitch looper thread tensioner
Adjusting the Safety Stitch Needle Thread Tensioner
Look at the front of the sewing head. You will see three tensioner knobs located
on the upper part of the sewing head. The safety stitch needle thread tensioner
is the second (middle) knob. Pull the thread through, making sure tension on
the thread is sufficient. Adjust the tensioner as needed, then proceed to the
overedge looper thread tensioner.
Adjusting the Overedge Looper Thread Tensioner
This is one of three tensioner knobs located on the front of the sewing head. It is
the third (right) knob. After threading this tensioner, ensure the thread tension
is firm, but not too tight. Proceed to the overedge needle thread tensioner.

