28
PFM-4000
Part Number 6Z8303
Operating Procedures
4
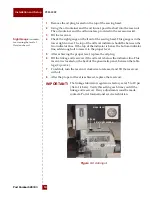
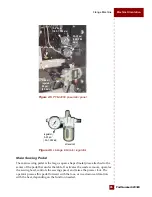
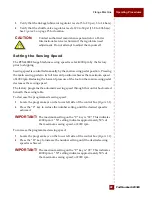
Verify that the shuttle valve regulator is set at 20 to 30 psi (1.38 to 2.06 bars).
5
Press the main sewing pedal in a downward motion with your heel to raise
the presser foot and the top feed.
6
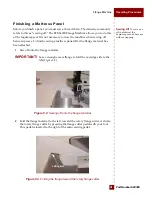
Insert flange material into the flange guide.
7
Press the main sewing pedal in a forward motion with your toes to sew two
or three stitches (approximately 10 mm) into the flange.
Top Feed
Commonly
referred to in the industry
as the “upper feed.” The
top feed is a mechanical
component of the walking
foot, with teeth designed
to assist in the transport of
material.
8
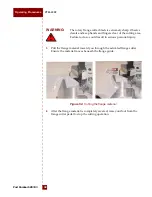
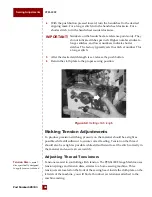
With your heel, press the main sewing pedal in a downward motion. This
will raise the presser foot and the top feed.
9
Insert the panel.
10
With your toes, press the main sewing pedal in a forward motion and begin
sewing.
Operating the PFM-4000 Flange Machine
This section is for operators who are new to the PFM-4000 Flange Machine.
Know how to stop the machine in case of an emergency. To do so, remove your
foot from the main sewing pedal, and press the red OFF button located on the left
side of the sewing table, or unplug the machine receptacle from the outlet.
Preparing to Sew
Before you begin operating the PFM-4000 Flange Machine, always do the
following:
1
Perform a safety check. See “Making a Safety Check” on page 17.
2
Plug the machine receptacle into the outlet.
3
Ensure that:
•
needles and loopers are in good condition and are properly threaded.
•
thread levels are sufficient. See “Checking Supplies” in
•
stitch length is set to desired length. See
4
oil levels are sufficient. See
Section 8, General Maintenance
.
Activating the Machine
To activate the flange machine:
1
Press the black ON button located on the left side of the sewing table.
2
Verify that the main air regulator is set at 80 psi (5.5 bars).
IMPORTANT!
Read and understand the safety features and procedures
found in
before operating the machine.

