4
B. Preparing the EvacuRite chair for use
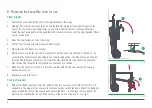
Chair release
1. Remove the cover, leaving the chair in the wall bracket at this stage.
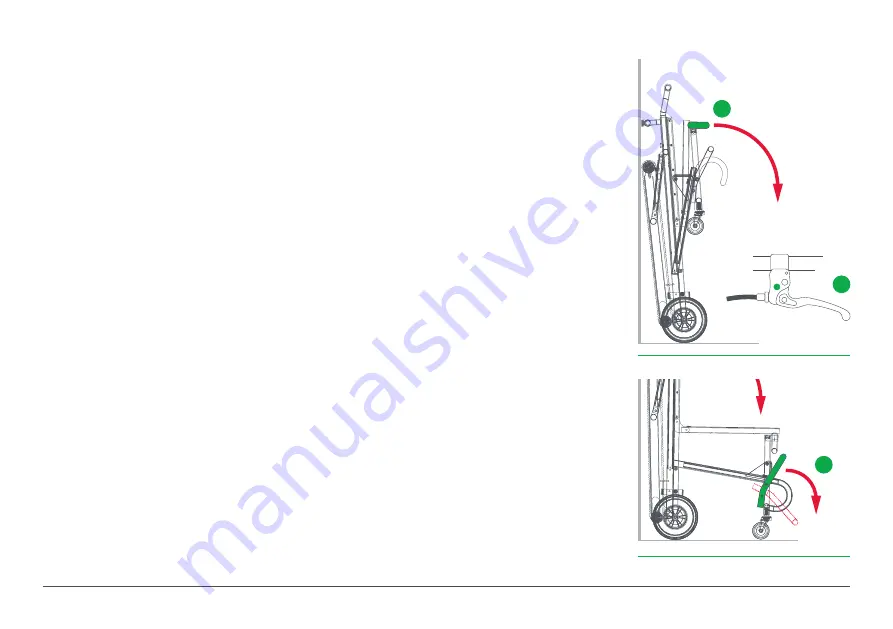
2. Holding the front seat bar (see Fig B), un-clip the BLACK retaining straps (chest straps) at the
front of the chair and move straps away so as not to hinder the decent of the seat forwards.
Lower the seat down gently until an audible click is heard to lock seat in the open position. Check
seat is locked open.
3. Place the chest straps on top of chair seat.
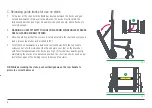
4. Pull the chair off and away from the wall bracket clips.
5. Wheel the chair to where it is needed.
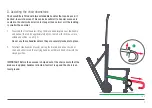
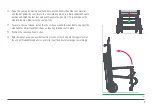
6. Before anyone sits on the chair both brakes must be ‘locked on’. Each brake is ‘locked on’ by
squeezing the brake lever and pushing in the silver locking spring. The brake lever can then be
released and the brake will remain ‘on’ whilst the silver locking pin is pushed in. Repeat with
other brake. Check that both rear wheels are now locked in position.
7. Make sure the foot rest is in the ‘up’ position and that both the lap and chest belt straps are
undone beside chair.
8. Seat Evacuee onto the chair.
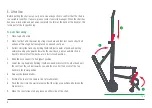
Foot rest release
9. Release the BLUE leg strap, lower the footrest and place evacuee’s feet onto the foot rest. It is
advisable at this stage for the evacuee to remove any shoes with high heels. Attach the BLUE leg
straps around the shins of the evacuee and adjust tightness - to keep legs in place but not too
tight to be uncomfortable - do not let any excess strap trail on the ground - see Fig C.
Fig C
Fig B
2
6
9


