Rev. 25-Aug-2016
Imported by / Importé par /
WILLIAMS-SONOMA INC.
3250 Van Ness, SF CA 94109
CANADIAN DISTRIBUTION ADDRESS: 3401 Dufferin St. Space 215, Toronto
Ontario, M6A 2T9
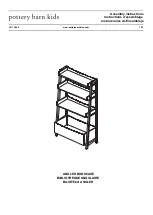
ANGLED BOOKCASE
2016-09
FURNITURE TIPPING RESTRAINT
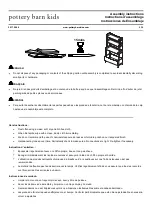
WARNING
: This product is only a deterrent. It is not a substitute for proper adult supervision. Manufacturer assumes no liability for improper installation or
excessive loads placed on screws, brackets or straps.
Young children may be injured by tipping furniture and the use of a tipping restraint is highly recommended.
When properly installed, this restraint will provide protection against tipping of furniture. This tipping restraint
MUST
be secured to a wall-stud or wall structure
of similar strength.
------------------------------------------------------------------------------------------------------------------------------------------------------------------------------------------------------
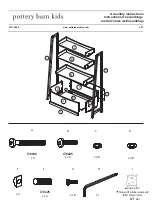
Hardware included: (2x) Brackets 48 x 21 x 10mm
(1x) Nylon Strap 300 x 12 x 8mm
(2x) Stud Mounting Screws #8 x 40mm (2x) Product Side Mounting Screws #8 x 16mm
Note: For safe mounting it is essential to use the proper hardware for your wall type. The included hardware is for drywall or stud mounting only. For other
wall types (e.g., plaster, concrete and brick) please consult your local hardware store for fastener advice.
To install:
1) LOCATING THE STUDS:
U
se a stud finder to l
ocate the vertical wooden studs within your wall located behind the final position of the
furniture item. Mark the stud locations with a light pencil-mark.
2) MOUNTING THE FURNITURE-SIDE BRACKET:
Move the furniture item close to the wall to
its final position. Use
pieces of tape or a
pencil to transcribe the stud locations of the wall onto the furniture item. Move the furniture item again so you can access its back and use
the marks to locate a suitable mounting point for the furniture-side bracket.
Make sure that the bracket is secured to a firm portion
of the
furniture frame and as high as possible. Remember: The furniture-side bracket must be positioned near a wall stud. Using a pencil, and the
bracket as a guide,
mark “screw marks” on the furniture item through the bracket holes.
Use a 3/32” drill bi t to drill pilot holes into the furniture item at the “screw marks”.
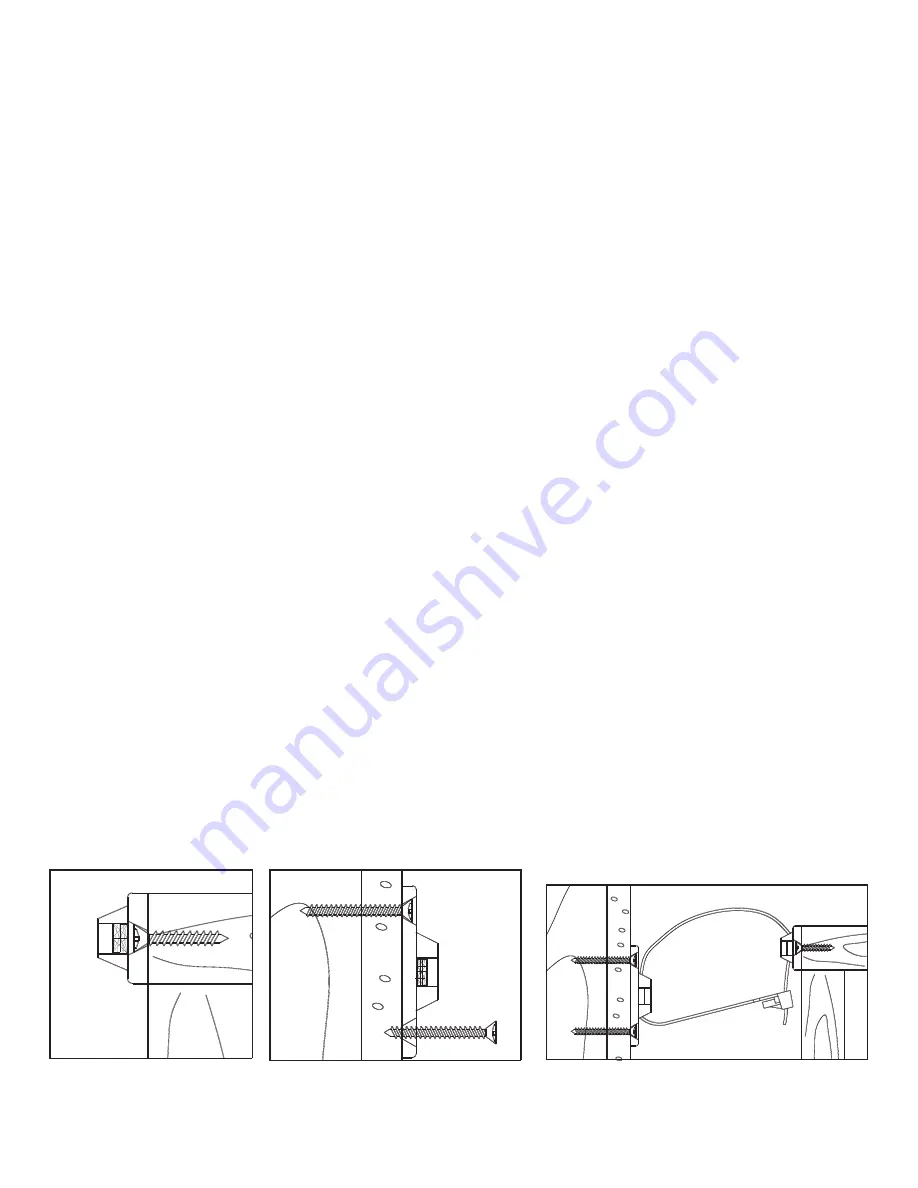
Use the TWO short screws to secure the furniture-side
bracket. This bracket can be positioned either vertically or horizontal as necessary (See Figure 1).
3) MOUNTING THE WALL-SIDE BRACKET:
Position the wall-side bracket along the selected stud mark so that it will be adjacent the
furniture-side bracket when the furniture item is moved to its
final position
. The wall-side bracket should be about ONE inch lower than the
furniture-side bracket (See Figure 3). Use the TWO long screws to secure the wall-side bracket to the wall. Remember to position the wall-
side bracket vertically so that both screws will engage the selected wall stud (See Figure 2).
4) ATTACHING THE STRAP:
When both brackets are securely attached, move the furniture to its final desired position and thread the
strap through the openings of each bracket and also through the ratcheting “buckle”. Tighten the strap until several “clicks
” are heard. The
furniture item is now securely tethered to the wall.
Note: If you must move the furniture item, you can release the strap by depressing the lever arm located at its buckle and simultaneously withdrawing the
strap from the buckle. Make sure to reconnect the strap once the furniture item is returned to its previous position.
Figure 1
Figure 2
Figure 3

