background image

Date: 2014-December-4 
Rev:                                                                   


Page  9  /  11


NOTES: 


  As the Elliot 3-in-1 Crib is designed to grow with your child, please retain the instructions as well as all hardware 

for future use. Always keep all small parts and hardware out of the reach of small children. 


  Please see instructions below when converting to a toddler or Full bed. Based upon your selection, there will be 

different instructions and additional pieces needed for these conversions. Please read carefully and follow all 
instructions. 


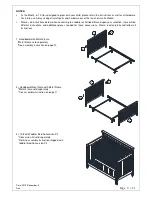
1. Headboard with Metal Frame 
  *Metal Frame sold separately 
  *See assembly instruction on page 10 


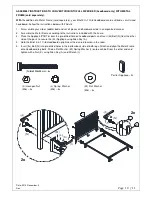
2). Headboard/Front Gate with Metal Frame 
  * Metal Frame sold separately 
  * See assembly instruction on page 11 


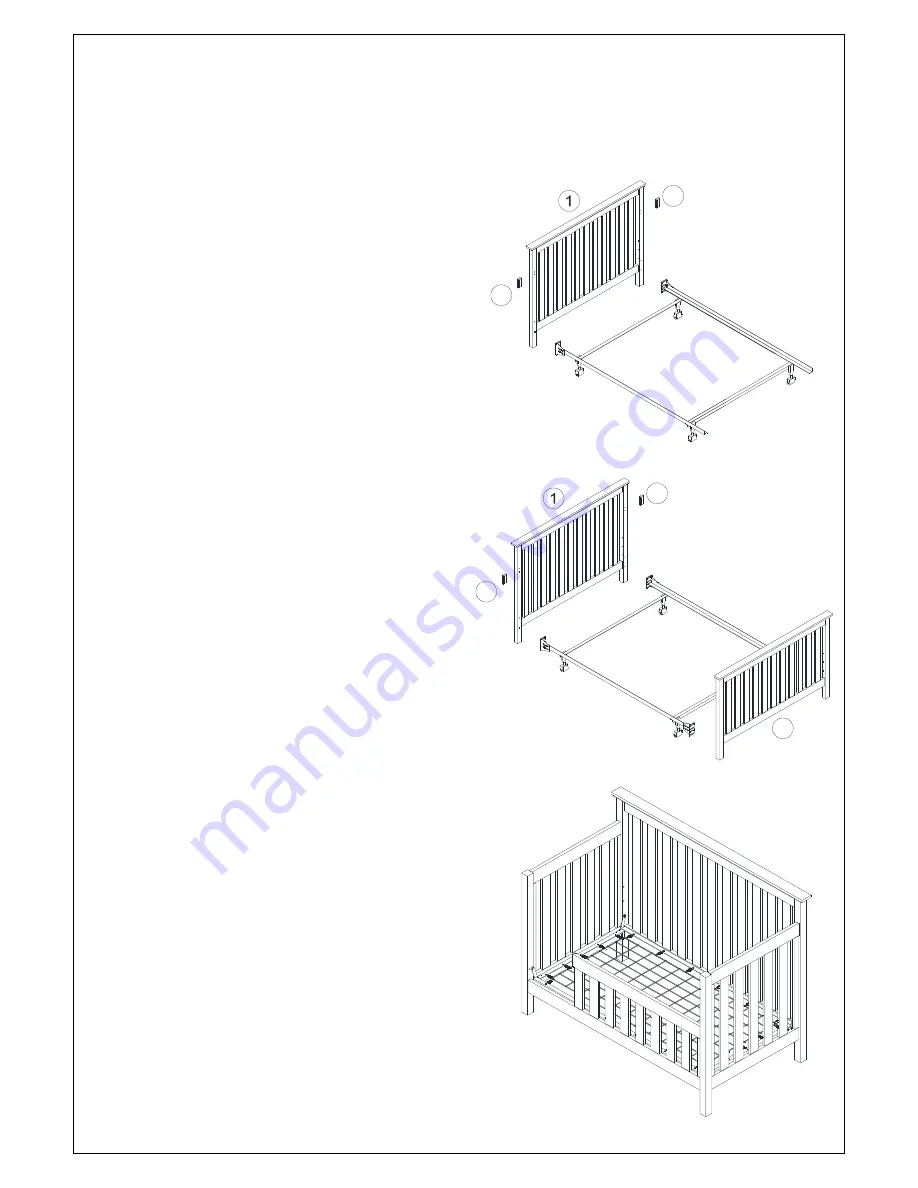
3). Crib with Toddler Bed Conversion Kit 
  * Conversion Kit sold separately 
  * Refer to assembly instruction shipped with   

Toddler Bed Conversion Kit 


6

6

2

6

6

Summary of Contents for ELLIOT CRIB

Page 1: ...Date 2014 December 4 Rev Page 1 11 pottery barn kids ELLIOT CRIB www potterybarnkids com...

Page 2: ...ate on soft bedding Never add a pillow or comforter Never place additional padding under an infant To reduce the risk of SIDS pediatricians recommend healthy infants be placed on their backs to sleep...

Page 3: ...tegrity of the item Do not remove warning labels from the crib Labels are permanent and not designed to be removed PRE ASSEMBLY Remove all parts and hardware from the box and place them on a carpet or...

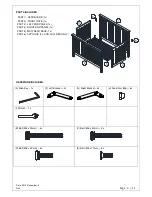
Page 4: ...EL 1x PART 4 RIGHT END PANEL 1x PART 5 MATTRESS BASE 1x PART 6 APPLIQUE 2x FOR FULL BED ONLY HARDWARE INCLUDED A Allen Key 1x 1 x F Left Bracket 2x 2 x G Right Bracket 2x 2 x H Acorn Nut M6 8x I Wrenc...

Page 5: ...E BELOW HARDWARE FOR FUTURE USE WHEN CONVERTING TO A FULL SIZE BED USING METAL FRAME SOLD SEPARATELY A Allen Key 1x 1 x I Wrench 1x K Hexagon Nut M6 4x L Spring Washer M6 4x M Flat Washer M6 4x N Bolt...

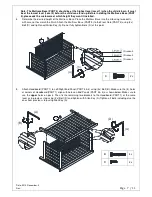
Page 6: ...using Wrench I 3 Place Front Gate PART 2 on a soft and scratch free work surface with pre drilled holes facing upward Attach Left Right End Panel PART 3 4 to Front Gate PART 2 Insert 2x Bolt C through...

Page 7: ...ch the Mattress Base PART 5 to the Front Gate PART 2 using 2x Bolt D and tighten with Allen Key A Do not fully tighten Bolts D at this point 5 Attach Headboard PART 1 to Left Right End Panel PART 3 4...

Page 8: ...CARE INSTRUCTIONS Dust often using a clean soft dry lint free cloth Blot spills immediately and wipe with a clean damp cloth We do not recommend the use of chemical cleansers abrasives or furniture p...

Page 9: ...bed Based upon your selection there will be different instructions and additional pieces needed for these conversions Please read carefully and follow all instructions 1 Headboard with Metal Frame Me...

Page 10: ...included with the frame 3 Place the Appliqu PART 6 over the pre drilled hole on headboard posts and insert 2x Bolt N from the other side of the posts to secure the 2x Appliqu using Allen Key A 4 Hold...

Page 11: ...to the instructions included with the frame 3 Place the Appliqu PART 6 over the pre drilled holes on headboard posts and insert 2x Bolt N from the other side of the posts to secure the 2x Appliqu usi...

Reviews: