background image

Date: 2015-Feb-10   


          Page 2 of 5 

Rev: 2015-Nov-27 


Important Safety Instructions:


Please read all instructions carefully before assembling this Desk. 


For your safety, assembly by two or more adults is strongly recommended. 


Keep these instructions for future use. 


Use only vendor-supplied hardware to assemble this item. Using unauthorized hardware could jeopardize the 
structural integrity of the item. 


Pre-assembly: 


Remove all parts and hardware from the box. Place all items on a carpeted or scratch-free work surface, as this 

will avoid damaging parts during assembly. The shipping box provides an ideal work surface. 


To avoid accidentally discarding small parts or hardware, do not dispose of any packaging or contents of the 

shipping carton until assembly is complete.   


Use the parts and hardware lists below to identify and separate each of the pieces included. 


The illustrations provided allow for easier assembly when used in conjunction with the assembly instructions. 


The use of power tools to aid in assembly is not recommended. Power tools can damage the hardware and split 

the wood. 


Parts Included: 

 
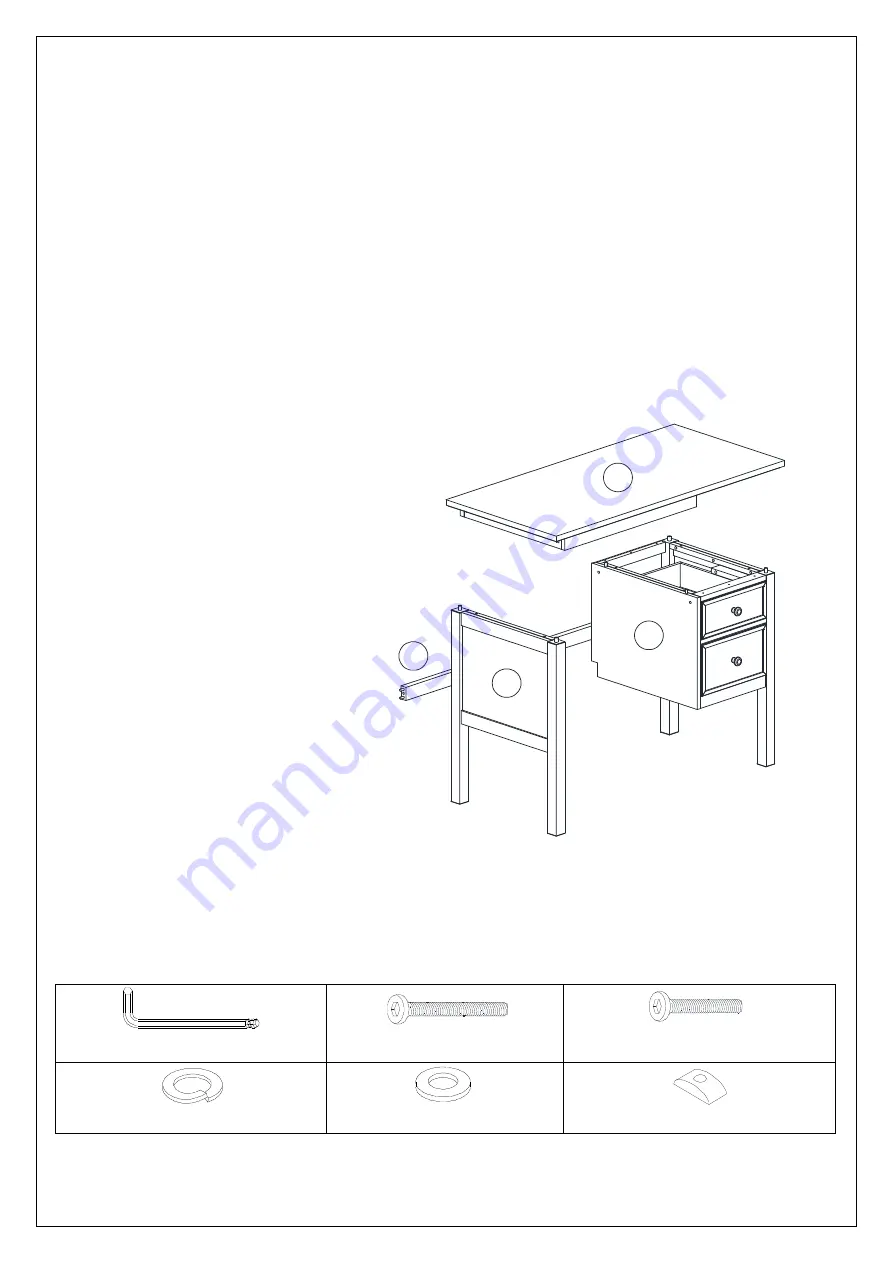
(A) Top Panel (1x) 

(B) Leg Panel (1x) 

(C) Storage Base (1x) 

(D) Stretcher (1x) 


Hardware Included: 


(E) Allen Key – 1x 


(F) Long Bolt 1/4”x50mm – 2x 


(G) Short Bolt 1/4”x 30mm – 11x 


(H) Spring Washer – 13x 


(I) Flat Washer – 13x 


(J) Half-Moon Washer– 2x


A

B

C

D


Summary of Contents for ELLIOT DESK

Page 1: ...Date 2015 Feb 10 Page 1 of 5 Rev 2015 Nov 27 pottery barn kids ELLIOT DESK www potterybarnkids com ...

Page 2: ...mbly The shipping box provides an ideal work surface To avoid accidentally discarding small parts or hardware do not dispose of any packaging or contents of the shipping carton until assembly is complete Use the parts and hardware lists below to identify and separate each of the pieces included The illustrations provided allow for easier assembly when used in conjunction with the assembly instruct...

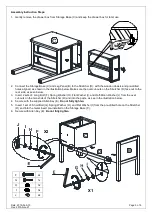
Page 3: ... face out to the rear side as seen below 3 Insert 2 sets of Long Bolt F Spring Washer H Flat Washer I and Half Moon Washer J from the oval cut outs on the two ends of the Stretcher D and into the posts as see in the illustration below 4 Secure with the supplied Allen Key E Do not fully tighten 5 Insert 1 set of Short Bolt G Spring Washer H and Flat Washer I from the pre drilled hole on the Stretch...

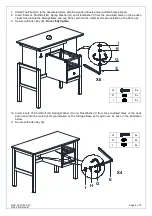
Page 4: ...n cleats found inside the Storage Base and Leg Panel and into the metal inserts pre installed on Top Panel A 9 Secure with Allen Key E Do not fully tighten 10 Insert 4 sets of Short Bolt G Spring Washer H and Flat Washer I from the pre drilled holes on the desk apron and into the metal insert pre installed on the Storage Base and Leg Panel as seen in the illustration below 11 Secure with Allen Key...

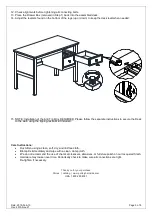
Page 5: ... follow the separate instructions to secure the Desk to the wall using the tipping restraint kit included Care Instructions Dust often using a clean soft dry and lint free cloth Blot spills immediately and wipe with a clean damp cloth We do not recommend the use of chemical cleansers abrasives or furniture polish on our lacquered finish Hardware may loosen over time Periodically check to make sure...

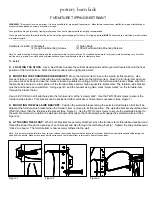
Page 6: ...e furniture side bracket Make sure that the bracket is secured to a firm portion of the furniture frame and as high as possible Remember The furniture side bracket must be positioned near a wall stud Using a pencil and the bracket as a guide mark screw marks on the furniture item through the bracket holes Use a 3 32 drill bit to drill pilot holes into the furniture item at the screw marks Use the ...

Reviews: