background image

Date: 2014-Sept-16   


   Page 2 of 10 

Rev: 2015-Jan-21 


Important Safety Instructions:


Please read all instructions carefully before assembling this Bridge. 


For your safety, assembly by two or more adults is strongly recommended. 


Keep these instructions for future use. 


Use only vendor-supplied hardware to assemble this item. Using unauthorized hardware could jeopardize the 

structural integrity of the item. 

Pre-assembly: 


Remove all parts and hardware from the box. Place all items on a carpeted or scratch-free work surface, as this 

will avoid damaging parts during assembly. The shipping box provides an ideal work surface. 


To avoid accidentally discarding small parts or hardware, do not dispose of any packaging or contents of the 

shipping carton until assembly is complete.   


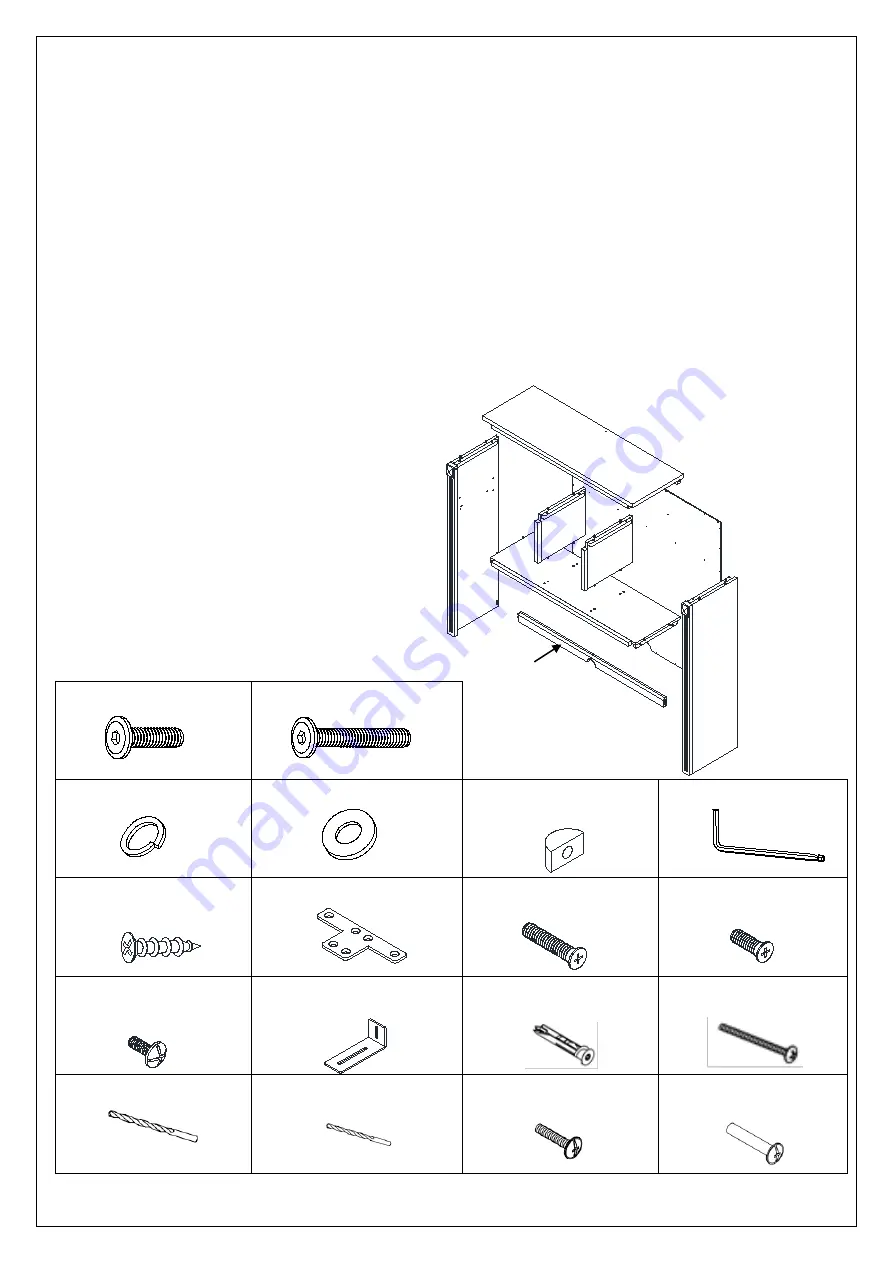
Use the parts and hardware lists below to identify and separate each of the pieces included. 


The illustrations provided allow for easier assembly when used in conjunction with the assembly instructions. 


The use of power tools to aid in assembly is not recommended. Power tools can damage the hardware and split 

the wood. 

Parts Included: 


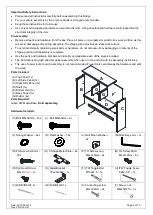
(A) Top Panel (1x) 


(B) Left Side Panel (1x)   
(C) Right Side Panel (1x)   
(D) Shelf (1x) 
(E) Bottom Rail (1x) 
(F) Back Panel (1x) 
(G) Divider (2x) 

Parts Required:


Grace XW Media Base (

Sold separately

)


Hardware Included:


(H) 

Bolt M6x32mm

 – 16x 

(I)  Bolt M6x50mm – 6x 

(J) 

Spring Washer – 22x


(K) 

Flat Washer – 16x


(L)  Half Moon Washer – 

6x 

(M) Allen Key 4mm – 1x 

(N) FH Screw 6x19mm – 

40x 

(O) T-Shape Metal Plate – 2x 


(P) TH Screw-Long 

M4xL19mm – 6x 


(Q) TH Screw-Short 

M4xL12mm – 6x 

(R) Pan Head Screw 

M4xL

12mm

 – 1x 

(S) Metal Bracket 

72x27x26x2 – 1x 

(T) ITW Toggle Bolt 

Ø10x61.5 – 1x 


(U) ITW Toggle Scew 

8#x2-1/8” – 1x 

(V) Drill 

BitΦ6x91-1x 


(W) Drill 

Bit Φ2-1x 


(X) Connecting screw 

M4xL20mm – 2x 


(Y) Sleeve nut 

M4x27x

Φ10 – 2x 


Summary of Contents for GRACE XW

Page 1: ...Date 2014 Sept 16 Page 1 of 10 Rev 2015 Jan 21 pottery barn kids GRACE XW BRIDGE www potterybarnkids com...

Page 2: ...is complete Use the parts and hardware lists below to identify and separate each of the pieces included The illustrations provided allow for easier assembly when used in conjunction with the assembly...

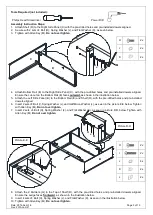
Page 3: ...nel B to the Bottom Rail E and Shelf D with the pre drilled holes and pre installed dowels aligned 6 Insert 2 sets of Bolt I Spring Washer J and Half Moon Washer L as seen in the picture E E below Tig...

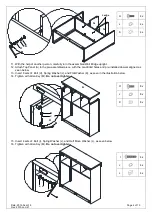
Page 4: ...les and pre installed dowels aligned as seen below 13 Insert 8 sets of Bolt H Spring Washer J and Flat Washer K as seen in the illustration below 14 Tighten with Allen Key M Do not over tighten 15 Ins...

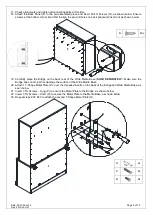
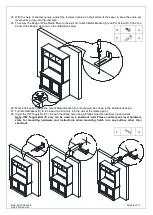
Page 5: ...ace the Bridge on the back rear of the Wide Media Base SOLD SEPARATELY Make sure the Bridge does not scratch or damage the surface of the Wide Media Base 20 Attach 1 T Shape Metal Plate O over the thr...

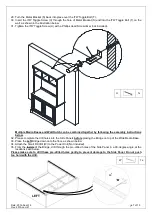
Page 6: ...e illustration below 26 Mark a drill point through the hole of Metal Bracket S onto the wall as shown in the illustrations below 27 Turn Metal Bracket S to the side and drill a hole into the wall at t...

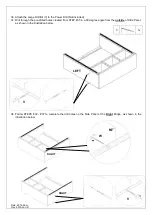
Page 7: ...h can be combined together by following the assembly instructions below 32 Please complete the drill holes into the Side Panels before placing the Bridge on top of the Wide Media Base 33 Place the Lef...

Page 8: ...cluded 37 Drill through the pre drilled holes created from STEP 35 in a 90 degree angle from the outside of Side Panel as shown in the illustration below 38 Follow STEPS 32 37 to complete the drill ho...

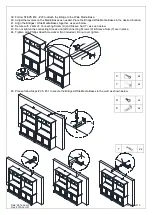
Page 9: ...n the Bridges Wide Media Bases together as seen below 42 Secure with 2 sets of Connecting Screw X and Sleeve Nut Y as seen below 43 Do not tighten the connecting Screws until all Connecting Screws X S...

Page 10: ...dry and lint free cloth Blot spills immediately and wipe with a clean damp cloth We do not recommend the use of chemical cleansers abrasives or furniture polish on our lacquered finish Hardware may l...

Reviews: