background image


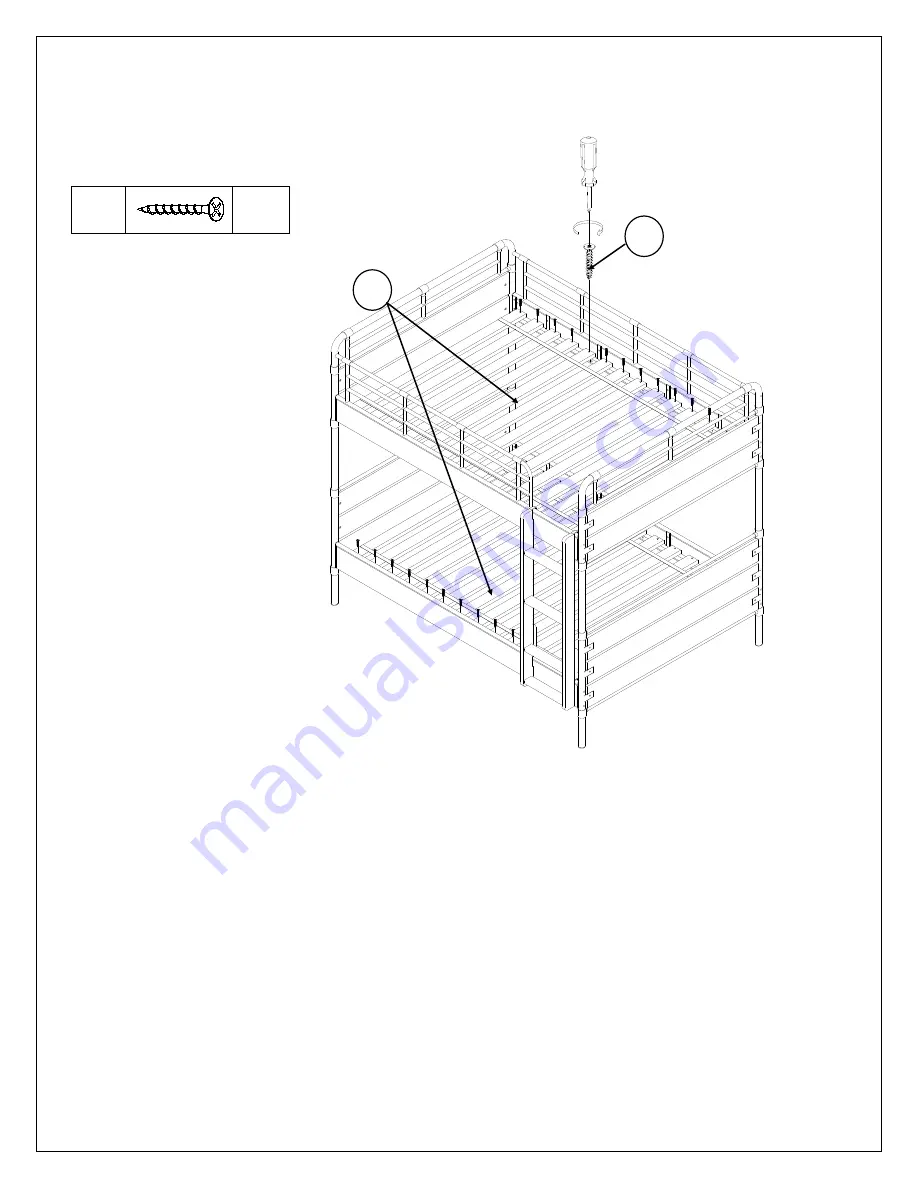
9.  Lay the slat roll (F) onto the support rails on the inner side of (C), (D) and (E). Secure each 

slat by wood screw (L) at two ends using a Phillips head screwdriver (Not included). 


10. Assembly is completed  


Care Instructions: 


Dust often using a clean, soft, dry and lint-free cloth. 


Blot spills immediately and wipe with a clean, damp, cloth. 


We do not recommend the use of chemical cleansers, abrasives or furniture polish on our lacquered finish. 


Hardware may loosen over time. Periodically check to make sure all connections are tight. Re-tighten if 

necessary. 


Thank you for your purchase 

Stores | catalog | www.potterybarnkids.com 

USA 1.800.290.8181 


56x 

56x


F


Date: 2015- Oct.-13 
Rev:  

                                                                                                                                                                                    Page 10 of 10 


Summary of Contents for OWEN TWIN OVER TIWN BUNK BED

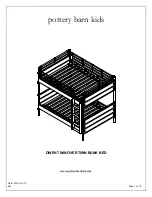
Page 1: ...pottery barn kids OWEN TWIN OVER TIWN BUNK BED www potterybarnkids com Date 2015 Oct 13 Rev Page 1 of 10 ...

Page 2: ...bunk bed Use only mattress which is 74 75 long and 37 5 38 5 wide on upper and lower bunk Do not allow children under 6 years of age to use the upper bunk Periodically check and ensure that the guardrail ladder and other components are in their proper position free from damage and that all connectors are tight Do not allow horseplay on or under the bed and prohibit jumping on the bed Prohibit more...

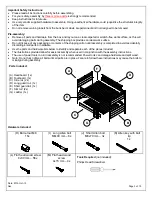
Page 3: ...id accidentally discarding small parts or hardware Use the parts and hardware lists below to identify andseparate each of the pieces included The illustrations provided allow for easier assembly when used in conjunction with the assembly instructions The use of power tools to aid in assembly is not recommended Power tools can damage hardware and split wood Note Do not fully tighten all bolts until...

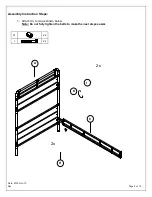
Page 4: ...Assembly Instruction Steps 1 Attach C to A as shown below Note Do not fully tighten the bolts to make the next steps easier H 2x I 2x A C 2x 2x H I K Date 2015 Oct 13 Rev Page 4 of 10 ...

Page 5: ...2 Attach D to A as shown below Note Do not fully tighten the bolts to make the next steps easier H 2x I 2x J 1x D 1x 2x 2x A H J I K K Date 2015 Oct 13 Rev Page 5 of 10 ...

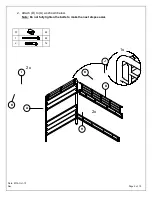
Page 6: ...3 Attach B to C and D as shown below Note Do not fully tighten the bolts to make the next steps easier 4 H 4x I 4x J 1x D B C 1x K I H 4x J Date 2015 Oct 13 Rev Page 6 of 10 ...

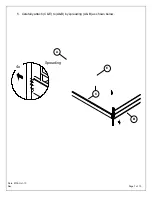
Page 7: ...5 Carefully attach C E to A B by spreading A B as shown below 4x E C A B Spreading Date 2015 Oct 13 Rev Page 7 of 10 ...

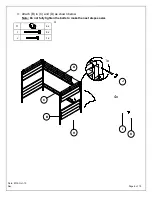
Page 8: ...6 Secure C and E as shown below 7 Check the alignments and fully tighten all bolts at this time Do not over tighten H 8x I 8x J 1x H 8x 1x K J I K Date 2015 Oct 13 Rev Page 8 of 10 ...

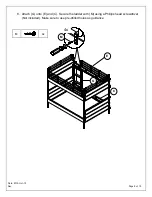
Page 9: ...8 Attach G onto E and C Secure the ladder with M using a Phillips head screwdriver Not included Make sure to use pre drilled holes as guidance M 4x 4x G E C M Date 2015 Oct 13 Rev Page 9 of 10 ...

Page 10: ... soft dry and lint free cloth Blot spills immediately and wipe with a clean damp cloth We do not recommend the use of chemical cleansers abrasives or furniture polish on our lacquered finish Hardware may loosen over time Periodically check to make sure all connections are tight Re tighten if necessary Thank you for your purchase Stores catalog www potterybarnkids com USA 1 800 290 8181 L 56x 56x F...

Reviews: