background image


Date: 2014-Mar.-24 


   Page 1 of 12 

Rev:  2014-Mar.-31 


pottery barn kids 


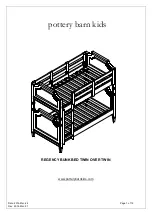
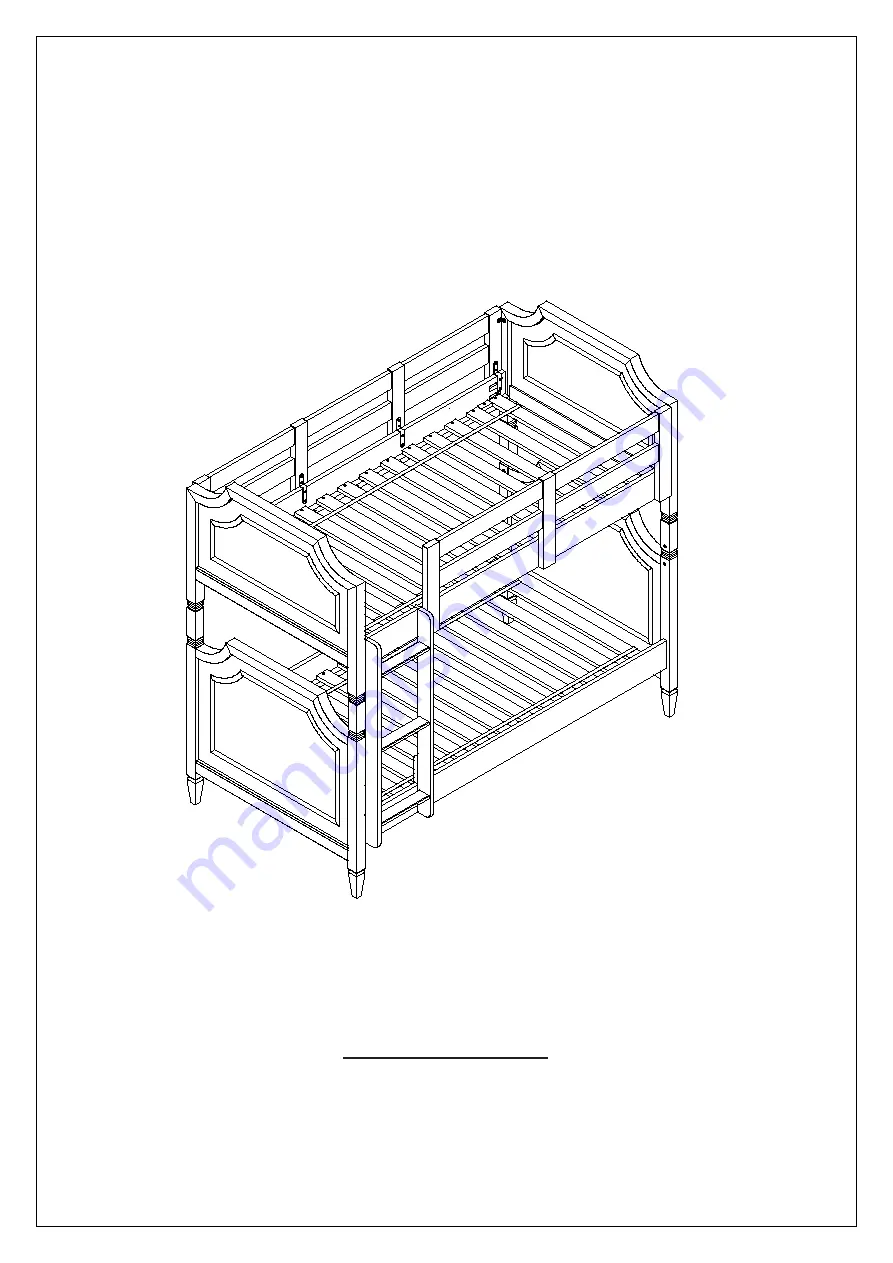
REGENCY BUNK BED TWIN OVER TWIN 


www.potterybarnkids.com


Summary of Contents for REGENCY TWIN OVER TWIN

Page 1: ...Date 2014 Mar 24 Page 1 of 12 Rev 2014 Mar 31 pottery barn kids REGENCY BUNK BED TWIN OVER TWIN www potterybarnkids com...

Page 2: ...position when using the product as a bunk bed Use only mattress which is 74 75 long and 37 5 38 5 wide on upper and lower bunk Do not allow children under 6 years of age to use the upper bunk Periodi...

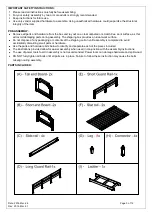
Page 3: ...id damaging parts during assembly The shipping box provides an ideal work surface Do not dispose of any packaging or contents of the shipping carton until assembly is completed to avoid accidentally d...

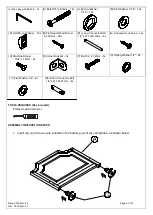
Page 4: ...as shown below J Allen Key with Ball Tip 1x K Bolt 5 16 x 63mm 16x L Spring Washer 5 16 16x M Flat Washer 5 16 16x N Half Moon Washer 16x O Flat Head Wood Screw 8 x 30mm 56x P1 Long Connector Bolt 1...

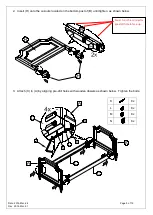
Page 5: ...rt H onto the cut outs located on the bottom post of B until tighten as shown below 3 Attach C to A by aligning pre drill holes with wooden dowels as shown below Tighten the bolts K 8 x L 8 x M 8 x N...

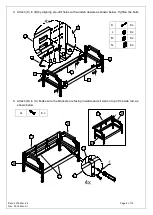
Page 6: ...ar 31 4 Attach C to B by aligning pre drill holes with wooden dowels as shown below Tighten the bolts 5 Attach D to C Make sure the brackets are facing inwards and sit well on top of the side rail as...

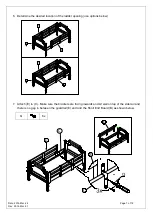
Page 7: ...the desired location of the ladder opening use options below 7 Attach E to C Make sure the brackets are facing inwards and sit well on top of the side rail and there is no gap in between the guardrai...

Page 8: ...Date 2014 Mar 24 Page 8 of 12 Rev 2014 Mar 31 8 Attach D E to B as shown below 9 Extend and place the Slat Roll F to bed frames Secure the slats as shown below S 3 x R 6 x O 56 x...

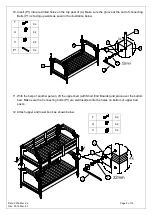
Page 9: ...olts P1 is facing upwards as seen in the illustration below 11 With the help of another person lift the upper bed with Short End Boards and place over the bottom bed Make sure the Connecting bolts P1...

Page 10: ...Page 10 of 12 Rev 2014 Mar 31 13 Turn Q on the bottom of the guardrails in correct locations Secure guardrails E F and side rails C together as shown below 14 Attach the Ladder I to bunk bed as shown...

Page 11: ...l End Boards A as head boards and Short End Boards B as foot boards a Assemble beds following instructions in steps 1 4 b Assemble slats following instructions in step 9 c Insert 2x Short Connecting B...

Page 12: ...ct is to be stored store in cool dry place and carefully package all original hardware to protect from loss or damage Check fasteners periodically for tightness DO NOT over tighten as this may cause d...

Reviews: