background image


Date: 2-Apr-15 


              www. potterybarn.com 


Page 1 of 9


Rev:   


LOGAN LARGE TV STAND 


Summary of Contents for LOGAN LARGE TV STAND

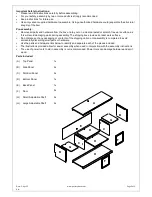
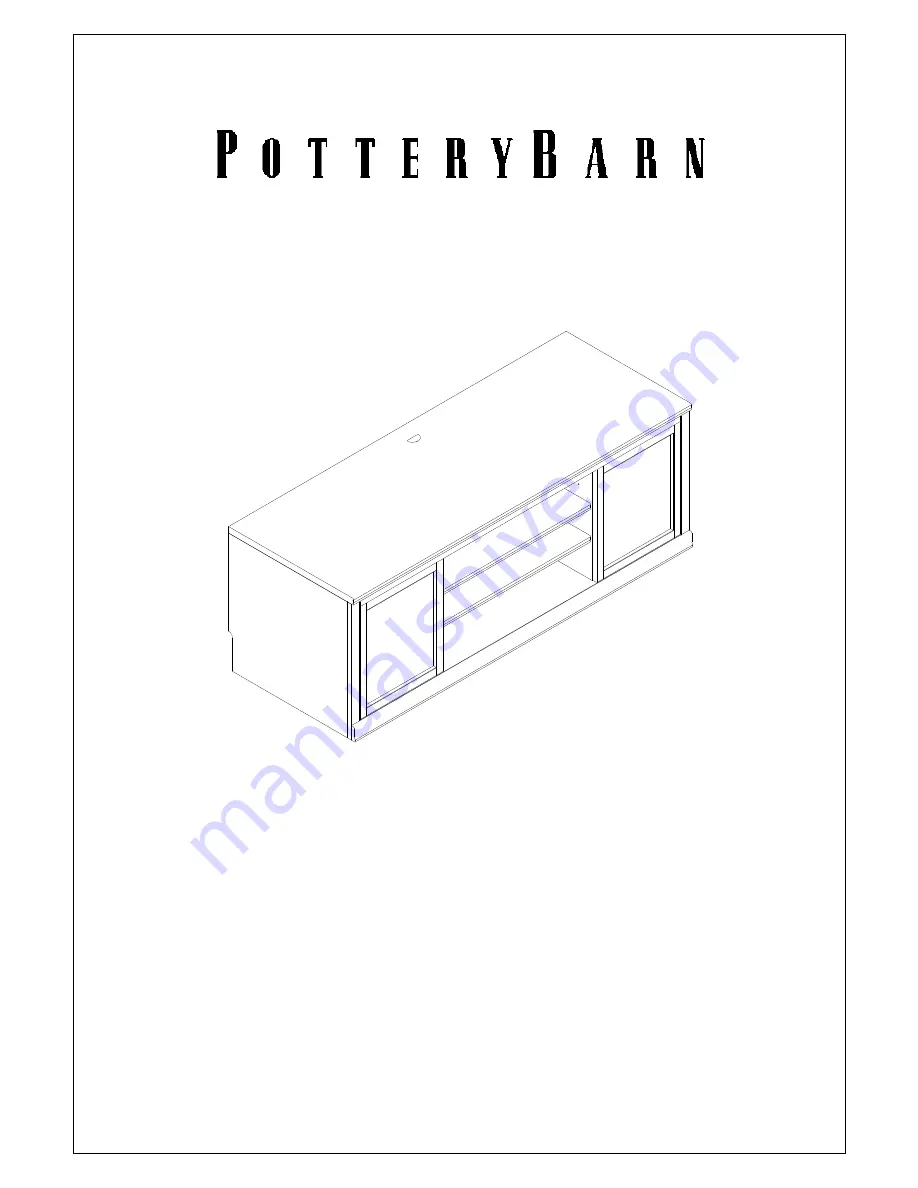
Page 1: ...Date 2 Apr 15 www potterybarn com Page 1 of 9 Rev LOGAN LARGE TV STAND ...

Page 2: ...result in death or serious injury due to the furnishing collapsing or over turning onto a child All other support shelves should not be loaded more than 25 lbs DO NOT EXCEED RECOMMENDED LOAD Use with heavier televisions may result in instability causing tip over resulting in death or serious injury Please use caution when using electrical equipment Improper use could result in the risk of fire ele...

Page 3: ...s during assembly The shipping box provides an ideal work surface Do not dispose of any packaging or contents of the shipping carton until assembly is completed to avoid accidentally discarding small parts or hardware Use the parts and hardware lists below to identify and separate each of the pieces included The illustrations provided allow for easier assembly when used in conjunction with the ass...

Page 4: ... Pin 16x g Wood Screw Dia 3 x 16mm 16x Anti Tip Kit Tools Required Allen Wrench 4mm 1x Philips Head Screwdriver not included Assembly Instruction Steps 1 Attach the Side panel B and the Partition panel C to the Bottom panel D using Bolts a as shown in Fig 1 Tighten by hand first Securely tighten all bolts with Allen Wrench but do not over tighten the Bolts C B D Allen a G B C a Fig 1 ...

Page 5: ...sing Bolts a as shown in Fig 2 Tighten by hand at first Securely tighten all Bolts with Allen Wrench but do not over tighten the Bolts 3 Attach the Back Panel E to the assembled pedestal using Wood Screw b as shown in Fig 3 Securely tighten with Phillip screwdriver B B A C D C Allen Wrench a Fig 2 Fig 3 ...

Page 6: ...Page 6 of 9 Rev 4 Attach the Door F onto the Side Panel B of assembled pedestal using Bolt c Securely tighten with Philip screwdriver 5 Attach the Handle e to the Door F using Bolt d Securely tighten with Philip Screwdriver F F c c e d ...

Page 7: ...lf Insert the Shelf Pin f into the pre drilled holes as shown below Gently lay the Shelf G H onto the Shelf Pins and use wood screws g to secure the shelf If willing to change the position of a shelf first remove the screws from the shelf pins f at bottom of shelf and repeat Step 6 G H G f g f ...

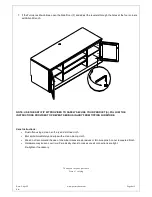
Page 8: ...HE INSTRUCTIONS PROVIDED TO PREVENT SERIOUS INJURY FROM TIPPING FURNITURE Care Instructions Dust often using a clean soft dry and lint free cloth Blot spills immediately and wipe with a clean damp cloth We do not recommend the use of chemical cleansers abrasives or furniture polish on our lacquered finish Hardware may loosen over time Periodically check to make sure all connections are tight Re ti...

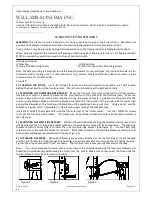
Page 9: ...the furniture item Move the furniture item again so you can access its back and use the marks to locate a suitable mounting point for the furniture side bracket Make sure that the bracket is secured to a firm portion of the furniture frame and as high as possible Remember The furniture side bracket must be positioned near a wall stud Using a pencil and the bracket as a guide mark screw marks on th...

Reviews: