2. Getting started
2.1. Safety Warnings
Have all operation, maintenance and servicing performed by qualified personnel only.
1.
Read this operation manual completely before using the power supply.
2.
Induction heating can be dangerous.
Obey all warnings on unit and in manual.
3.
Do not touch live electrical parts.
In operation, this means the output connectors,
the work coil, the work piece, and any bus work or cabling connecting them.
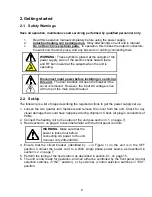
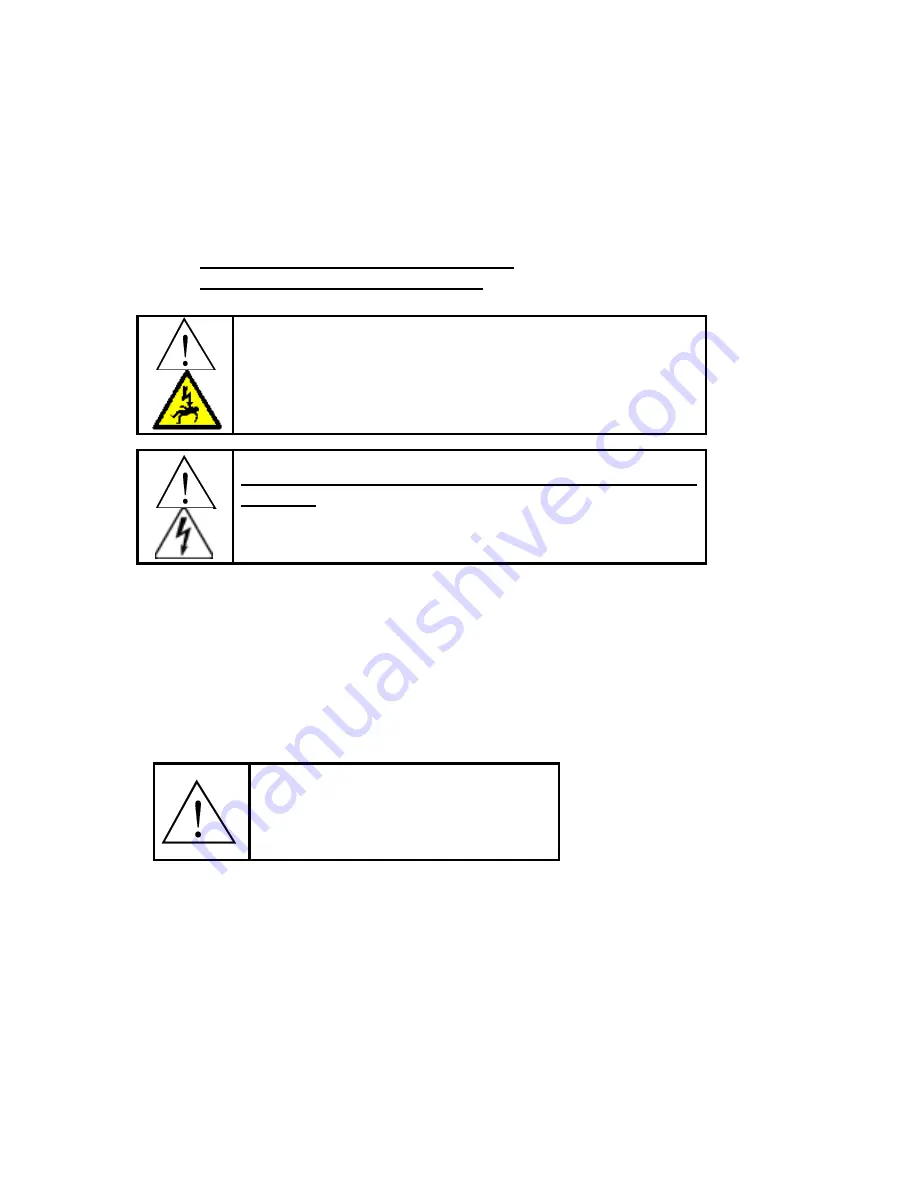
WARNING:
These symbols, placed at the outputs of the
power supply, warn of the electric shock hazard there
and RF burn hazard at the outputs when the unit is
operating.
Disconnect input power before installing or servicing
this unit.
The door interlock will open the breaker if the
cover is removed. However, the input AC voltage is live
at the top of the main circuit breaker.
2.2. Set-Up
The following is a list of steps describing the required actions to get the power supply set up.
1. Loosen the two quarter turn fasteners and remove the cover from the unit. Check for any
visual damage that could have happened during shipment. Check all plug-in connectors of
PCBs.
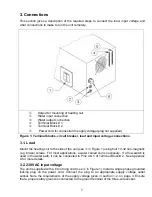
2. Connect the heating coil to the output of the unit (see section 3.1. on page 7).
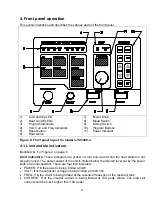
3. Read section 4. on page 9 to become familiar with the front panel controls.
WARNING
:
Make sure that the
power is locked out before
connecting AC power to the unit.
Connect only 208-240VAC.
4. Ensure that the circuit breaker (identified by
→
in Figure 1) on the unit is in the OFF
position. Connect the power cord to a 230V single phase power source as described in
section 3.2. on page 7.
5. Perform the tuning of the heat station, as described in section 6.1. on page 15.
6. The unit is now ready for operation, and can either be controlled by the front panel (control
selection switches in “INT” position), or by external (control selection switches in “EXT”
position.
6


