Prepare for work
1. Check and replace any damaged or worn
parts on the tool.
2. Place a few drops of pneumatic air tool oil
into the air inlet. If you use an automatic
inline oiler, check and add oil if necessary.
3. Make sure the magazine is empty of all
fasteners and the hose has an adequatley
rated work pressure, then connect the tool
to the air compressor.
4. Keep the tool pointed away from you and
others at all times. Do not load fasteners
with the trigger or safety depressed.
5. Regulate the air pressure to obtain 80 to 110
PSI, depending on working demands and
the workpiece.
6. Before loading the fasteners, disconnect the
tool from the air supply. Gripping the tool
firmly, pull the pusher back and engage the
latch.
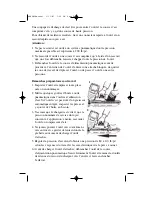
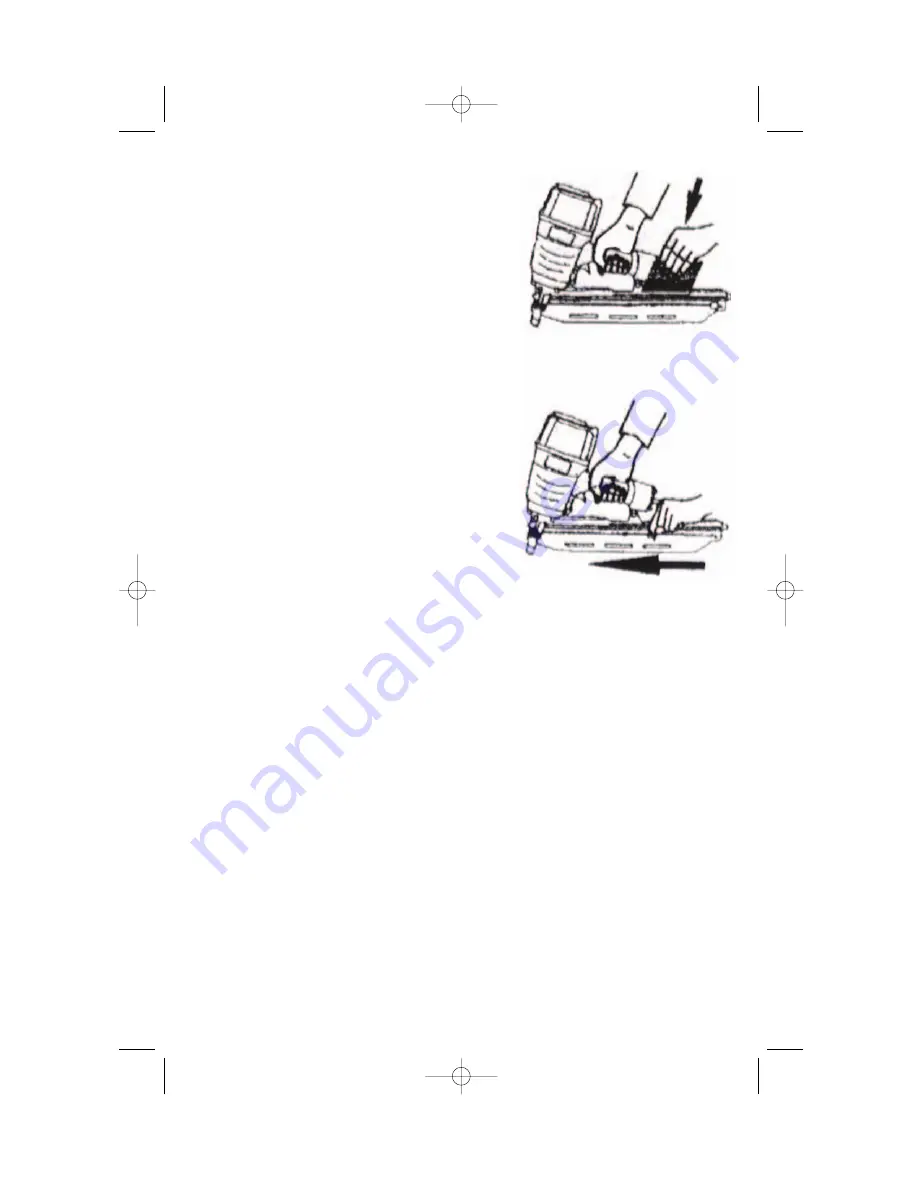
7. Insert a strip of fasteners, keeping the point down (see fig 1.)
8. Orient and slide the strip of fasteners forward to the front of the magazine.
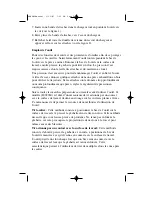
9. Release the latch and pusher, slide the pusher against the nails (see figure
2.)
Using the Tool
Wearing approved safety glasses and protection equipment to protect eyes
and ears, grip tool firmly, pointing the drive to the workpiece. Depress
nosepiece onto work surface, then squeeze trigger to fire a fastener. The
amount of air pressure required will vary, depending on the size of the
fastener and the material being fastened.
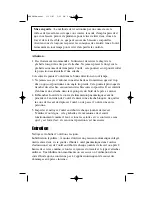
Excessive air pressure can cause premature wear and damage to the tool. Test
the driving depth in a sample piece of wood before use. If the fasteners are
being driven too far or not far enough, adjust the regulator to provide less or
more air pressure as required.
1
2
8006020manual 1/31/07 3:23 PM Page 5


