8964330
OBD2 Multi-Function Digital Heads Up Display
V4.0
4
For technical questions call 1-800-665-8685
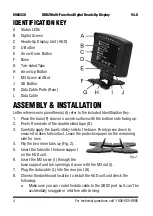
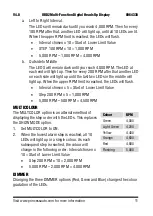
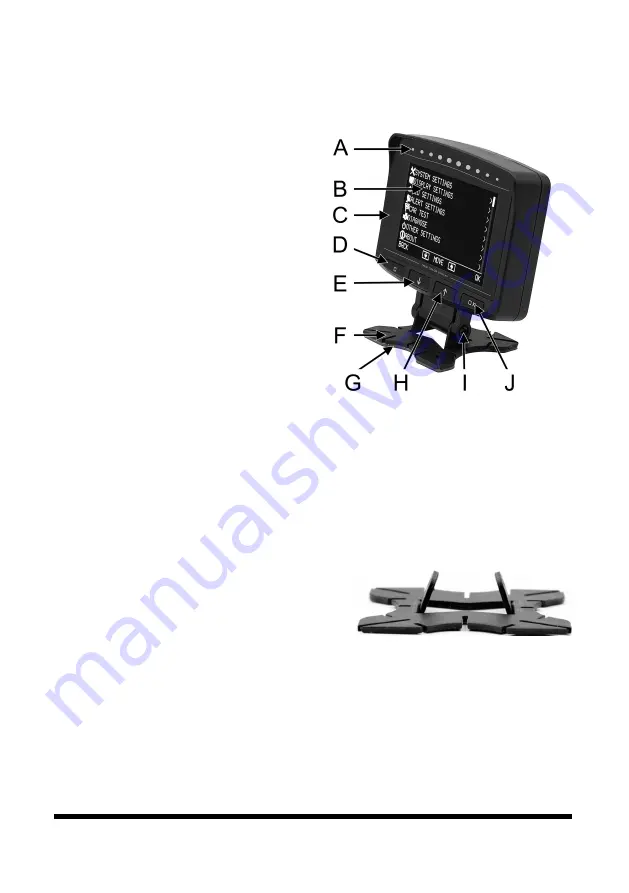
IDENTIFICATION KEY
A Status LEDs
B Digital Screen
C Heads-Up Display Unit (HUD)
D C-Button
E Arrow Down Button
F
Base
G Two-sided Tape
H Arrow Up Button
I
M3 Screw and Nut
J
OK Button
K Data Cable Ports (Rear)
L Data Cable
ASSEMBLY & INSTALLATION
Letter references in parenthesis (A) refer to the included Identification Key.
1. Place the base (F) down on a work surface with the bottom side facing up.
2. Peel off one side of the double-sided tape (G).
3. Carefully apply the tape’s sticky side to the base. Firmly press down to
ensure it makes full contact. Leave the protective paper on the remaining
side for now.
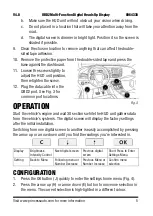
4. Flip the two inner tabs up (Fig. 2).
5. Insert the tabs into the base support
on the HUD unit.
6. Insert the M3 screw (I) through the
base support and tab openings. Secure with the M3 nut (I).
7. Plug the data cable (L) into the rear port (K).
8. Choose the dashboard location to install the HUD unit and check the
following:
a. Make sure you can route the data cable to the OBD2 port so it can’t be
accidentally snagged or interfere with driving.
Fig. 2


