SS3L / SS3R Series
www.powergenex.com
21
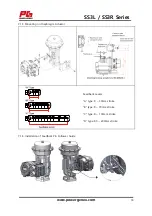
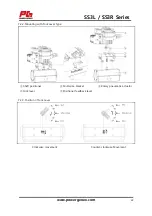
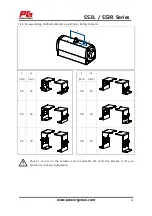
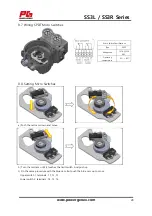
ⓐ Assemble the multi-size bracket to the SS3R positioner with 4 pcs M6 screw. The multi-size
bracket is assembled for 80x30x20mm as standard at the factory. If you have other size bracket,
see ‘7.2.4 Re-assembling Multi-size Bracket according to Rotary Actuator’.
ⓑ Mount the SS3R positioner onto the rotary pneumatic actuator with 4 pcs M5 screw.
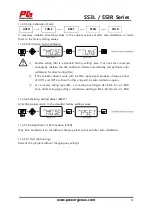
ⓒ Connect air lines between the SS3R positioner and the rotary pneumatic actuator.
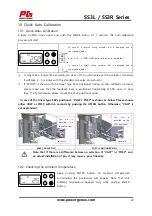
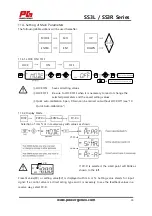
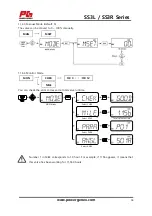
ⓓ Perform auto-calibration by pushing MODE button for 5 seconds.
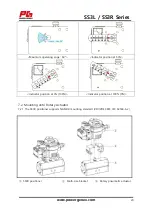
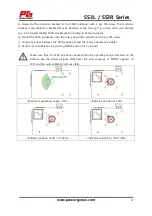
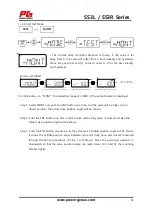
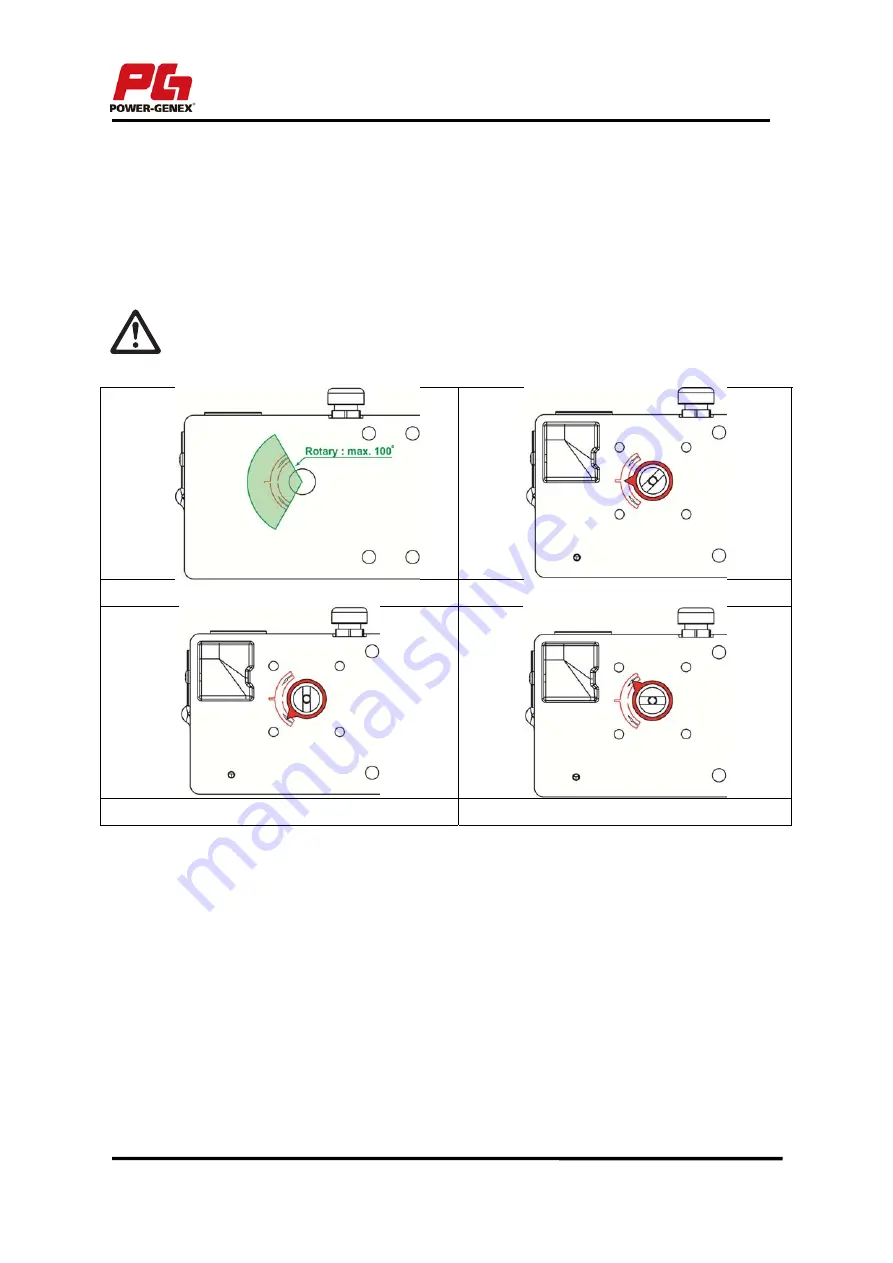
Make sure that the SS3R positioner works within the operating range indicated on the
bottom. See the below pictures. Otherwise, the error message of ‘MONT’ appears on
LCD and the auto-calibration process fails.
<Maximum operating angle : 100°>
<Indicator position at 50%>
<Indicator position at 0% (or 100%)>
<Indicator position at 100% (0%)>


