background image

GB/IE

Safety  instructions / Before  use / How  to  use

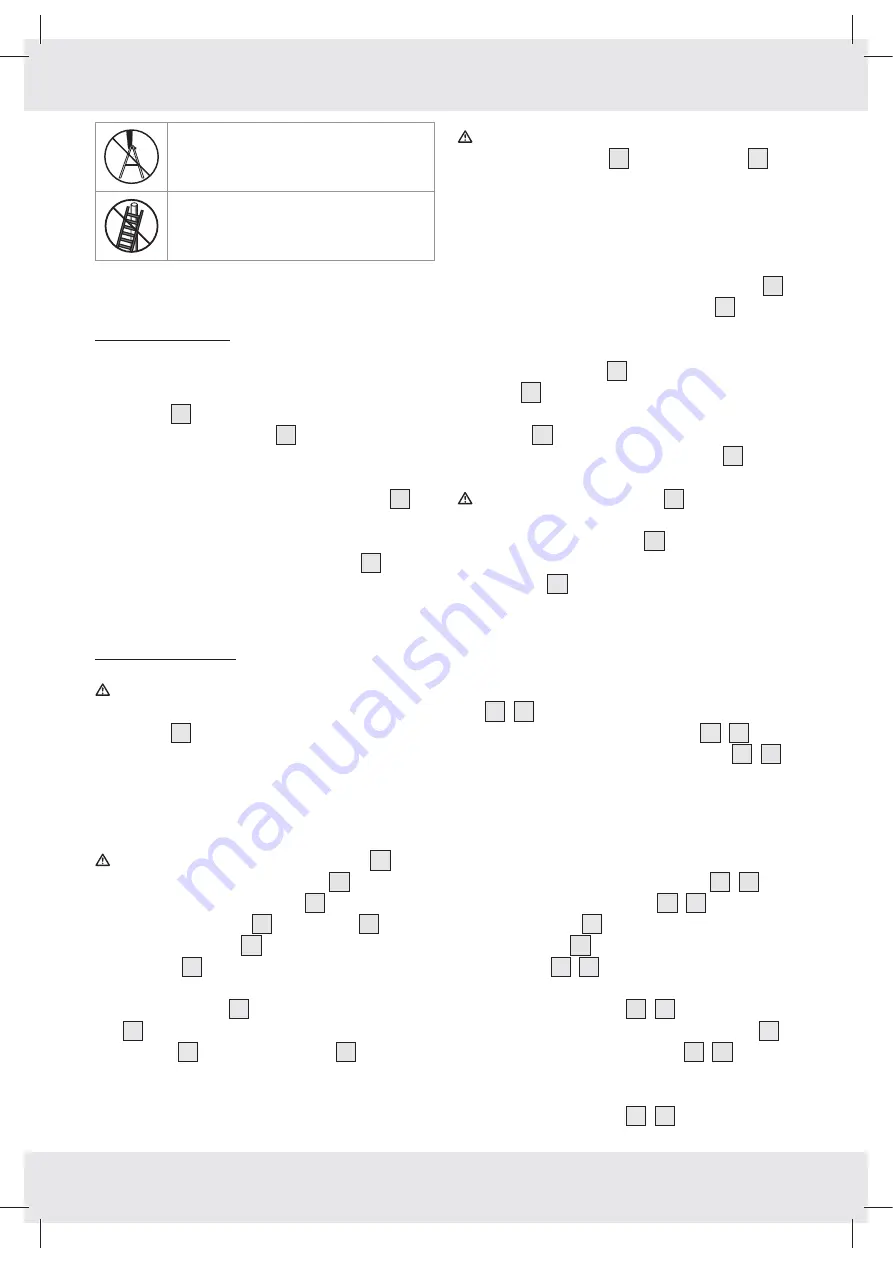
Do not stand on the top rung!

Ensure that the top end of the ladder 
is properly supported!

Q  

Before use

j  

Avoid damage when transporting ladders on 
roof racks or in a lorry. Make sure that the 
ladder 

1

 is appropriately fastened in place.

j  

Before using the ladder 

1

, visually inspect it. 

Check that all parts are undamaged and in 
good working order.

j  

Remove all contamination on the ladder 

1

such as wet paint, dirt, oil or snow.

j  

Lock all doors and windows (but not emergency 
exits) in the area around the ladder 

1

 where 

you are going to work.

Q  

How to use


CAUTION! RISK OF CRUSHING!

 Take 

particular care when opening or closing the 
ladder 

1

. Keep your distance from moving 

parts and the safety devices.

Q  

Attaching the stabilisers


ATTENTION! 

Never use the ladder 

1


without the stabilisers attached 

2

.

J  

Use the supplied stabilisers 

2

 only.

j  

Insert the stabilisers 

2

 into the slots 

9

 at the 

ends of the ladder 

1

 (see Fig. D). Ensure that 

the holes 

8

 in the stabiliser and the ladder 

end align with one another.

j  

Guide four bolts 

3

 (included) through the holes 

8

 and secure the connection with one plain 

washers 

4

 and nut on each bolt 

5

 (see Fig. 

D).


ATTENTION! 

Check every time before 

loading the ladder 

1

 that the stabilisers 

2

 are 

correctly attached.

Q  

Operating the hinge system

J  

Before each use, check that all the hinges 

10


are properly engaged. The hinges 

10

 lying 

parallel to one another must always be engaged 
at the same setting.

j  

Unlock the hinges 

10

 by pulling the unlocking 

lever 

11

 backwards (see Fig. E).

j  

Articulate the desired section of the ladder at the 
hinges 

10

. The hinges engage automatically in 

the next position. Unlock the hinges 

10

 again 

if you would like to articulate the ladder further.


ATTENTION!

 The hinges 

10

 engage with an 

audible click. However, you should always check 
that the safety indicator 

12

 shows “engaged” 

(see Fig. G). Do not load the ladder if the safety 
indicator 

12

 shows “unlocked” (see Fig. F).

Q  

Using the working platforms

J  

Do not use the ladder without a working platform 

6

7

 when you are carrying out an activity 

that requires a working platform 

6

7

 (see 

Fig. B). Do not use a working platform 

6

7


for ladder positions that are not designed to have 
working platforms fitted (see Fig. A, C). Failure 
to observe this advice when using the product 
can lead to severe injury and / or damage to 
the product.

J  

Use the supplied working platforms 

6

7

 only.

J  

Use the working platforms 

6

7

 only with the 

antislip profile 

15

 facing upwards (see Fig. I).

j  

Hook the lip 

13

 on the end of the working 

platforms 

6

7

 over the last rung of the 

ladder section and check that the other end of 
the working platform 

6

7

 also rests on a 

rung in a similar manner. The safety hooks 

14


prevent the working platforms 

6

7

 from 

sliding out of position. If necessary press the 
working platform lightly downwards to ensure 
the working platform 

6

7

 rests correctly on 

77270 CB3 manual GB_IE_FI_DK.indd   7

7/6/2012   7:31:48 PM

Summary of Contents for Z30473

Page 1: ...LADDER Assembly operating and safety instructions MULTIFUNKTIONSSTEGE Monterings bruks och s kerhetsanvisningar MONITOIMITIKKAAT Asennus k ytt ja turvallisuusohjeet MULTIFUNKTIONSSTIGE Monterings betj...

Page 2: ...k ytt ja turvallisuusohjeet Sivu 9 SE Monterings bruks och s kerhetsanvisningar Sidan 15 DK Monterings betjenings og sikkerhedshenvisninger Side 21 DE AT CH Montage Bedienungs und Sicherheitshinweise...

Page 3: ...ctions with regard to setting up the ladder Page 5 Safety instructions for using the ladder Page 5 Before use Page 7 How to use Attaching the stabilisers Page 7 Operating the hinge system Page 7 Using...

Page 4: ...king platform 7 Long working platform 8 Holes 9 Slot 10 Hinges 11 Unlocking lever 12 Safety indicator 13 Lip 14 Safety hooks 15 Antislip pro le Q Technical data Dimensions As a standing ladder complet...

Page 5: ...slip J The use of frame attachments is prohibited for this ladder ATTENTION Metal is an electrical conductor Make sure that no part of the ladder is touching a live cable J When positioning the ladder...

Page 6: ...surface Never climb up the ladder sideways and never climb from ladder to ladder Do not use the ladder as a bridge Keep your body centered on the ladder avoiding leaning too far sideways Make sure th...

Page 7: ...engaged The hinges 10 lying parallel to one another must always be engaged at the same setting j Unlock the hinges 10 by pulling the unlocking lever 11 backwards see Fig E j Articulate the desired se...

Page 8: ...shown in Fig J Q Repair maintenance and storage WARNING Have your device repaired only by quali ed specialist personnel using original manufacturer parts only This will ensure that the product remain...

Page 9: ...vallisuusohjeet tikkaiden pystytyksess Sivu 11 Turvallisuusohjeet tikkaiden k yt ss Sivu 11 Ennen k ytt nottoa Sivu 13 K ytt Tikkaan tukijalan asentaminen Sivu 13 Nivelj rjestelm n k ytt Sivu 13 Ty ta...

Page 10: ...akoukku 15 Liukuesto Q Tekniset tiedot Mitat vapaasti seisovina tikkaina t ysin avattuna n 77 x 169 x 117 cm l x k x s telineen n 236 x 90 x 77 cm l x k x s Max kuormitus 150kg Materiaali alumiini ter...

Page 11: ...muovisissa jaloissa ole riitt v sti pitoa ja ne liukuvat J Lis laitteiden k ytt n iss tikkaissa on kielletty HUOMIO Metalli on s hk johtavaa Varmistaudu ettei mik n tikkaiden osa kosketa virtaajohtava...

Page 12: ...Tarkista ennen k ytt ett vapaana seisovat tikkaat on t ysin avattu Tarkista tikkaiden jalat Tikkailla saa olla kerrallaan vain yksi henkil Pystyt tikkaat aina kiinte lle liikkumattomalle alustalle Ti...

Page 13: ...liitos aluslevyll 4 ja mutterilla 5 katso kuva D HUOMIO Tarkista aina ennen jokaista tikkaiden 1 kuormitusta ett tikkaiden tukijalat 2 on asennettu kunnolla paikoilleen Q Nivelj rjestelm n k ytt J Va...

Page 14: ...amalla tavalla Q Korjaus huolto ja varastointi VAROLTUS Anna ainoastaan p tev n alan ammattihenkil n korjata laitteet vain alkuper isi varaosia k ytt en T ll taataan ett laite pysyy k yt ss aina turva...

Page 15: ...rhetsanvisningar f r stegens uppst llning Sidan 17 S kerhetsanvisningar f r stegens anv ndning Sidan 17 F re anv ndning Sidan 19 Anv ndning Montera stegens bottenskenor Sidan 19 Anv nd ledsystemet Sid...

Page 16: ...s 10 Led 11 L sspak 12 Kontrollindikering 13 Br tte 14 S kerhetshake 15 Stegs kring Q Tekniska data M tt Som st ende stege komplett utf lld ca 77 x 169 x 117cm BxHxD Som st llning ca 236 x 90 x 77cm B...

Page 17: ...llera att inte n gon del av stegen kommer i kontakt med str mf rande kablar J Se till att en stege som r utf lld inte utg r en kollisionsrisk t ex med fotg ngare fordon eller d rrar Sp rra om m jligt...

Page 18: ...underlag Det r f rbjudet att kl ttra ner t sidan fr n stegen Anv nd inte stegen som verbryggning Luta dig inte ut ver stegen Se till att golvet r rent Var uppm rksam p risker pga av sp nningsf rande d...

Page 19: ...derna 10 i nskade sektioner Lederna fastnar automatiskt i n sta position L s upp lederna 10 igen om du vill bocka era sektioner i stegen OBSERVERA Lederna 10 fastnar med ett h rbar klick Kontrollera d...

Page 20: ...ring och sk tsel j Reng r stegen efter varje anv ndning j Anv nd l tt fuktad luddfri duk j Anv nd fuktig duk f r stark nedsmutsning och ev milt reng ringsmedel j Anv nd inte fr tande eller aggressiva...

Page 21: ...kerhedshenvisninger for opstilling af stigen Side 23 Sikkerhedshenvisninger for anvendelse af stigen Side 23 Inden anvendelse Side 25 Anvendelse Stigefod monteres Side 25 Betjening af led system Side...

Page 22: ...rik 6 Kort arbejds bund 7 Lang arbejds bund 8 Boringer 9 Slidse 10 Led 11 L se h ndtag 12 Kontrol visning 13 Kant 14 Sikringskrog 15 Tr desikring Q Tekniske speci kationer M l som stige komplet foldet...

Page 23: ...dderne kan mangle h ftning og glide J Det er ikke tilladt at anvende stilladsopsatse til denne stige OBS Metal er en elektrisk leder Det skal sikres at ingen af stigens dele r rer ved et str mf rende...

Page 24: ...l belastning Gennemsyn inden stigen anvendes S rg for at stigen er fuldst ndig bnet inden anvendelse Kontroller stigens f dder Maksimalt antal brugere p stigen Stil stigen altid p et fast ubev geligt...

Page 25: ...s Dem inden hver belastning af stigen 1 at stigef dderne 2 er korrekt monterede Q Betjening af led system J Forvis Dem inden hver brug at alle led 10 har grebet korrekt fat Parallel liggende led 10 sk...

Page 26: ...g ADVARSEL Deres apparater m udelukkende repareres af kvali ceret fagpersonale og udelukkende med originale reservedele P den m de sikres at apparatets sikkerhed holdes vedlige j N r stigen ikke anven...

Page 27: ...icherheitshinweise zum Aufstellen der Leiter Seite 29 Sicherheitshinweise zur Benutzung der Leiter Seite 29 Vor dem Gebrauch Seite 31 Gebrauch Leiterfu montieren Seite 31 Gelenk System bedienen Seite...

Page 28: ...t nicht f r den gewerblichen Einsatz bestimmt Q Teilebeschreibung 1 Leiter 2 Leiterfu 3 Schraube 4 Unterlegscheibe 5 Mutter 6 kurzer Arbeits Boden 7 langer Arbeits Boden 8 Bohrungen 9 Schlitz 10 Gelen...

Page 29: ...uknicken wenn die Gelenke nicht vollst ndig entsperrt sind J Verwenden Sie die Leiter nicht auf rutschigen Ober chen VORSICHT QUETSCHGEFAHR Seien Sie besonders vorsichtig beim Auf und Zusammenklappen...

Page 30: ...Diese Leiter ist kein Spielzeug und nicht zur Verwendung durch Kinder geeignet Stellen Sie sicher dass die Leiter nicht von Kindern benutzt werden kann Lassen Sie die Leiter nicht unbeaufsichtigt wenn...

Page 31: ...er Leiter 1 wie z B nasse Farbe Schmutz l oder Schnee j Verriegeln Sie alle T ren und Fenster jedoch nicht Notausg nge im Arbeitsbereich der Leiter 1 Q Gebrauch VORSICHT QUETSCHGEFAHR Seien Sie besond...

Page 32: ...14 verhindern ein Verrutschen der Arbeits B den 6 7 Dr cken Sie sie gegebenenfalls leicht herunter damit die Arbeits B den 6 7 korrekt auf die Leiter passen J Vergewissern Sie sich dass die Arbeits B...

Page 33: ...aus umweltfreundlichen Materialien die Sie ber die rtlichen Recyclingstellen entsorgen k nnen M glichkeiten zur Entsorgung des ausgedienten Produkts erfahren Sie bei Ihrer Gemeinde oder Stadtverwaltun...

Page 34: ...34 B C A 1 1 2 6 7 3 4 5 1x 2x 1x 1x 4x 4x 4x You need Tarvitset Du beh ver Du skal bruge Sie ben tigen 6 7 77270 CB3 manual GB_IE_FI_DK indd 34 7 6 2012 7 32 00 PM...

Page 35: ...35 F D E G H J I 11 1 3 12 2 2 4 5 1 2 12 6 15 1 5 1 5 1 3 7 1 4 1 0 8 9 3 8 77270 CB3 manual GB_IE_FI_DK indd 35 7 6 2012 7 32 03 PM...

Page 36: ...IAN 77270 OWIM GmbH Co KG Stiftsbergstra e 1 D 74167 Neckarsulm Model No Z30473 Version 09 2012 3 77270 CB3 manual GB_IE_FI_DK indd 36 7 6 2012 7 32 03 PM...

Reviews: