PH4000Ri/E Owner’s Manual
16
5.5. Battery Removal and Replacement
Removal
1.
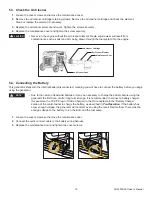
To remove the battery for maintenance or replacement, loosen the cover screws and remove the side maintenance
door.
2.
Unplug the quick connect cable from the wiring harness, remove the battery clamp and lift the battery out.
3.
Replace the maintenance door and tighten the door screws.
Replacement
1.
To replace the battery, loosen the cover screws and remove the side maintenance door.
2.
Connect the quick connect cable to the wiring harness, seat the battery and the battery clamp, then tighten the
screw for the battery clamp.
3.
Replace the maintenance door and tighten the door screws.
5.6. Understanding Your Battery
When the key is turned to the ON position the display illuminates, the ECU turns on, the fuel pump turns on long enough
to bring up the fuel pressure, and the stepper motor is energized for proper throttle position for starting. Because of the
power requirements of these components, the battery in this generator is considered dead at a higher voltage than it
would be in other types of equipment. The battery must have a charge of at least 10V to be able to start the generator.
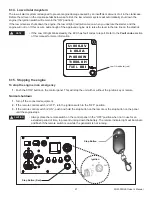
During normal use, the generator engine will be shut off with either the remote fob, the ignition key, or by pressing the
red STOP button on the control panel. This manual provides instructions, notes, and warnings dealing with each of those
methods of stopping the generator. But the engine may shut off for any of the following reasons:
•
The generator may run out of gas.
• An overload condition may occur.
•
The generator may run low on oil.
•
The ECU may shut off the engine due to an error reported by a sensor.
These shutdowns may occur when you are not present. When the generator engine shuts off, there will still be a drain
on the battery due to the display, the ECU, and the stepper motor, as long as the key is in the ON position. Although the
PH4000Ri/E is equipped with a sleep mode that shuts down these components when the generator is not running, the
sleep mode circuit will still be monitoring the generator, and over time this circuit will drain the battery below the 10V
necessary to start the generator. You must turn the key to the OFF position, and turn off the remote switch, to shut off the
electronics completely.
If you are operating the generator through the remote fob and the engine is not running, the remote switch will blink red to
remind you to turn the remote switch off. Whenever the remote switch is on, it is drawing current from the battery. When
the engine is not running, the battery will not be charged to compensate for the load from the remote receiver, and over
time the battery will be drained below the 10V necessary to start the generator. You must turn off the remote switch when
you will not use the remote fob to start the generator.
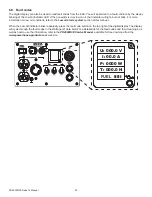
If the generator will not start, check the battery voltage with a voltmeter. You can access the battery through the left
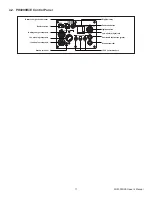
maintenance door, or you can simply check the voltage through the battery charge receptacle on the control panel. This
receptacle is connected directly to the battery, so it can be used without the generator running, or the key in the ON
position, or the remote switch on.
If the battery voltage is below 10V, you must charge the battery by connecting a 12V trickle charger to the battery charge
receptacle on the control panel (“back-charging”), or directly to the battery leads. Allow the battery to charge fully before
attempting to start the generator.

