background image

POWERJET 260 PRO Injector Cleaner & Tester 


3) 

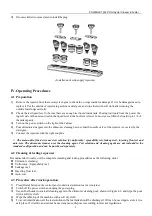
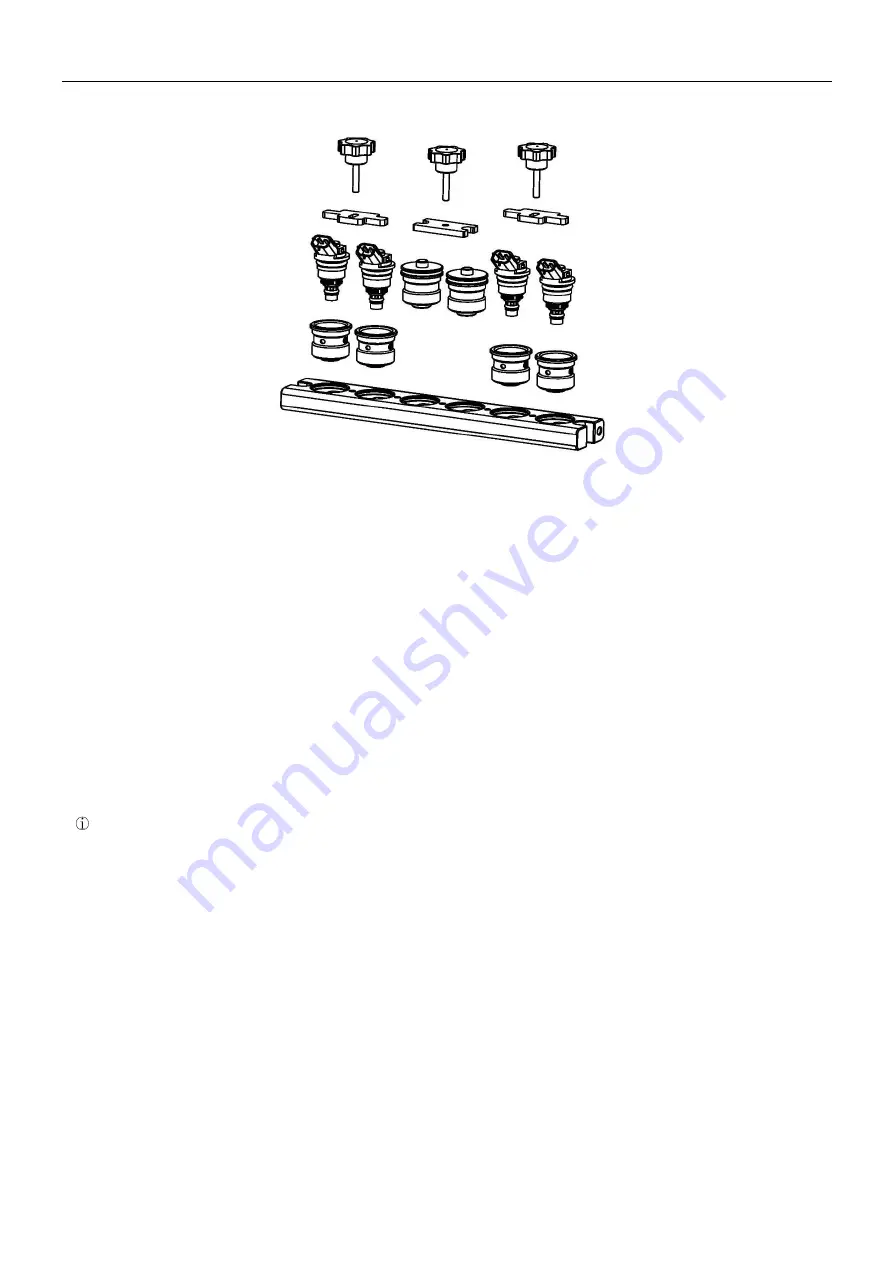
If some cylinder is not used, need to install the plug. 


(Installation of side-supply injectors)


IV.


Operating Procedures 

4.1


Preparation 

1) 

Remove the injector from the motorcycle engine to check the o-rings inside for damage. If it is be damaged need to 
replace it. Put the outside of injector in gasoline or detergent, and wipe them with soft cloth after cleaning the 
outside fuel sludge carefully. 

2) 

Check the test liquid level to be sure there are enough test liquid inside tank. Pouring test liquid from the port at the 
top left side of the unit and watch the liquid level in the fuel level viewer. In most cases, filled the liquid up to 1/2 of 
the tank capacity. 

3) 

Turn on the power switch on the right of the 

Cabinet. 

4) 

Pour ultrasonic detergent into the ultrasonic cleaning basin so that the needle valve of the injector is covered by the 
detergent. 

5) 

Connect the injectors with the right couplers. 


The main unit of the device uses test solution for uniformity / sprayability test, leakage test, injecting flow test and 

auto. test. The ultrasonic cleaner uses the cleaning agent. Test solution and cleaning agent are not included in the 
standard configuration and can be purchased separately. 

4.2


Cleaning & testing sequences 

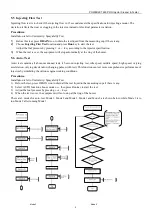
Recommended to carry out the complete cleaning and testing procedures as the following order. 


Ultrasonic cleaning; 


Uniformity / Sprayability test; 


Leakage test; 


Injecting flow test; 


Auto. test. 

4.3


Procedure after work operation 

1) 

Press [Drain] button on the control panel to drain test solution to a fuel container.  

2) 

Switch off the power switch and unplug the power plug. 

3) 

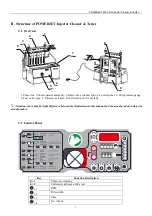
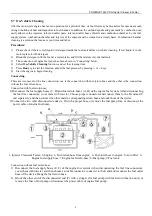
Use an fuel header to suck all cleaning agent in the ultrasonic cleaning pool, shown in Figure 4.2, and wipe the pool 
with a soft dry cloth. 


4) 

Wipe the table top of the machine with a soft dry cloth.


5) 

To avoid volatilization, all the test solution in the fuel tank should be discharged. If it can be used again, store it in a 
safe place. If it is dirty and cannot be used any more, dispose it according to relevant regulations.


Summary of Contents for 260 PRO

Page 1: ...POWERJET 260 PRO Injector Cleaner Tester POWERJET 260 PRO Injector Cleaner Tester...

Page 2: ...anger warning of inflammables should be posted The operator s hair clothes fingers and other parts of the body should be kept away from the operating parts of the equipment To prevent electric shocks...

Page 3: ...CTORS EFI MPI SFI 4 3 2 INSTALLATION OF SIDE SUPPLY INJECTORS 4 IV OPERATING PROCEDURES 5 4 1 PREPARATION 5 4 2 CLEANING TESTING SEQUENCES 5 4 3 PROCEDURE AFTER WORK OPERATION 5 V OPERATION 6 5 1 RESI...

Page 4: ...e device including the buzzer sound level display brightness and backlight brightness Version information to check the software version information of the current device Main Features The special stru...

Page 5: ...uter magnetic field 400A m No naked flame within 2m Specifications Main unit power supply AC220V 10 50Hz 60Hz or AC110V 10 60Hz Input power 230W Ultrasonic cleaner power 100W Resistance test accuracy...

Page 6: ...el 5 Fuel pressure gauge 6 Fuel outlet pipe 7 Ultrasonic cleaner 8 Fuel return port 9 Fuel tank Attention there may be slight difference between the illustrations in this manual and the actual product...

Page 7: ...mount a proper O ring on it Remember to apply a little lubricating fuel on the O ring 2 The adapters for fuel top supply injector are 4 types Thread sealing type here are with coarse thread and fine t...

Page 8: ...he right couplers The main unit of the device uses test solution for uniformity sprayability test leakage test injecting flow test and auto test The ultrasonic cleaner uses the cleaning agent Test sol...

Page 9: ...ltrasonic equipment may be damaged easily 2 It is strictly prohibited to immerse the pulse signal line connector along with the injector into the ultrasonic pool for cleaning Otherwise the pulse signa...

Page 10: ...ix the fuel separator and injector assembly in the fuel filler hole of the upper cover according to the height of injector and tighten the compression screws black on both sides evenly 5 It is recomme...

Page 11: ...cally at the ring of the buzzer 5 6 Auto Test Auto test contains all above mentioned tests 15 second injecting test idle speed middle speed high speed varying acceleration varying deceleration changin...

Page 12: ...here are two cases for the line connection one is the connection with fuel return hose and the other is the connection without the fuel return hose Connection with fuel return hose 1 Disconnect the fu...

Page 13: ...s inflammable Prepare at least one effective fire extinguisher 2 Be sure that all lines are well connected and there is no leakage before performing cleaning VI Transporting and Storing 6 1 Transporti...

Page 14: ...res pressing the DRAIN icon moretimes The solenoid valves will stop automatically after 15 seconds and it is necessary to drain more times if there is more liquid 7 2 Precautions 1 In order to avoid e...

Reviews: