Contents
Important information - read before proceeding
3
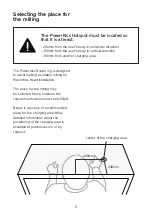
Selecting the place for the milling
5
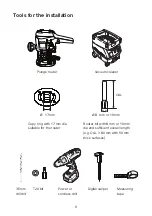
Tools for the installation
6
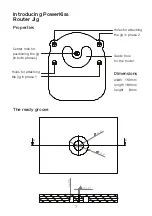
Introducing PowerKiss Router Jig
7
Properties
7
The ready groove
7
Using the PowerKiss Router Jig
8
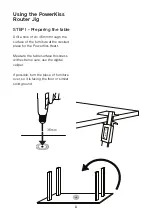
STEP I - Preparing the table
8
STEP II - Attaching the jig
9
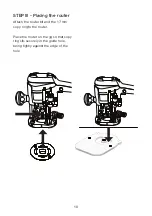
STEP III - Placing the router
10
STEP IV - Setting the plunge depth
11
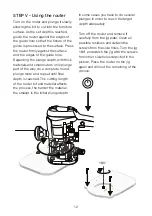
STEP V - Using the router
12
STEP VI - Checking the groove
13
Additional safety instructions
14
Summary of Contents for Jig
Page 1: ...PowerKiss Router Jig ...
Page 2: ...PowerKiss Router Jig User Guide Version 2 0 PowerKiss 2011 ...
Page 16: ......


