background image


www.dumbwaiters.com 

1-800-409-5438


Pag

e


10


From the first floor, open the hoistway door and motor access 
panel / door.  

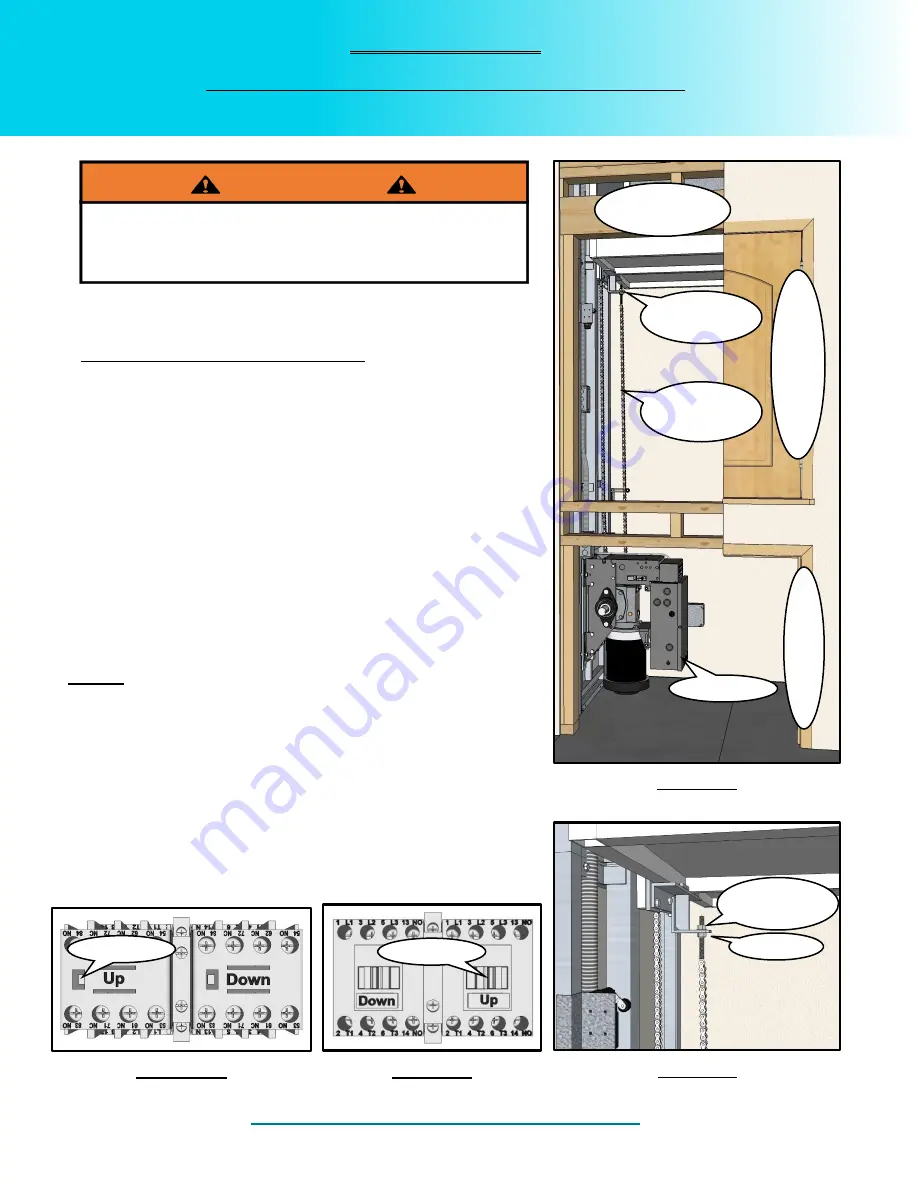
(see Figure 7)


Through the motor access panel / door open the controller and 
use the 

“Up” contactor to move the dumbwaiter car up until the 

bottom of the car is approximately 6 feet above the floor. 

(see Figures 7, 9 & 10) 
(see Page 14 for Contactor Operation)


Disconnect A.C. power from dumbwaiter. 


Verify that both the front and back chains are taught at chest 
height.  

(see Figure 7)

  If there is any slop in the chain 

continue on to the next step.  If the chains are both taught go 
on to 

Step 6


Using two 9/16” wrenches (15/16” for MJ-500 model), back 
lock nut off and then tighten down adjustment nut until chain is 
taught.  Once chain is taught use a blade screwdriver or 
needle nose pliers to hold the chain from twisting and tighten 
lock nut up to adjustment nut securely.  

(see Figure 8)


NOTE: 

Do not overtighten the chain.  If the chain slaps 
during operation of the dumbwaiter, the chain is 
too tight. 


Reconnect A.C. power to the dumbwaiter. 


Close hoistway door and motor access and use the push 
buttons to send the dumbwaiter car to a floor. 

If you have any questions, concerns, or 

problems please do not hesitate to call us. 


Maintenance


Checking & Adjusting Chain Tension 

Motor on the Bottom Models 

MAKE SURE A.C. POWER IS DISCONNECTED FROM 

DUMBWAITER WHILE SERVICING!!  YOU MUST ACCESS THE 

CONTROLLER THROUGH THE MOTOR ACCESS PANEL/DOOR!!  

FAILURE TO DO SO COULD DAMAGE THE DUMBWAITER 

AND/OR CAUSE SERIOUS BODILY INJURY, LOSS OF LIMB, OR 

DEATH!


 WARNING 


Figure 8 

Adjustment 

nut 

Lock nut 

F

ir

s

t f

loo

ho

is

twa

y

 do

or


Mo

tor 

ac

c

es

s


Adjustment 

nut 

Dumbwaiter 

Car 

#4

  Check 

chains here 

Figure 7 

Controller 

Figure 10 

Dynamic Brake Contactor 

Press here 

Figure 9 

Standard Contactor 

Press here 

Summary of Contents for MJ-500

Page 1: ...injury or death 2018 08 08 12 07 17 www dumbwaiters com All persons who use this dumbwaiter bear the responsibility for the proper and safe use of this product Misuse deliberate or otherwise voids al...

Page 2: ...www dumbwaiters com 1 800 409 5438 Page 2...

Page 3: ...t hesitate to contact us on our toll free number in the USA or 1 530 333 1953 for international customers We offer free technical support for your dumbwaiter and our staff will be happy to help you Th...

Page 4: ...sting Chain Tension motor on the top Lubricating Brake Solenoid P 100 P 200 Lubricating Brake Solenoid P 300 MJ 500 Troubleshooting Wiring Diagram 2 stop single phase Wiring Diagram 2 stop three phase...

Page 5: ...fire is present 8 DO NOT REMOVE BYPASS OR ALTER any switches controls and or restraining devices These are mandated by national and local codes and safety regulations Any tampering will void your warr...

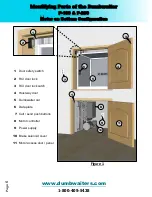
Page 6: ...door lock catch 4 Hoistway door 5 Dumbwaiter car 6 Data plate 7 Call send push buttons 8 Motor controller 9 Power supply 10 Brake solenoid cover 11 Motor access door panel Identifying Parts of the Dum...

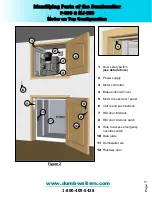
Page 7: ...solenoid cover 5 Motor access door panel 6 Call send push buttons 7 RDI door interlock 8 RDI door interlock catch 9 Hole to access emergency override switch 10 Data plate 11 Dumbwaiter car 12 Hoistwa...

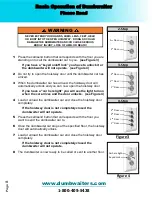
Page 8: ...pletely closed the dumbwaiter will not operate 5 Press the call send button that corresponds with the floor you want to send the dumbwaiter car to 6 Once the dumbwaiter car stops at the specified floo...

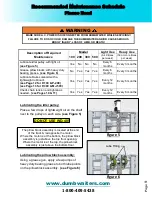
Page 9: ...hs Lubricating the idler pulley Place a few drops of lightweight oil on the shaft next to the pulley on each side see Figure 5 Lubricating the pillow block assembly Using a grease gun apply a few pump...

Page 10: ...se pliers to hold the chain from twisting and tighten lock nut up to adjustment nut securely see Figure 8 NOTE Do not overtighten the chain If the chain slaps during operation of the dumbwaiter the ch...

Page 11: ...U OLQN SODWH DQG SLQ DVVHPEO 3XVK WKH PDVWHU OLQN SODWH DQG SLQ DVVHPEO WKURXJK ERWK HQGV RI WKH UROOHU FKDLQ QVWDOO WKH PDVWHU OLQN SODWH DQG SLQ DVVHPEO VR WKH JURRYHG HQGV RI WKH SLQV IDFH RXWZDUG...

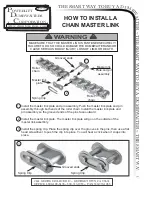
Page 12: ...master link plate and pin assembly through both ends of the roller chain Install the master link plate and pin assembly so the grooved ends of the pins face outward Install the master link plate The m...

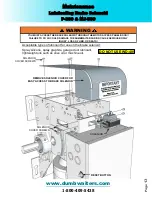
Page 13: ...ar down until the top of the car is lined up with the bottom of the top hoistway door see Figures 10 11 13 6 Using two 9 16 wrenches 15 16 for MJ 500 model back lock nut off and then tighten down adju...

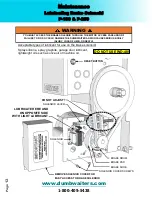
Page 14: ...BRICATE HERE AND ON OPPOSITE SIDE WITH LIGHT LUBRICANT BRAKE DRUM BRAKE PAD BRAKE SHOE SOLENOID COVER SCREWS SOLENOID REMOVE SOLENOID COVER FOR EASY ACCESS TO BRAKE SOLENOID Maintenance Lubricating Br...

Page 15: ...e Lubricating Brake Solenoid P 300 MJ 500 YOU MUST ACCESS THE BRAKE SOLENOID THROUGH THE MOTOR ACCESS PANEL DOOR FAILURE TO DO SO COULD DAMAGE THE DUMBWAITER AND OR CAUSE SERIOUS BODILY INJURY LOSS OF...

Page 16: ...ng dumbwaiter car A Verify all doors are closed and dumbwaiter car is not lower than the bottom floor opening or higher than the top floor opening I If dumbwaiter car is not vertically out of alignmen...

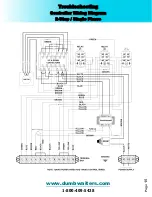
Page 17: ...www dumbwaiters com 1 800 409 5438 Page 15 Troubleshooting Controller Wiring Diagram 2 Stop Single Phase...

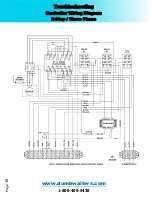
Page 18: ...www dumbwaiters com 1 800 409 5438 Page 16 Troubleshooting Controller Wiring Diagram 2 Stop Three Phase...

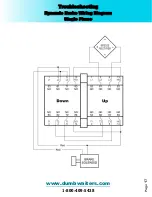
Page 19: ...www dumbwaiters com 1 800 409 5438 Page 17 Troubleshooting Dynamic Brake Wiring Diagram Single Phase...

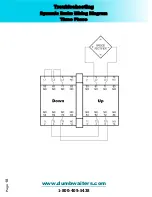
Page 20: ...www dumbwaiters com 1 800 409 5438 Page 18 Troubleshooting Dynamic Brake Wiring Diagram Three Phase...

Page 21: ...www dumbwaiters com 1 800 409 5438 Page 19 Troubleshooting Controller Wiring Diagram 3 Stop Single Phase...

Page 22: ...www dumbwaiters com 1 800 409 5438 Page 20 Troubleshooting Controller Wiring Diagram 3 Stop Three Phase...

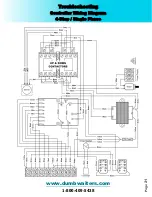
Page 23: ...www dumbwaiters com 1 800 409 5438 Page 21 Troubleshooting Controller Wiring Diagram 4 Stop Single Phase...

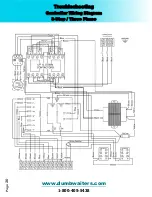
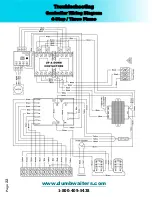
Page 24: ...www dumbwaiters com 1 800 409 5438 Page 22 Troubleshooting Controller Wiring Diagram 4 Stop Three Phase...

Page 25: ...www dumbwaiters com 1 800 409 5438 Page 23 From all of us at Powerlift Dumbwaiters Inc Thank you for your business May God bless you and your family...

Reviews: