background image

ENG - 16

Questions? Call Toll Free at 1-800-737-2112


Copyright © 2018 MAT Engine Technologies, LLC

Maintenance 

• Save all instructions 

Maintenance Schedule

A

WARNING

Before performing any maintenance, turn engine off and remove the wire from the spark plug to prevent accidental starting 

and serious injury .

IMPORTANT:


The warranty on this tiller does not cover items that have been subjected to operator abuse or negligence. To receive 

full value from the warranty, the operator must maintain the tiller as instructed in this manual, and only use genuine replacement 

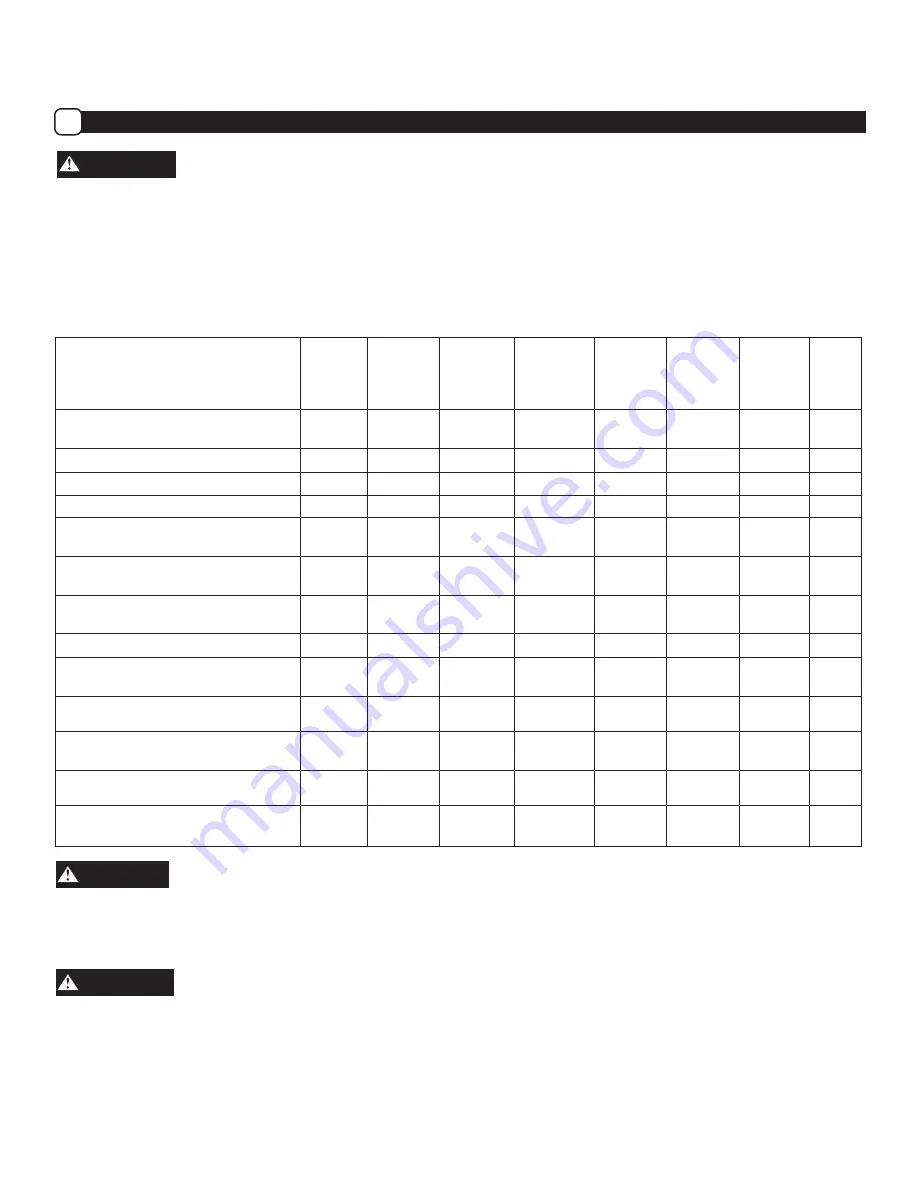
parts. The following table lists required periodic maintenance. 

PERIODIC MAINTENANCE SCHEDULE TABLE

CAUTION

   IMPORTANT NOTES about Maintenance schedule 

1 . Re-check tightness of all fasteners after first 2 hours of initial use

2 . Change engine oil after first 5-8 hours of initial use

3 . Change oil every 25 hours

4 . Clean air filter every 10 hours if operating under dusty conditions .

WARNING

Use only GENUINE replacement parts .  Other parts may damage the unit or result in injury .

Service Records-   

Fill in dates as you complete regular 

service

Before 

Each Use

After 

Every 

10 Hours 

of Use

After  

Every 

25 Hours


of 

Use

After Every 

50 Hours of 

Use

After 

Every 

100 Hour 

of Use

Before 

Each   

Season

Before 

Storage

See 

Note 

Below

Check Engine Oil Level,

Fill to Proper Level

Clean Debris From Unit

Lubricate All Pivot Points

Check Fasteners for Tightness

1

Check Drive Belts 

Replace if Necessary

Check Tines for Wear or Damage 

Replace if Necessary

Check Fuel Line 

Replace if Necessary

Lubricate Wheel Axles

Check Spark Plug 

Replace if Necessary

Change Engine Oil

2,3

Clean Air Filter 

Replace if Necessary

4

Replace Spark Plug

Clean Combustion Deposits from 

Cylinder, Piston, and Valves

Summary of Contents for PFTT142.1

Page 1: ... to the website for electronic manual and parts book www powermateoutdoor com IMPORTANT Thank you for purchasing this Powermate Tiller This manual provides complete instructions for safely operating and maintaining your Tiller Read and save these instructions Refer to this manual each time before using your Tiller CONTAINS LEAD May be harmful if eaten or chewed May generate dust containing lead Wa...

Page 2: ... To reduce risk of fire clean spilled gas and oil and keep unit free from debris Gasoline is extremely flammable Allow machine to cool before refueling Control and Operating Symbols The following symbols are used on the product and in this manual to alert the operator of potential safety hazards Read them carefully and understand their meaning Safety Alert Symbols Safety Warning Symbols The follow...

Page 3: ...oroughly familiar with the controls and the proper use of the tiller before starting Know how to stop the engine quickly Familiarize yourself with all the safety and operating decals on this equipment Thoroughly inspect the area where the tiller is to be used and remove all foreign objects Your equipment can propel small objects at high speed causing personal injury or property damage Stay away fr...

Page 4: ...e leaving the tiller in operating position Wait until the tines come to a complete stop before removing debris or making any adjustments to the tiller Do not attempt to till hard soil till too deep or till at too fast a rate that can overload the tiller If the tiller should start to vibrate abnormally stop the engine disconnect the spark plug wire and prevent it from touching the spark plug Check ...

Page 5: ...machine over or up unless specifically instructed to do so in this manual Service and repair procedures can be done with the tiller in an upright position Some procedures will be easier if the machine is lifted on a raised platform or working surface Use only original equipment or authorized replacement parts Never tamper with safety devices Check their proper operation regularly Do not change the...

Page 6: ... US oz 450 ml Engine Type OHV 4 stroke 1 Tines 2 Swing Plate 3 Wheels 4 Muffler 5 Air Filter 6 Recoil Starter Handle 7 Spark Plug Spark Plug Wire 8 Drag Bar 9 Primer Bulb 10 Fuel Tank Cap 11 Oil Dipstick 12 Clutch Lever 13 Tine Shield 14 Outside Tine Shield 15 Wheel Height Adjust Link Engine Displacement 150cc Engine Speed 3400 rpm Torque Rating 5 75 ft lbs gross torque per SAE J1940 Intake Valve ...

Page 7: ...ormal tilling operations Please review these labels now If you have any questions regarding their meaning or how to comply with these instructions reread the complete safety instruction text on the preceding pages or contact your local dealer Should any of the safety labels become unreadable be cause of being worn faded or otherwise damaged during the use of your tiller please contact your local a...

Page 8: ... unit remove the wire from the spark plug WARNING Always wear ANSI compliant safety glasses with side shields while assembling the tiller The following components will be found in the carton Quantities shown in 1 1 Tiller 2 1 Upper Handle Assembly 3 1 Lower Handle 4 4 Tines 5 1 Wheel Assembly 6 1 Drag bar 7 2 Outside Tine Shields 8 1 Tiller Operator s Manual 9 1 Engine Manual 10 1 Bottle of Engine...

Page 9: ...side tines Install Lynch pins so the direction of the pin is from front to back and the wire loop pivots over the top of the axle Secure by expanding the wire loop so it extends over and captures the end of the pin Fig 3 Install the drag bar 1 Insert the drag bar into the bottom of the wheel bracket assembly See Figure 4 2 Insert the pin through the bracket and the middle hole of drag bar and secu...

Page 10: ...ne cable tie secure the control cable to the handle as shown Install the outside tine shields See Figure 8 1 Each outside tine shield can be installed on either side of the main tine shield 2 Place the outside tine shield underneath the main tine shield and align the holes 3 Secure each outside tine shield to the main tine shield with 3 M6 x 16 bolts washers and lock nuts Install the rope guide Se...

Page 11: ...ace the tiller on a level surface and make sure the drag bar is set See Figure 10 2 Remove the oil fill cap dipstick and wipe with clean cloth 3 Insert dipstick into fill spout but do NOT screw in Remove dipstick and check oil level 4 When oil level is full the oil will be at upper limit on dip stick If oil level is near or below the lower limit oil must be added See Figure 11 5 Add oil slowly unt...

Page 12: ...xcessive debris from muffler area and recoil starter 10 Remove any debris from tines and tine shafts 11 Move the tiller to the area of operation 12 Check position of wheels swing plate should be in the tilling mode position 13 Check drag bar position Start the Engine B 1 Press ON OFF switch to ON position See Figure 12 2 Push primer bulb 3 times Wait 2 seconds between each push 3 Place left hand o...

Page 13: ...the clutch lever and press ON OFF switch to OFF position To stop tines at any time release clutch lever Transport Mode and Tilling Mode F Transport mode Fold the wheel under the engine for convenient transport When transporting the unit rotate the wheel assembly forward under the engine and move by pulling the unit rearward This will keep the transport wheels locked into position Fig 15 NOTE The d...

Page 14: ... testing tiller operation after each adjustment Lowering drag bar down too low can result in loss of control of tiller 2 Use the upper hole in the adjustable wheel link for shallow to medium tilling depths Use the lower hole in the adjustable links for deep tilling 3 Pulling the clutch lever to the handle will engage the tines WARNING Temperature of muffler and nearby areas may exceed 150 F Avoid ...

Page 15: ...lably lower the drag stake by placing the pin in a higher hole This will allow for shallower tilling Hold firmly to the handlebars to control sudden lurches If weeds tall grasses vines or other materials clog or jam the tines reverse the tiller to unwind vegetation Cultivating Tips K If you plan to use your tiller for cultivating Plant rows on 20 22 centers for ease of turning Set the drag bar wit...

Page 16: ...rs of initial use 2 Change engine oil after first 5 8 hours of initial use 3 Change oil every 25 hours 4 Clean air filter every 10 hours if operating under dusty conditions WARNING Use only GENUINE replacement parts Other parts may damage the unit or result in injury Service Records Fill in dates as you complete regular service Before Each Use After Every 10 Hours of Use After Every 25 Hours of Us...

Page 17: ...he engine and engine plate as an assembly Slide the belt free of the engine pulley Remove the belt from the front pulley Install new belt Place belt around transmission pulley in groove Place belt onto engine pulley in groove Place backside of belt around idler pulley and belt guides Reinstall and tighten four engine plate bolts Slowly pull engine rope and observe belt movement to verify correct r...

Page 18: ... How to Change the Oil 3 Remove the spark plug from the cylinder Pour one ounce 1 oz liq US 30 ml of oil into the cylinder Slowly pull the recoil start handle so that the oil will protect the cylinder Install a new spark plug in the cylinder Pull starter handle slowly a few times to Maintenance Continued Save all instructions You may have further questions about assembling operating or maintaining...

Page 19: ... out of adjustment 1 Add engine oil 2 Check engine oil Add or drain engine oil if necessary 3 Remove spark plug Inspect Replace if necessary 4 Remove and clean air filter 5 Drain fuel tank Clean fuel tank Fill with fresh fuel 6 Take unit to an authorized service center for Carburetor adjustment Excessive vibration noise 1 Loose parts 2 Engine problems above 1 Tighten all fasteners 2 Refer to engin...

Page 20: ...vel handling transportation and incidental costs associated with warranty repairs are not reimbursable under this warranty and are the responsibility of the owner To the full extent allowed by the law of the jurisdiction that governs the sale of the product this express warranty excludes any and all other expressed warranties and limits the duration of any and all implied warranties including warr...

Reviews: