9
NOTE: There is a limit switch at both ends of the
upper roller. If the sanding belt comes in contact
with these limit switches, the brakes will be
activated.
FEED BELT TRACKING & TENSION
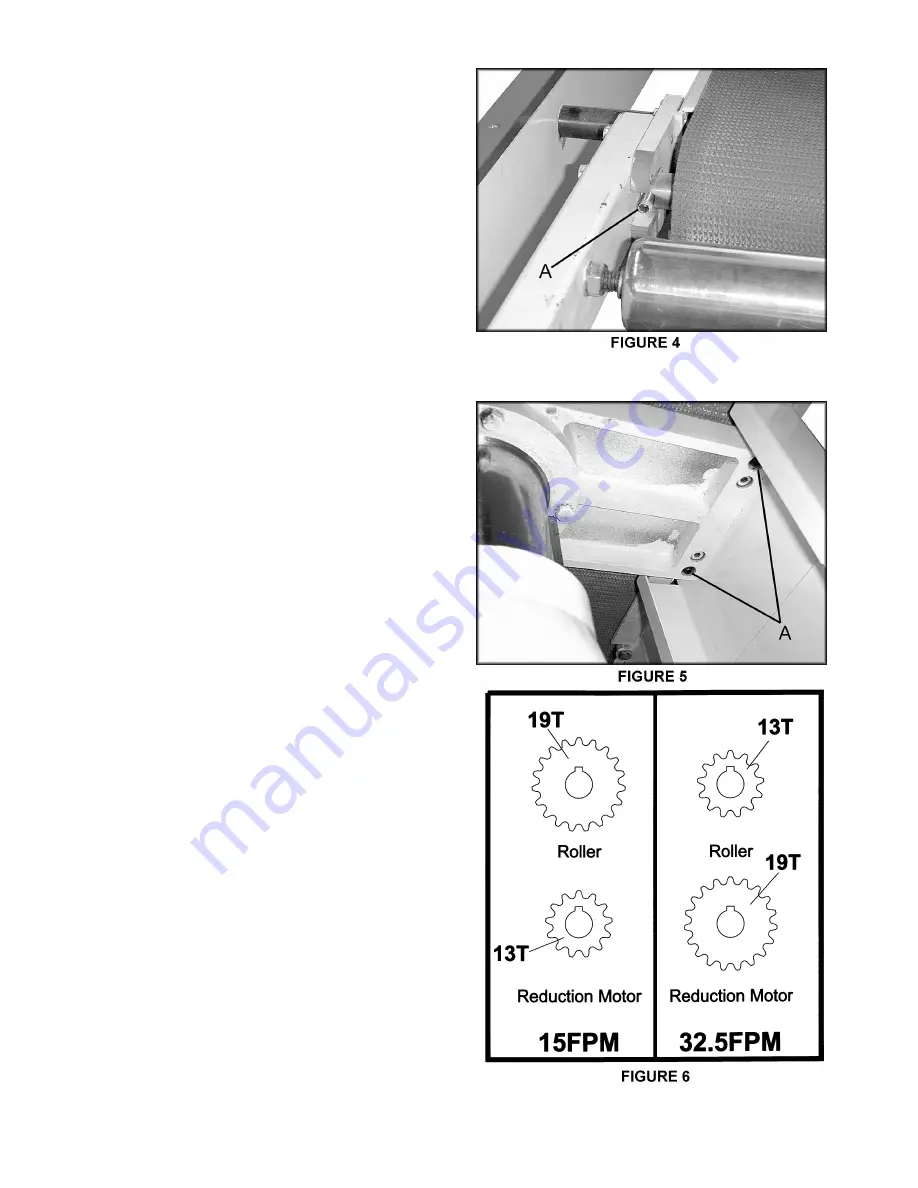
Tracking and tension for the feed belt is controlled
by two socket set screws on each side of the belt (A)
as shown in Figure 4.
ADJUSTING TABLE PARALLEL TO
SANDING SURFACE
The table comes pre-adjusted from the factory.
Check its parallelism by running a 16" wide piece of
plywood through the sander. Use a pair of calipers
to measure the thickness remaining on both sides.
Adjust the parallelism using the four hex. screws
(A), under the table base. See Figure 5.
FEED SPEED ADJUSTMENT
The Model 1632 has two speeds that feed the
workpiece at 15 feet per minute (FPM) finished
surface sanding, and 32.5 FPM for faster, lighter
sanding.
To change the feed rate:
1.
Disconnect machine from power source.
2. Remove cap screw that holds the sprocket
cover at the right rear of the working table.
3. Loosen the four set screws holding the
sprockets in place.
4.
Remove the sprockets and chain together and
position according to the required operation.
See Figure 6.
5. Retighten the four set screws, then replace
cover and cap screw.
Summary of Contents for 1632
Page 15: ...15 Electricity Control Upper Adj Roller 1632 Sander ...
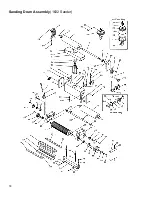
Page 18: ...18 Sanding Drum Assembly 1632 Sander ...
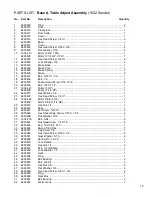
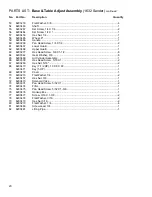
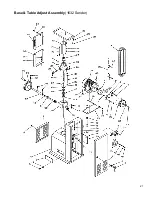
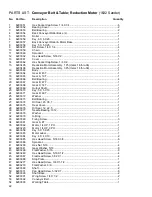
Page 21: ...21 Base Table Adjust Assembly 1632 Sander ...
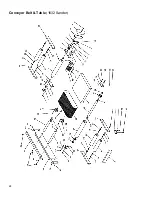
Page 24: ...24 Conveyor Belt Table 1632 Sander ...
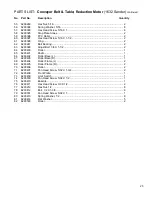
Page 25: ...25 Reduction Motor 1632 Sander ...
Page 26: ...26 ELECTRICAL SCHEMATIC 1632 Sander 460V 3 Phase ...
Page 27: ...27 ELECTRICAL SCHEMATIC 1632 Sander 230V 1 Phase 3 Phase ...


