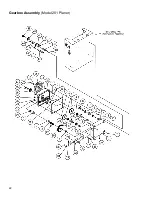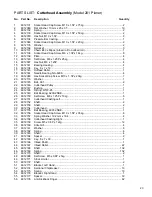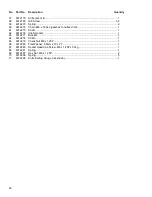
16
CHATTER:
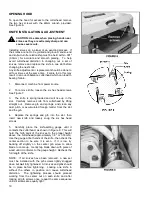
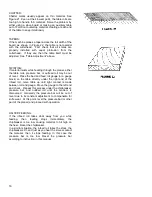
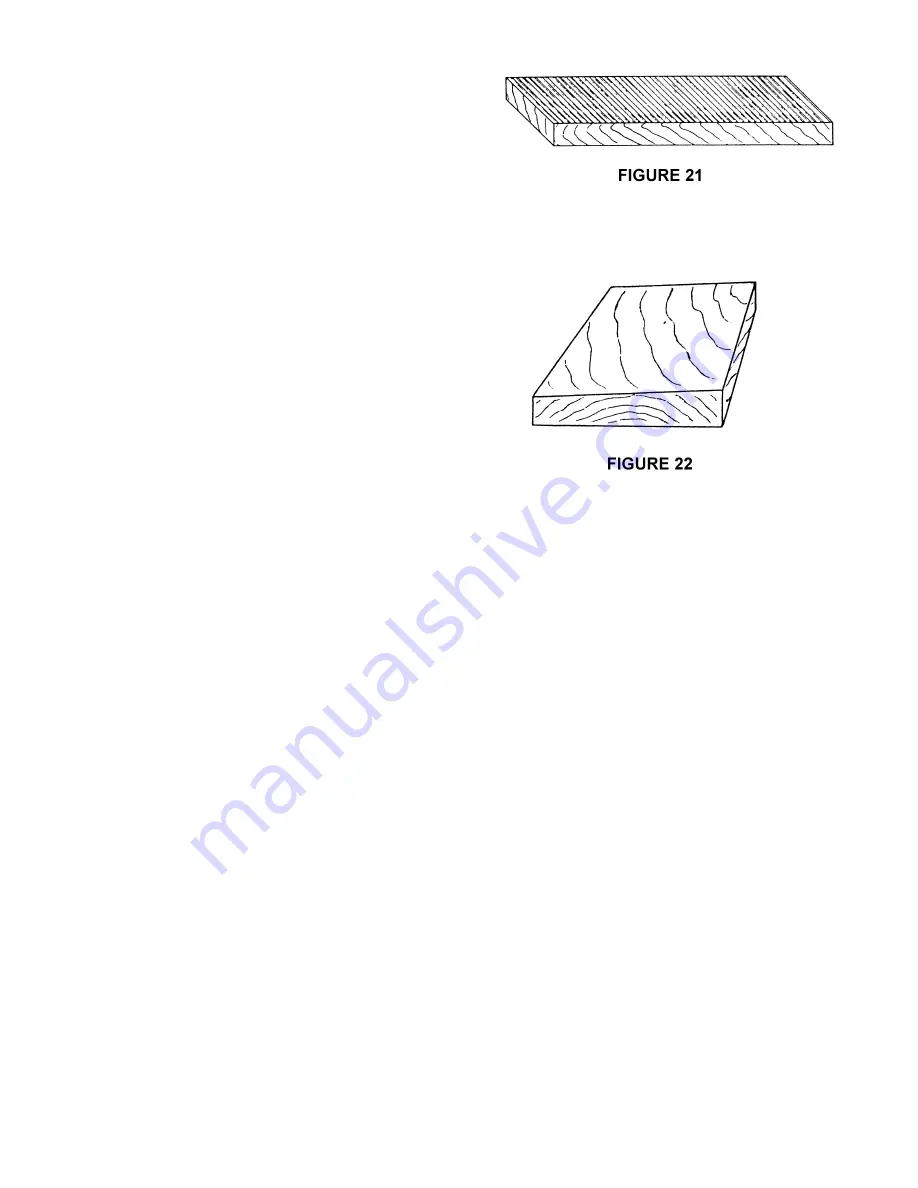
Chatter marks usually appear on thin material. See
Figure 21. Even at their lowest point, the table rolls are
too high to handle thin material. Solve the problem by
either using a slave board or making an auxiliary table
out of Formica countertop material, cleating at each end
of the table to keep it stationary.
TAPERS:
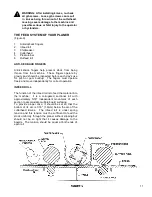
If the machine planes a taper across the full width of the
board, as shown in Figure 22, the table is not parallel
with the cutterhead. First check that all knives are
properly installed with equal protrusion from the
cutterhead. If they are, then the table itself must be
adjusted. See “Table Adjustment” above.
TWISTING:
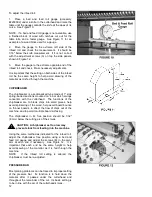
If material twists while feeding through the planer, either
the table rolls, pressure bar, or outfeed roll may be out
of level. Place the bed and feed roll gauge (or a gauge
block) on the table directly under the right end of the
infeed roll, move table up until light contact is made
between roll and gauge. Move the gauge to the left end
and check. Repeat this process under the chipbreaker,
pressure bar, and outfeed roll until the problem is
discovered. Generally the pressure bar will be out of
level due to its constant adjustment to compensate for
knife wear. At this point, level the pressure bar (or other
part of the planer) and proceed with operation.
HALTED FEEDING:
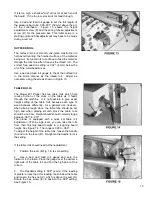
If the infeed roll takes stock away from you while
feeding, then feeding stops immediately, the
chipbreaker is too low, causing material to hit high on
the heel. Reset the chipbreaker.
In a similar situation, the infeed roll takes the stock, the
chipbreakers lift, and just as you hear the knives contact
the material, then it stops feeding. In this case the
pressure bar is too low. Reset the pressure bar
according to instruction in this manual.
Summary of Contents for 201
Page 1: ...22 PLANER Model 201 Instruction Manual Parts List M 0460224 800 274 6848 www powermatic com ...
Page 22: ...22 Gearbox Assembly Model 201 Planer ...
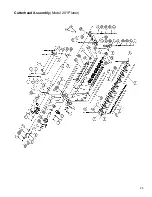
Page 25: ...25 Cutterhead Assembly Model 201 Planer ...
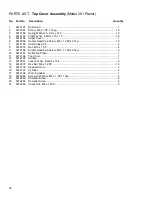
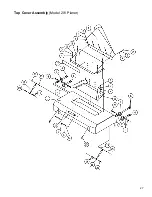
Page 27: ...27 Top Cover Assembly Model 201 Planer ...
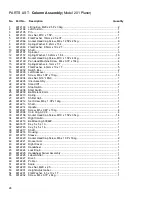
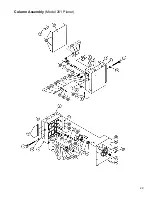
Page 29: ...29 Column Assembly Model 201 Planer ...
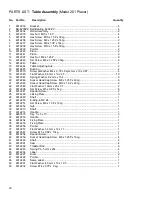
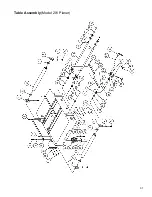
Page 31: ...31 Table Assembly Model 201 Planer ...
Page 34: ...34 Base Assembly Model 201 Planer ...
Page 35: ...35 ELECTRICAL SCHEMATIC Model 201 Planer 7 5HP 1Ph 230V ...
Page 36: ...36 ELECTRICAL SCHEMATIC Model 201 Planer 7 5HP 3Ph 230V ...
Page 37: ...37 ELECTRICAL SCHEMATIC Model 201 Planer 7 5HP 3Ph 460V ...
Page 38: ...38 ...

