13
Adjustments
Table Movement
To raise or lower the table:
Loosen the column locking handle (shown in
Figure 5). Turn large handle to raise or lower the
table along the column rack. Re-tighten the
column locking handle before attempting to drill.
To swing table around the column:
When drilling into a long workpiece, swing the
table out of the way and use the drill press base
as your table. Slots in the base can be used to
mount work holding devices.
1. Loosen the column locking handle (shown in
Figure 5).
2. Swing table to desired position. If the rack
tends to bind, you will need to nudge the top
or bottom end of the rack around the column
while swinging the table.
3. Tighten the column locking handle.
To tilt table:
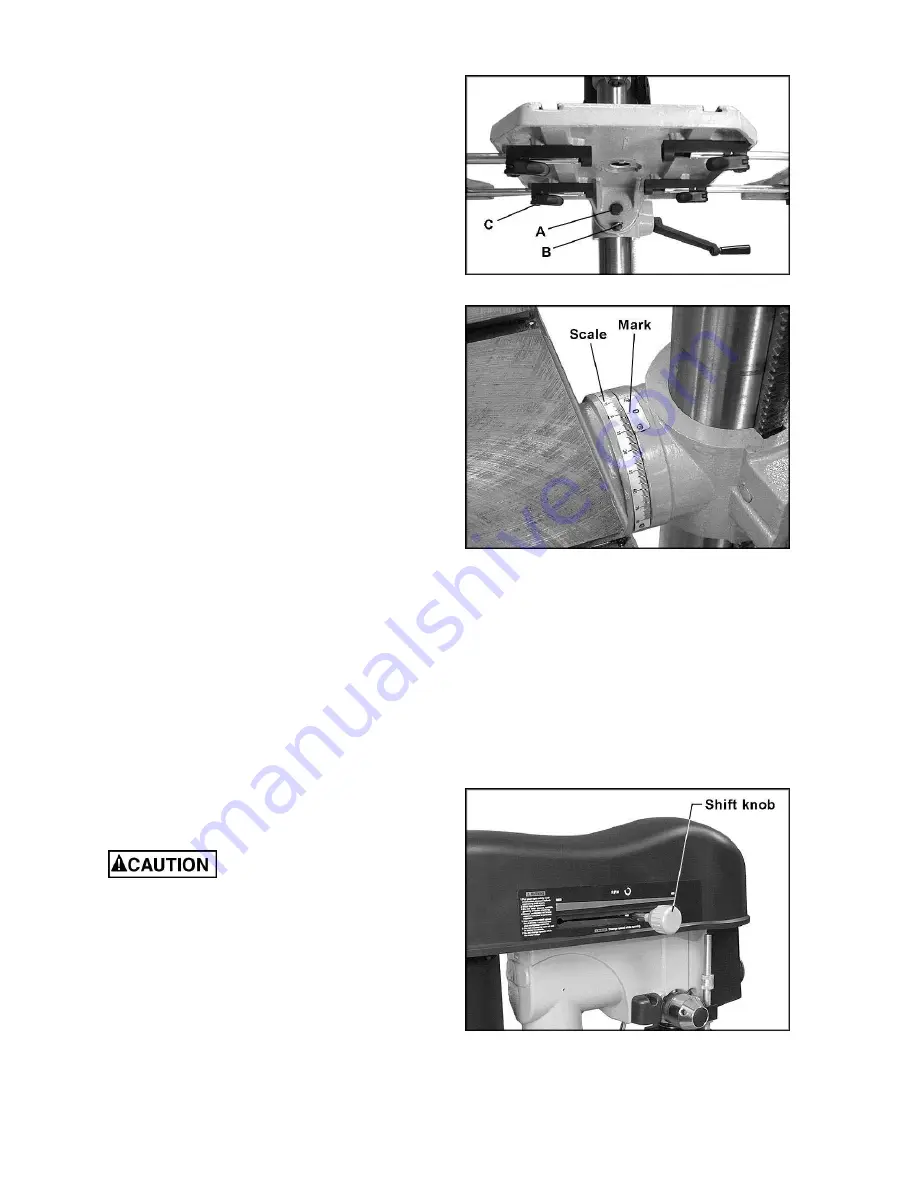
Referring to Figures 16 and 17:
1. To tilt the table, loosen the bolt (A) slightly
and pull out on the indicator pin (B). The
indicator pin will engage at 0, 45 and 90
degree positions of the table.
2. Pivot the table to desired angle by aligning
the scale (in degrees) on the table to the
line on the table bracket (Figure 17).
3. Re-tighten bolt (A, Figure 16).
Table Extensions
Loosen the handles (C, Figure 16) and slide the
extensions outward, then re-tighten the handles.
Changing Spindle Speeds
Change speeds only while
the drill press is running.
With the drill press running, rotate the shift knob
(Figure 18) slightly counterclockwise to loosen it,
then push the handle left or right until the
desired speed is displayed on the LED readout
at the front of the head. Tighten the shift knob
clockwise to secure the setting.
Figure 16
Figure 17
Figure 18
Summary of Contents for 2800
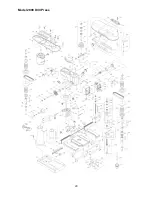
Page 20: ...20 Model 2800 Drill Press ...
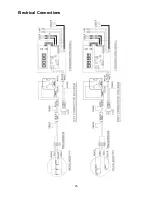
Page 25: ...25 Electrical Connections ...
Page 26: ...26 Electrical Connections ...
Page 27: ...27 ...


