15
Do not assume that no light means there is no
power to the machine.
If the bulb is bad, there
will be no indication. Always check before use.
Do not rely that no light
means no power to the machine. Always
check for power first. Failure to comply may
cause serious injury!
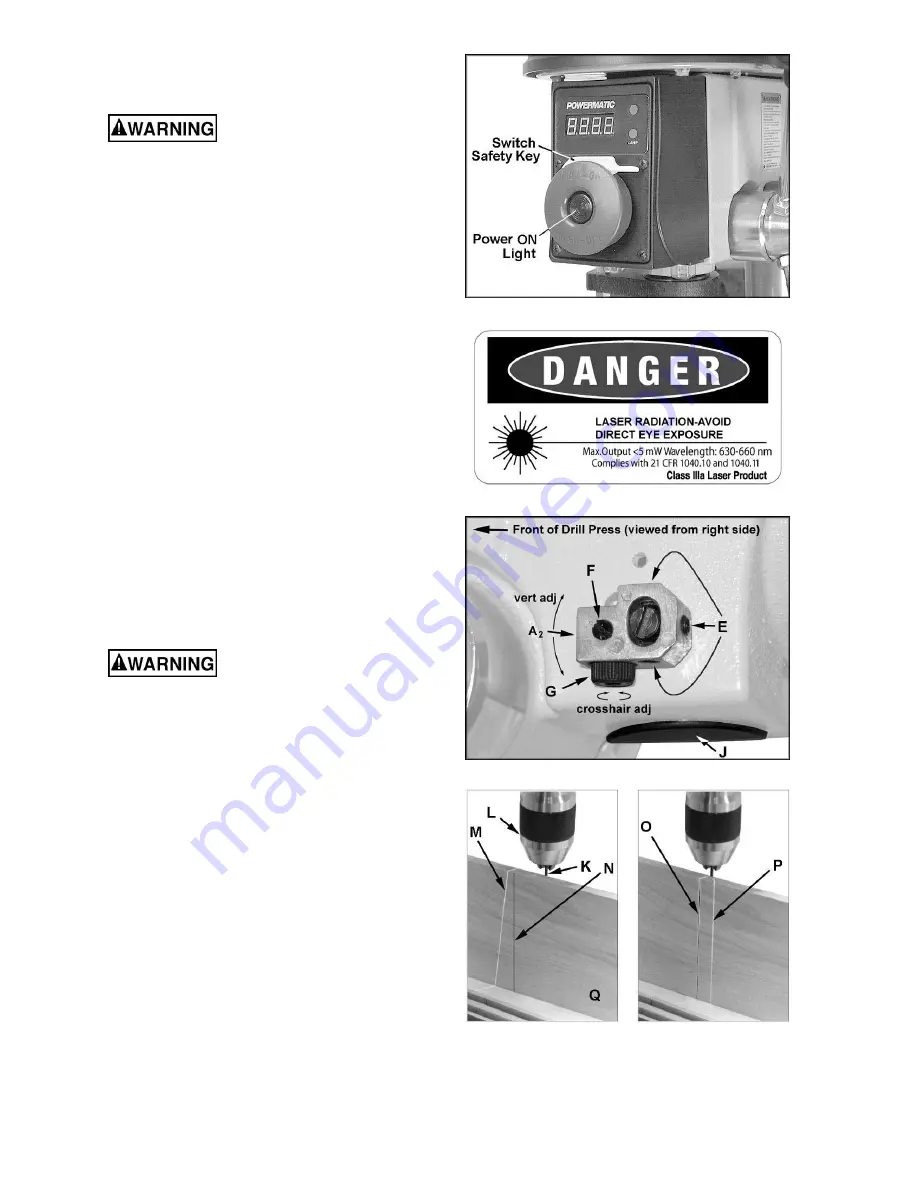
Referring to Figure 21:
Start
– Press the green start switch.
When power is connected to the machine, the
green light is always on regardless of whether
the Drill Press is running or not.
Stop
– Press the red switch to stop.
Reset
– In the event that the Drill Press stops
without pressing the stop button, as the result of
a tripped fuse or circuit breaker, etc.:
1. Press red button to reset main switch.
2. Press the green button to restart the
machine.
Safety
- The switch has a safety feature that
prevents unauthorized or accidental starting of
the drill press. With the switch in the "off"
position, slide out the switch safety key (Figure
21). This piece must be re-inserted before the
drill press can operate.
Laser Adjustment
(Figures 22 through 25)
Do not look directly into the
laser beam or view it directly with optical
instruments. See Figure 22.
The Laser Assembly has been installed and pre-
set at the factory. It should, however, be
checked and any adjustments made before
operating the drill press. It should also be re-
checked periodically, as constant machine
vibration may cause it to become misaligned.
1. Remove the
guards
(item 184, page 20) to
access the laser assemblies.
2. Take a length of
board
(Q) and draw a
perpendicular line (N) on one side using a
square.
3. Place a small
drill bit
(K) in the
chuck
(L),
then place the board (Q) on the table on
edge against the drill bit with the marked-
line side toward the back of the drill press.
Important
: The table should be in horizontal
position and locked.
Verify that the line
(N,
Figure 24)
is perpendicular to the table.
Figure 21
Figure 22
Figure 23
Figure 24
Summary of Contents for 2800
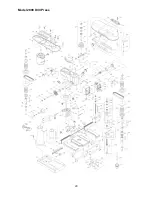
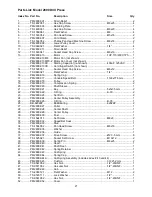
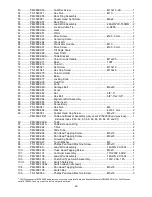
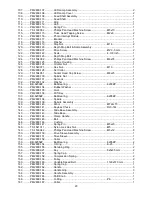
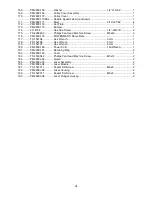
Page 20: ...20 Model 2800 Drill Press ...
Page 25: ...25 Electrical Connections ...
Page 26: ...26 Electrical Connections ...
Page 27: ...27 ...


