11
2.
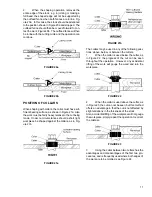
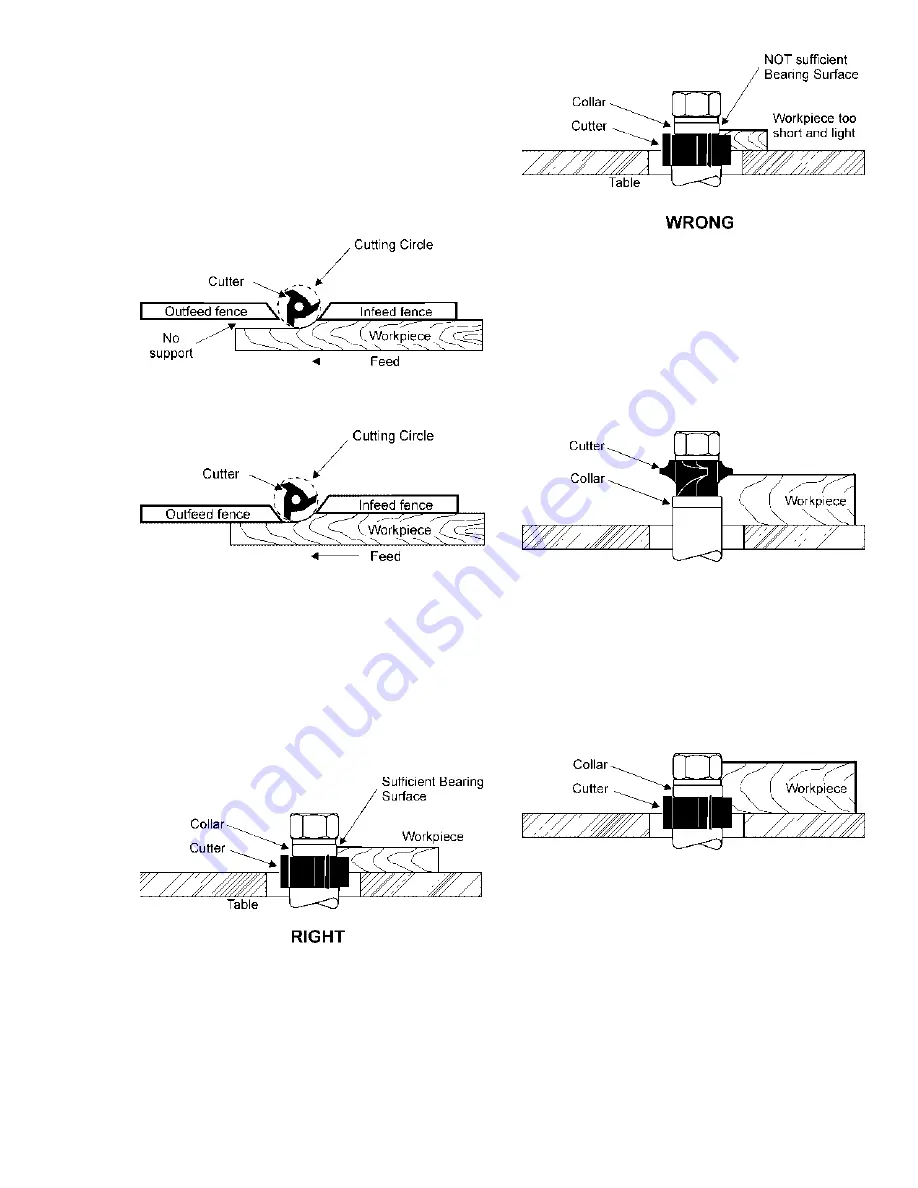
When the shaping operation removes the
entire edge of the stock, e.g. in jointing or making a
full bead, the shaped edge will not be supported by
the outfeed fence when both fences are in line, Fig-
ure 20a. In this case, the stock should be advanced
to the position shown in Figure 20a and stopped. The
outfeed fence should then be moved forward to con-
tact the work, Figure 20b. The outfeed fence will then
be in line with the cutting circle and the operation can
continue.
FIGURE 20a
FIGURE 20b
POSITION OF COLLARS
When shaping with collars, the collar must have suf-
ficient bearing surface, as shown in Figure 21a. Also
the work must be fairly heavy relative to the cut being
made. Under no circumstances should a short, light
workpiece be shaped against the collars, as in Fig-
ure 21b.
FIGURE 21a
FIGURE 21b
The collars may be used in any of the following posi-
tions: above, below, or between the cutters.
1.
When the collar is used below the cutter, as
in Figure 22, the progress of the cut can be seen
throughout the operation. However, any accidental
lifting of the work will gouge the wood and ruin the
workpiece.
FIGURE 22
2.
When the collar is used above the cutter, as
in Figure 23, the cut can not be seen; but this method
offers an advantage in that the cut is not affected by
slight variations in the thickness of the stock.
Also, accidental lifting of the workpiece will not gouge
the workpiece; simply repeat the operation to correct
the mistake.
FIGURE 23
3.
Using the collar between two cutters has the
advantages and disadvantages of the first two pro-
cedures, and is frequently used where both edges of
the work are to be molded; see Figure 24.
Summary of Contents for 29
Page 1: ...Instruction Manual Parts List M 0460218 800 274 6848 www powermatic com WOOD SHAPER Model 29 ...
Page 17: ...17 Fence Assembly 29 Shaper ...
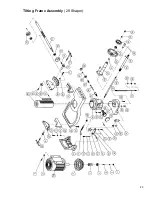
Page 19: ...19 Spindle Assembly 29 Shaper ...
Page 21: ...21 Shaper Body Mitre Gauge Assemblies 29 Shaper ...


