18
Figure 2-9
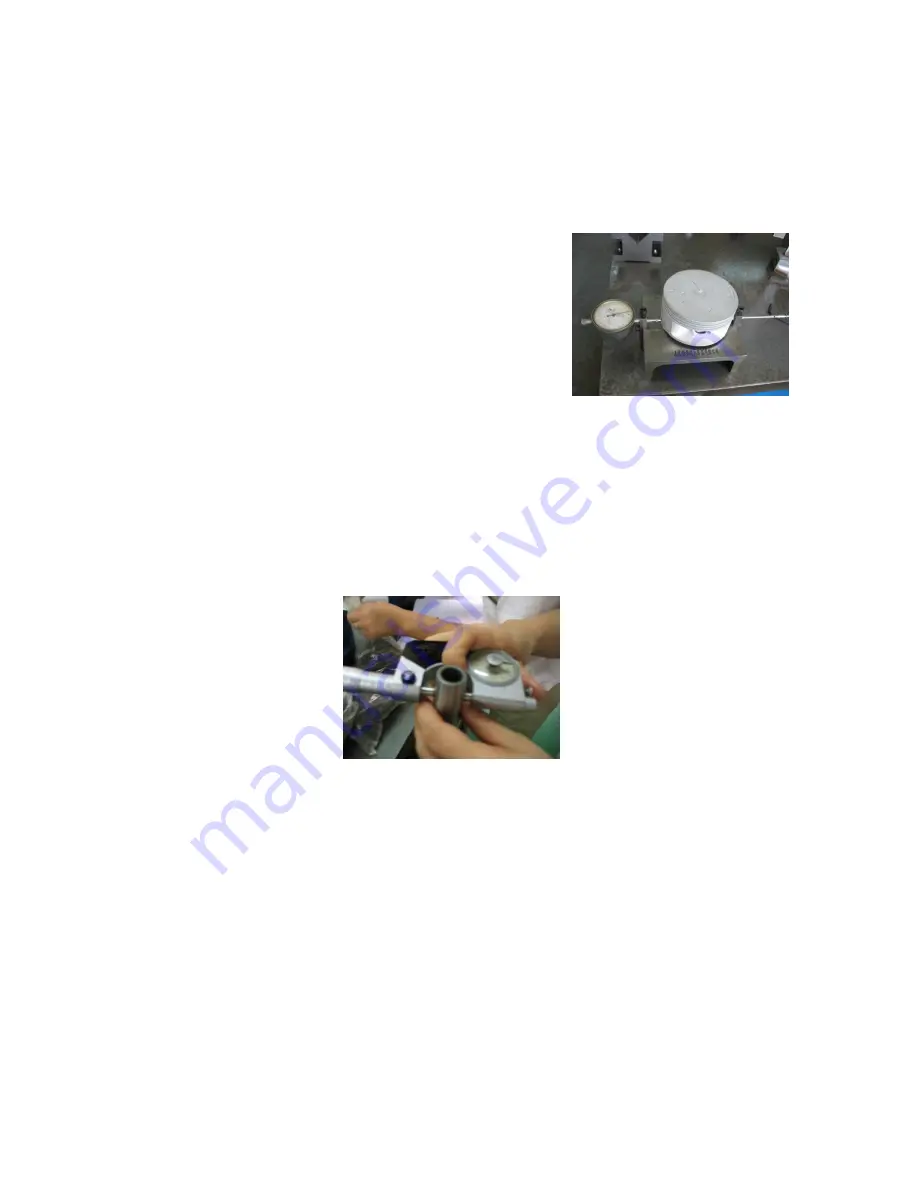
3. Measure the external diameter 10mm
Above the bottom of the piston skirt.
Extreme position: The gap between
Cylinder and piston repairing
Limit value: 0.1mm See figure 2-10
Figure 2-10
7 Measure the external diameter of piston pin:
The gap between piston and piston pin:
Repairing limit value: 0.02mm .See figure 2-11
Figure 2-11
2.4 Inspection of crankshaft
Check that whether crank and connecting rod can rotate without
stuck and whether the clearance between crank and connecting
rod is 0.5~0.6mm.The hop of crank shaft should be 0.05mm.If
not so, replace it. See figure 2-12-1, figure 2-12-2.

