background image


www.powermaxfitness.net 

18 


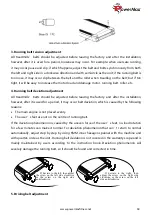
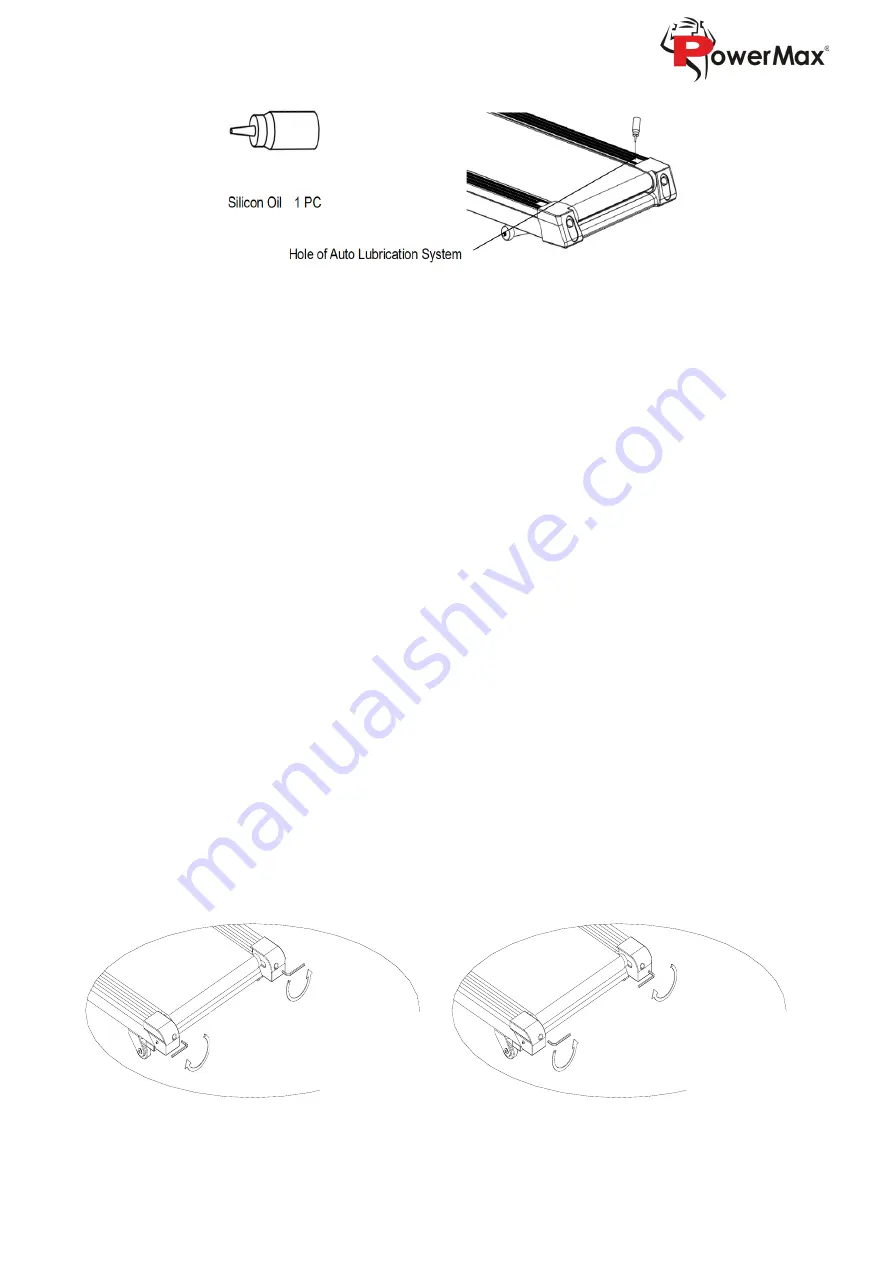
3. Running belt tension adjustment  

All  treadmills’  belts  should  be  adjusted  before  leaving  the  factory  and  after  the  installation, 

however, after it is used for a period, looseness may occur. For example: when users are running, 
it may occur pause and slip, if which happens, adjust the belt and bolts synchronously from both 
the left and right side in a clockwise direction and with semicircle as the unit; if the running belt is 
too loose, it may occur slip between the belt and the roller when treading on the belt; but if too 
tight, it will be easy to increase the motor load and damage motor, running belt, roller, etc. 

4. Running belt deviation adjustment 

All  treadmills’  belts  should  be  adjusted  before  leaving  the  factory  a

nd  after  the  installation, 

however, after it is used for a period, it may occur belt deviation, which is caused by the following 
reasons: 


The main engine is not placed evenly. 


The user’s feet are not on the centre of running belt.


If the deviation phenomen

on is caused by the uneven force of the user’s feet, no

-load rotation 

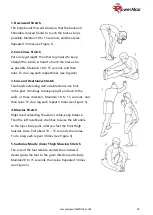
for a few minutes can make it normal. For deviation phenomenon that can’t return to normal 

automatically, adjust step by step by using 6MM inner hexagon spanner with the machine and 
with quarter-circle as the unit. Running belt deviation is not covered in the warranty scope and is 
mainly  maintained  by  users  according  to  the  instruction  book.  Deviation  phenomenon  will 
severely damage the running belt, so it should be found and corrected in time. 


5. Driving belt adjustment 


如果跑带左偏,则顺时针调节左
边螺丝或逆时针调节右边螺丝

如果跑带右偏,则顺时针调节右
边螺丝或逆时针调节左边螺丝

If  deviate  to  the  right,  then 

adjust  the  screw  on  the  right  side 

clockwise  or  the  screw  on  the  left 

side anticlockwise. 


If deviate to the left, then adjust 

the  screw  on  the  left  side  clockwise 

or  the  screw  on  the  right  side 

anticlockwise. 


Summary of Contents for TDA-125

Page 1: ...S MANUAL Read all instructions carefully before using this product Retain this owner s manual for the future s reference Product may be slightly different with photos it is subject to actual product T...

Page 2: ...tness s obligation under this warranty is limited to replacing or repairing free of charge any parts which may prove to be defective under normal home use This warranty does not include any damage cau...

Page 3: ...www powermaxfitness net 3 1 PRODUCT BRIEF INTRODUCTION Product Name Motorized Treadmill Model Number TDA 125 Electronic Safety Upright Run platform...

Page 4: ...ction Run Audio HR Parts Number List No Item Qty Use 1 6 mm Internal Hexagonal Screw M8 20 6 Upright fixed computer fixed 2 6 mm Internal Hexagonal Screw M8 45 4 Upright fixed 3 6 mm Internal Hexagona...

Page 5: ...keep interior a certain amount of damp to avoiding coming out strong electrostatic or else it could affect proper functioning of meter and controller Please shut down the power of the treadmill after...

Page 6: ...tor which is put into body Cancer Thrombosis or Dynamic Fang tumour Acute Static Fang tumour etc Vascellum Obstacle or Skin Infection disease Enthesis Obstacle caused by Higher Tip Circulation Obstacl...

Page 7: ...e At the meanwhile don t set high weight above it don t make it be infibulated Or else it will probably result in electric shock fire Don t use it over 2 persons at the meanwhile don t let others arou...

Page 8: ...must be earthed If the machine happen malfunction the earthed will provide electric current of passageway of minimum resistance to reduce the danger of electric shock The product is equipped with equ...

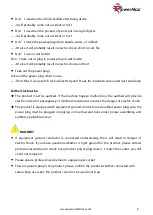
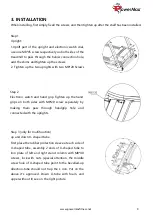
Page 9: ...ic watch and hand grip Tighten up the hand grips on both sides with M8 20 screw separately by making them pass through handgrip hole and connected with the uprights Step 3 only for multifunction up an...

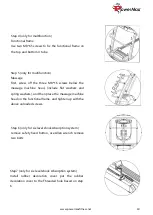
Page 10: ...len wrench remove two bolts Step7 only for six level shock Absorption system Install rubber decoration cover put the rubber decoration cover to the Threaded hole based on step 6 Step 5 only for multif...

Page 11: ...muscular soreness of training at the first only go on training the soreness will be out Relax Do undo action in 5 minutes after per training especially the spread and relaxation so as to avoid the mus...

Page 12: ...ng wall or table stand one foot In the post Hind legs to keep upright and lean to the walls or trees direction Maintain 10 to 15 seconds and then relax To do a leg each repeat 3 times see Figure 3 4 M...

Page 13: ...hed it OK Keep Moving If setting 100 0 minutes or end show in LCD display the speed of machine will slow stably and stop Standby time after 5 minutes C DIS Sports distance Setting 0 100 minutes or end...

Page 14: ...it will be discarded The next time the SMART mode is started it will run according to the current motion track automatically If the user modifies the speed or slope the treadmill will abandon the tra...

Page 15: ...he audio signals should be plugged into MP3 Play Jack and then the power amplifier circuit will automatically enlarge the audio signal so as to output signal to loudspeaker USB Music Play Function U D...

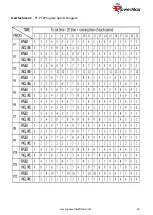
Page 16: ...www powermaxfitness net 16 8 Attachment P1 P12Program Sports Diagram...

Page 17: ...the picture B Stop the rotation of the running belt and fold the machine C Pick up the belt of the back of the body frame stretch the oil holder as nearly as possible into the moving place of the bel...

Page 18: ...is used for a period it may occur belt deviation which is caused by the following reasons The main engine is not placed evenly The user s feet are not on the centre of running belt If the deviation p...

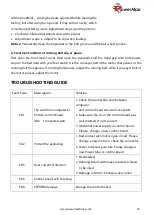
Page 19: ...uses If running belt pauses adjust the running belt while if conveyor belt of the motor pauses adjust the motor TROUBLESHOOTING GUIDE Fault Code Main reason Solution E01 The wire from computer to bott...

Reviews: