background image


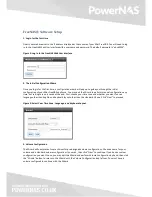
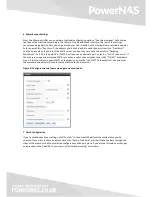
Figure 4: Name your volume and select a standard volume configuration.


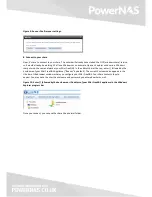
4. Directory Services 


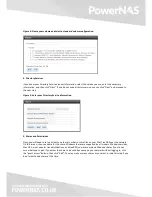
If you know your Directory Service account information, select the service you use, enter the necessary 

information, and then click “Next”. If you do not use a directory service, you can click “Next” and proceed to 

the next step. 


Figure 5: Enter your Directory Service information.


5. Shares and Permissions 


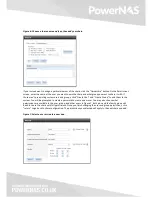
Next, you will need to set up at least one share in order to store files on your Mini FreeNAS over the network. 

On this screen, choose a name for the share. Windows shares are supported by all modern Windows versions, 

Mac OS X, most popular Linux distributions, and FreeBSD, so we recommend Windows shares if you’re not 

sure what type to pick. If you want the share to be used by anyone on your network without logging in, click 

the “guest access” button, then click “Add”. You may make as many shares as you want, or skip this step if you 

don’t want to add shares at this time. 


Summary of Contents for MIni FreeNAS

Page 1: ......

Page 2: ...able One 1 FreeNAS Quick Start Guide If you ordered a device pre populated with drives Four 4 drive trays populated with drives separated from the Mini FreeNAS device If you ordered a diskless model F...

Page 3: ...essories kit to install your chosen drives into the drive carriers Plugging in your Mini FreeNAS Appliance To connect the appliance to your network and prepare it for configuration perform the followi...

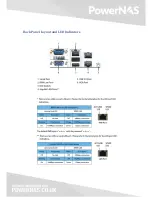
Page 4: ...Back Panel Layout and LED Indicators...

Page 5: ...he device will automatically receive an IP address which can be used to access the device from a web browser In the example shown in Figure 1 the device is reachable at http 10 2 1 231 If your network...

Page 6: ...y time but settings are only saved at the end First choose your time zone and whether you want to use a language other than English and keyboard layout other than the standard US one Click Next to pro...

Page 7: ...Permissions Next you will need to set up at least one share in order to store files on your Mini FreeNAS over the network On this screen choose a name for the share Windows shares are supported by all...

Page 8: ...s click Create User and Create Group to add them to the system You will be prompted to create a password to create a new user You may also choose what permissions are available to the user group and o...

Page 9: ...an alternate port enter it in Port to connect to If the mail server supports encrypted SMTP connections select the encryption type in the TLS SSL drop down menu If the mail server supports SMTP authen...

Page 10: ...AS In the address bar at the top enter followed by the hostname of your Mini FreeNAS Appliance freenas by default The current hostname also appears in the title bar of the browser window where you con...

Reviews: