11
INSTALLING AND REMOVING THE BELT HOOK
WARNING
: Always be sure that the tool is switched off and the battery cartridge is
removed before carrying out any work on the tool.
Align the belt hook with the mounting hole of the base and tighten the screw. The belt hook can be
installed from the other side according to the operation habit.
CONNECTING AND REMOVING BATTERY
IMPORTANT!
The battery pack is not charged when it is purchased. Before using the power tool for the first time, place
the battery pack in the battery charger and charge. Make sure to read all safety precautions, and follow the
instructions in the battery charger section.
To install the battery pack
To install the battery pack into the bottom of the handle, align the rails of the battery pack with
the rails in the handle and push the battery into the handle. To connect the battery, slide the
battery pack fully forward. Until the latch locks into place.
To remove the battery pack
Press the battery release button ,Slide the battery pack backward, and then pull or lift the battery out of
the tool .
WARNING:
Follow these instructions in order to avoid injury and to reduce the risk of electric shock or
fire:
•
Replace the battery pack or the charger immediately if the battery case or charger cord is damaged.
•
Verify that the battery pack is removed before inspecting, adjusting, or performing maintenance on
any part of the power tool.
•
Read, understand, and follow the instructions.
OPERATING INSTRUCTION
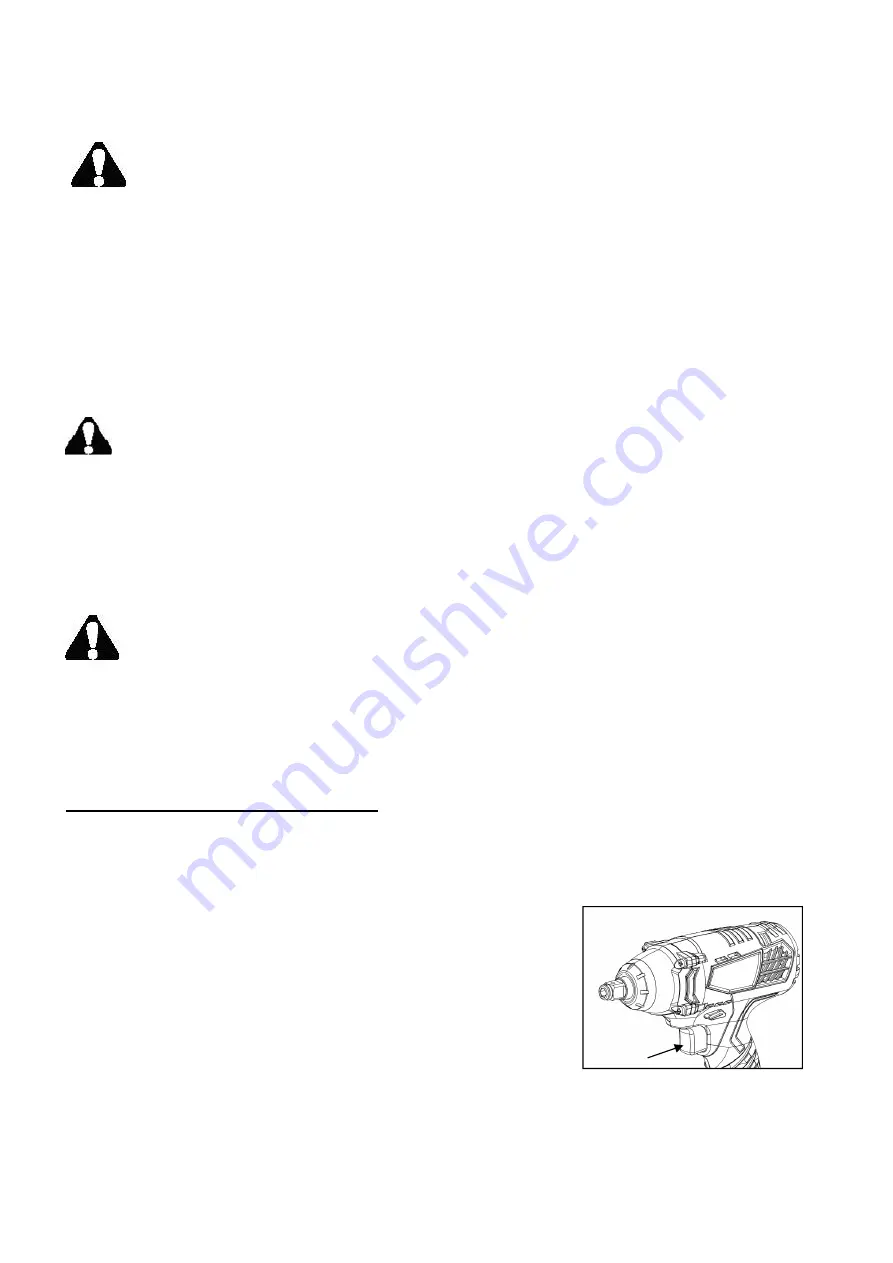
VARIABLE SPEED TRIGGER SWITCH
To turn the tool on, squeeze the trigger switch . To turn the tool off, release the trigger switch.
Your tool is equipped with a brake. The anvil will stop when the trigger
switch is fully released. The variable speed switch enables you to select
the best speed for a particular application. The more you squeeze the
trigger, the faster the tool will operate. For maximum tool life, use
variable speed only for starting holes or fasteners.
Note:
Continuous use in variable speed range is not recommended. It
may damage the switch and should be avoided.
Trigger
switch
Fig.4
Summary of Contents for PS76142A
Page 2: ...2...
Page 15: ...15 EXPLODED VIEW...


