20
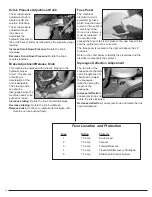
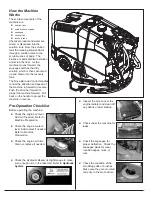
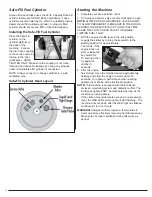
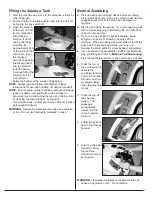
Squeegee
The squeegee assembly channels water into the vacuum
fan suction. The front blade channels the water, and the
rear blade wipes the floor.
Check the squeegee blades daily for damage and wear.
Rotate or replace either of the squeegee blades if the
leading edge is torn or worn halfway through the thickness
of the blade.
The squeegee can be adjusted for leveling and deflection.
The deflection and leveling of the squeegee blades should
be checked daily, or when scrubbing a different type of
floor.
The squeegee assembly can be removed from the
squeegee pivot to prevent damage during transport of the
machine.
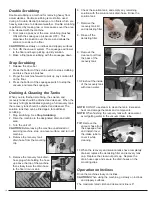
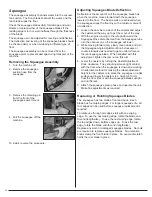
Removing the Squeegee Assembly
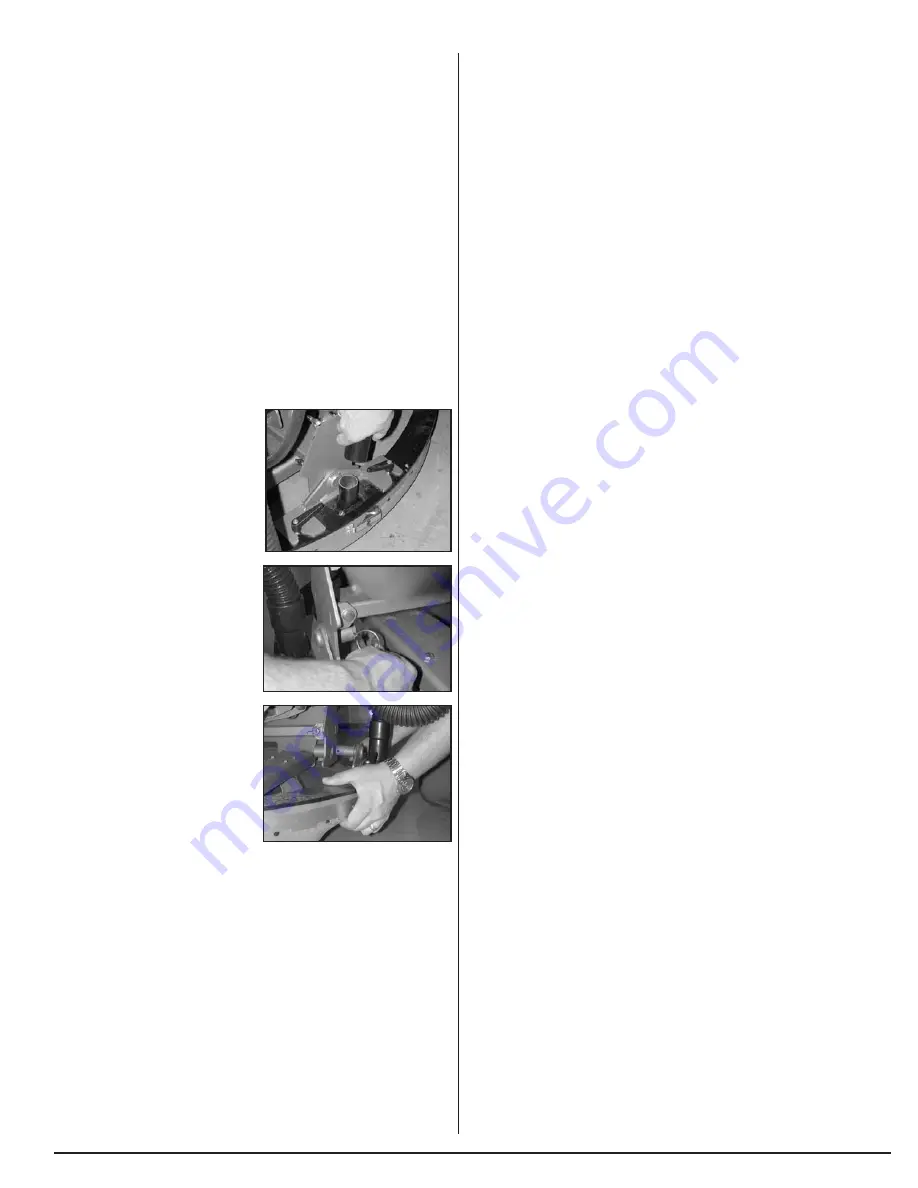
1. Turn the machine off.
2. Remove the squeegee
suction hose from the
squeegee.
3. Remove the retaining pin
from the front of the
squeegee swivel mount.
4. Pull the squeegee off the
machine.
To install, reverse the procedure.
Adjusting Squeegee Blade Deflection.
Deflection is the amount of curl the squeegee blade has
when the machine moves forward with the squeegee
lowered to the floor. The best results are achieved when
the squeegee wipes the floor dry with a minimum amount
of deflection.
1. Loosen the Jam Nut on each of the casters and adjust
the casters all the way up to get them out of the way.
2. With the engine running in the idle position and the
Squeegee Hose disconnected from the Squeegee tube,
turn the vacuum on so the squeegee will lower.
3. While moving forward very slowly reach down and turn
the Squeegee Angle Adjustment Knob clockwise or
counterclockwise as needed to get a uniform flare on
the rear squeegee blade. When satisfied with this
adjustment, tighten the jam nut on this arm.
4. Lower the casters by turning the Caster Adjustment
Knob clockwise. They should just make light contact
with the floor when the squeegee is down and working.
An alternate method for making the initial adjustment
height for the casters is to place the squeegee on a flat
surface and lower the casters to a height of 10 mm
from the floor (this is with the squeegee blades upright
and not flared).
5. Attach the squeegee pickup hose and operate the unit.
Make fine adjustments as required.
Replacing or Rotating Squeegee Blades.
The squeegee has two blades: front and back. Each
blade has four wiping edges. For longer squeegee life, all
four edges can be used before squeegee replacement is
required.
To rotate use through all edges, start with one wiping
edge. To use the next wiping edge, rotate the blade end-
for-end (lengthwise). To use the next wiping edge, rotate
the top edges down, bottom edges up. To use the last
edge, rotate the blade end-for-end (lengthwise).
Replace any worn or damaged squeegee blades. No tools
are required to replace squeegee blades. Two retention
knobs clamp the front blade in place. An over-center latch
holds the rear blade in place.
Summary of Contents for Z1 PSZ133KWA
Page 3: ......
Page 19: ...16 Machine Troubleshooting...
Page 20: ...17 Maintenance...
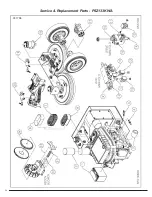
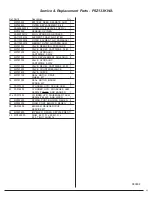
Page 27: ...Service Replacement Parts PSZ133KWA 031708 24...
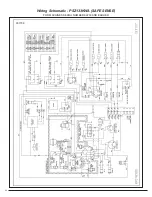
Page 29: ...26 Wiring Schematic PSZ133KWA SAFE SENSE FOR MACHINES SERIAL NUMBER 62233 AND EARLIER 031708...
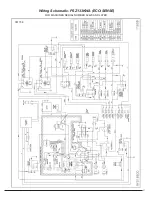
Page 30: ...27 Wiring Schematic PSZ133KWA ECO SENSE FOR MACHINES SERIAL NUMBER 62420 AND LATER 031708...
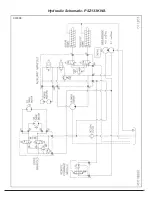
Page 32: ...29 Hydraulic Schematic PSZ133KWA 031808...
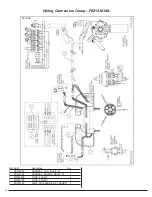
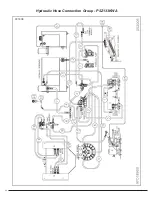
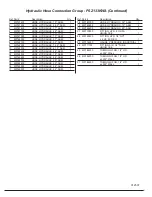
Page 33: ...30 Hydraulic Hose Connection Group PSZ133KWA 031808...
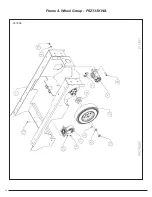
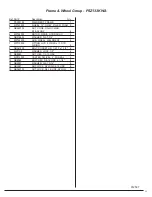
Page 35: ...32 Frame Wheel Group PSZ133KWA 031808...
Page 37: ...34 Power Group Engine PSZ133KWA 031808...
Page 39: ...36 Hydraulic Reservoir PSZ133KWA 031808...
Page 41: ...38 Airbox PSZ133KWA 031808...
Page 43: ...40 LP Regulator PSZ133KWA 031808...
Page 45: ...42 Scrub Deck Group PSZ133KWA 052308...
Page 47: ...44 Squeegee Lift Group PSZ133KWA 031808...
Page 53: ...50 Solution Tank PSZ133KWA 031808...
Page 55: ...Recovery Tank PSZ133KWA 52 030808...
Page 57: ...54 Engine Cover PSZ133KWA 031908...
Page 59: ...Squeegee 45 PSZ133KWA 56 031908...
Page 61: ...58 Control Panel Bulkhead Group PSZ133KWA 031908...
Page 63: ...60 Operational Controls PSZ133KWA 031908...
Page 67: ...64 Relay and Timer Group PSZ133KWA 031908...
Page 73: ...70...

