7 - 1
3x3 UPS Troubleshooting
Issue 2 - November 2001
Chapter 7 - Troubleshooting
7.1 - Introduction
The UPS contain complex electronic control circuits which require a firm understanding,
in order to carry out comprehensive fault diagnosis and repair of the equipment. The aim of the informaĆ
tion contained in this chapter is to provide sufficient guidance to the trained service engineer, to enable
successful fault location to printed circuit board level. Once a faulty circuit board or component has been
identified, it should be replaced or returned to the nearest service centre for repair.
The troubleshooting information has been divided into the following main areas:
a)
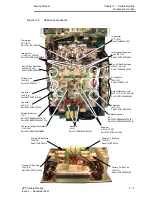
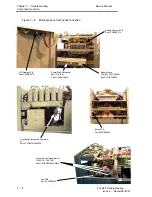
Component location and identification.
b)
Diagnostic information.
c)
Troubleshooting procedures.
d)
Test procedures.
Note: When following the procedures cross referencing is inevitable, therefore
it is recommended that this chapter is read in its' entirety, before
commencing work on the equipment.
There is no practical way of detecting an impending UPS malfunction, as most problems do not emerge
as a gradual performance degradation. Generally the UPS will either work correctly or shut down with
or without a warning indication.
In the event of a UPS malfunction troubleshooting should be carried out methodically along the following
guide lines.
7.1.1 - General Fault Identification Procedure
When first summoned to a UPS fault the immediate action should be to observe and record the LED
indication displayed on the unit operator panel.
1.
Determine the UPS power Status.
2.
Note the control switch configuration, and also the warning horn sequence if it is operating.
WARNING
During troubleshooting it will be necessary to power up the unit with the side or top covers
removed, in this situation exposure to potentially lethal voltages is possible even with the
input utility supply switched off.
Take great care at all Swiss to minimise the risk of contact with live voltages, especially when
working around the battery or the DC bus.
3.
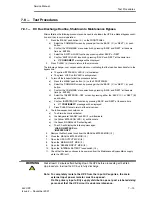
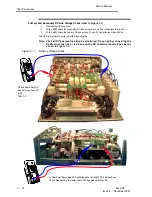
Power down the unit, and ensure that the DC Bus Safety discharge check is carried out.
4.
Gain access to the internal components follow the procedure for removing the UPS covers.
5.
Check the serviceability of the UPS Fuses refer to the check list on page 7Ć12.
6.
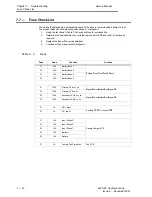
Apply power and analyse PCB LED indications.
7.
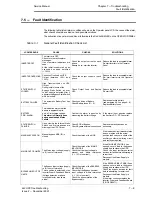
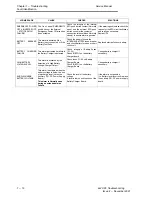
Refer to the common fault identification chart on page 7Ć9 to identify possible fault
conditions.
8.
Check DC converter power components. Refer to the procedures on page 7Ć19.
9.
Check Inverter power components. Refer to the procedure on page 7Ć19.
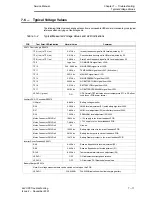
Note: When checking signal levels refer to the table of typical normal values on
page 7Ć11 for comparison.


