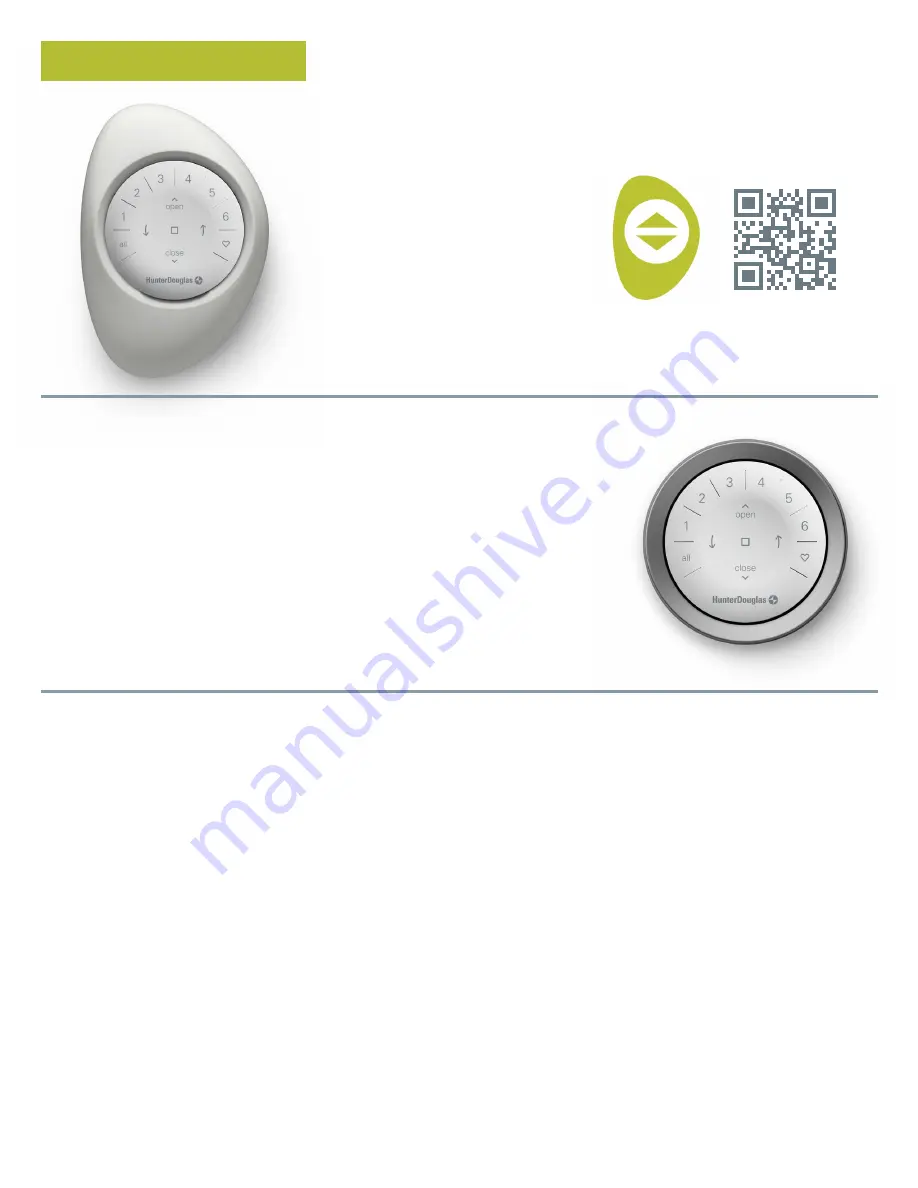
Programming
3
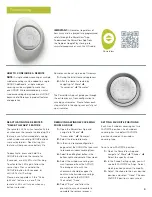
IMPORTANT:
All remotes (regardless of
how many are in a project) are programmed
solely through the PowerView
®
App.
To download the PowerView App from
the Apple or Google Play store, go to
or scan this QR code.
HOW TO CONFIGURE A REMOTE
NOTE:
A single window covering or multiple
window coverings can be added to a single
GROUP. Additionally, a single window
covering can be assigned to more than
one GROUP. We recommend only similar
window coverings be included in a GROUP
because of differences in product features
and operation.
DEACTIVATING THE REMOTE’S
“RAISE-TO-WAKE” FEATURE
The remote’s LEDs will automatically turn
on whenever the remote is picked up. This
feature is useful for immediately seeing
which window covering GROUP buttons
were activated last. Deactivating this
feature will help conserve battery life.
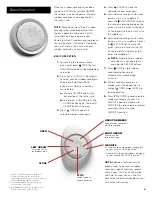
To deactivate, press and hold the
GROUP 6 button on the remote for
5 seconds, or until LEDs start flashing.
To activate the LED again, follow the
same steps. Press and hold the
GROUP 6 button for 5 seconds, or
until LEDs start flashing.
Please note, regardless if the “Raise-
to-Wake” feature is on or off, the
remote’s LEDs will turn on when any
button is pressed.
REMOVING A WINDOW COVERING
FROM A GROUP
1.
Open the PowerView App and
navigate to “More”
“Accessories”
“Remotes”.
2.
Select the desired remote.
3.
In the virtual remote configuration
page, select the GROUP that you want
to remove a window covering from.
4.
Select the editing tool button in the
bottom right-hand corner of the screen.
5.
Select the window covering you
want removed from the GROUP.
The orange circle with the
checkmark should disappear to
confirm which window coverings
are assigned to that GROUP.
Then select “Done”.
6.
Select “Sync” and follow the
prompts to sync your remote to
complete the removal process.
SETTING FAVORITE POSITIONS
Each Gen 3 window covering has two
FAVORITE positions. Each window
covering has two default FAVORITE
positions based on the window
covering type.
To set a new FAVORITE position:
1.
Open the PowerView App and
navigate to “More”
“Shades”
Select the specific shade.
2.
In the Shade Settings page, you will
see both FAVORITE settings. Select
which position you want to modify.
3.
Adjust the shade to the new desired
position and select “Done”. The new
FAVORITE position is now saved.
Remotes can be set up in one of two ways:
1.
During the initial Home setup process
2.
After the Home is created by
navigating to “More”
“Accessories”
“Remotes”
The PowerView App will guide you through
the entire process, from configuration to
syncing your remotes. Please follow each
step carefully in the app to successfully set
up all remotes.
PowerView


