5
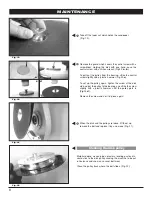
Fig. 8
Fig. 9
5
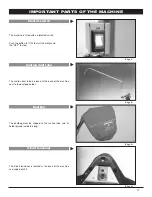
Fasten the nut with the wrench included in the wrench
kit (Fig. 8).
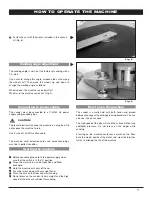
Sanding angle adjustment
The sanding angle is set up at the factory for sanding with a
1/3 disk.
If you wish to change this angle, unloosen the nut securing
the wheel shaft. Then move the wheels up and down to
change the working angle as follows:
Wheels down: the machine sands point first
Wheels up: the machine sands flat. (Fig. 9).
Connection to power supply
The sander must be connected to a 115V/60 Hz power
supply with grounded plugs.
CAUTION!
To prevent electrocution keep the machine in a dry place. Do
not expose the machine to rain.
Use 3 wire of 14 AWG section cable.
The machine cord, extension cords and connection plugs
must be in perfect condition.
1
Before connecting the cord to the power supply make
sure that the switch is in the “0” position.
2
Place the machine in a vertical position and tilted
backward.
3
Hold the machine with your left hand.
4
Push the switch down with your right hand.
5
Press the disk on the floor and start sanding.
6
Do not press on the sander. Its own weight and the high
speed of the disk are sufficient for sanding.
HOW TO OPERATE THE MACHINE
Starting the machine
How to use the machine
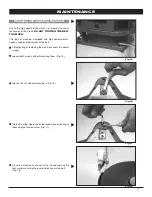
The sander is usually held with both hands and placed
between the legs with your body leaning backward. You can
also use it on your knees.
The high speed of the disc will sand the surface without any
additional pressure. Do not press on the edger while
sanding.
Pressing on the machine could leave marks on the floor,
burn the wood, overheat the motor and wear the brushes
faster; shortening the life of the machine.


