24
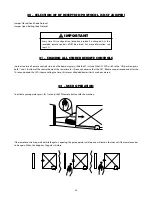
17 - ERASING THE RECOGNIZED GATE TRAVEL
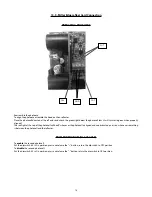
In order to erase the acquired path, one must simply press both '+' and '-' buttons at the same time and keep them pressed until 'OSC'
LED lits. When the buttons are released, the acquired path is already erased.
Note:
All switches on the DS1 DIP Switch must be on 'OFF' position.
18 - APPLYING THE DEFAULT STANDARD SETTINGS
To set all patterns to the factory standard, one must simply press both '+' and '-' buttons at the same time and keep them pressed until
'OSC' LED lits; after it lits, do not release the buttons; keep them pressed until 'OSC' LED starts blinking. When the buttons are released,
the acquired path is already erased and the settings are back to the default.
19 – ADDING A REMOTE CONTROL
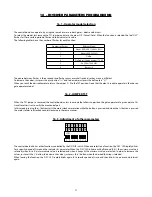
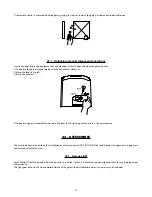
In order to add an RF transmitter, slide the key #1 of the DS1 DIP Switch to 'ON" position; then, press the button of the transmitter one
wants to add and keep t pressed for at least two seconds. Afterwards, press the '+' button of the TriFlex control board. Observe that
before the transmitter has been added, the 'OSC' LED blinked rapidly; after the addition process, 'OSC' LED keeps lit during transmission.
328 transmitters can be added.
19.1 – Remote control functions
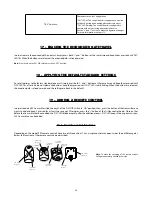
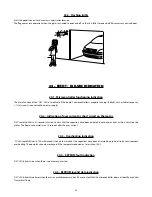
Depending on the model, PPA remote controls have two or three buttons. Thus, a single control may open two or three different gates.
Below, the functions of the remote controls are described:
Note:
To make the encoding of the remote control,
call a gate operator qualified technician.
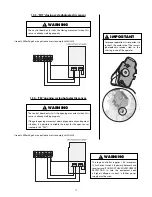
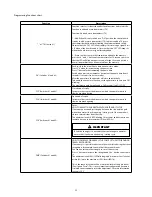
"TRV" (Switch #8)
Photoelectric Sensor Configuration.
“OSC” LED lit: The control board is configured to operate
with both closing and opening photoelectric devices.
“OSC” LED flashing: The control board is configured to
operate with only a closing photoelectric device.
Use the “+” and “-“ button to make configuration changes.
For more information see topic 13.
Commands
the gate 1
Commands
the gate 2
Commands
the gate 1
Commands
the gate 1
Commands
the gate 2
Commands
the gate 2
Commands
the gate 3
Commands
the gate 3
Commands
the gate 1
Commands
the gate 2
Summary of Contents for DZ 1500
Page 1: ...DZ PREDIAL DZ CONDOMINIUM DZ 1500 Technical Manual...
Page 2: ......
Page 30: ...30 26 REPAIR PARTS DZ PREDIAL JET FLEX 60HZ U...
Page 31: ...31...
Page 32: ...32 DZ CONDOMINIUM JET FLEX 60HZ U...
Page 33: ...33...
Page 34: ...34 DZ 1500 JET FLEX 60HZ Z12 U...
Page 35: ...35...


