


O
UTDOOR ENCLOSURE TYPE
MINI
HANDBOOK
7
2
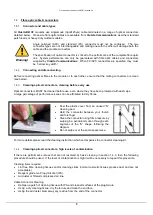
Setting up the ODE-MINI
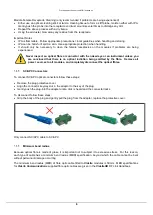
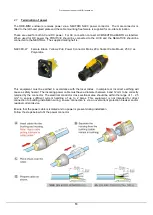
This section describes the connections between your ODE-MINI and external systems and steps that must be
taken to set it up. Your ODE-MINI should be delivered preconfigured and ready, but will require connections
to external services. This will generally require that you take the following steps:
Mount the ODE-MINI and the patch box in the required locations
Terminate the fibre connections within the patch box
Terminate the RF connections at the ODE-MINI base plate
Terminate the input power at the ODE-MINI base plate.
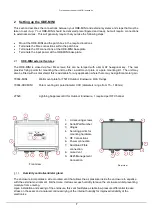
2.1
ODE-MINI external features
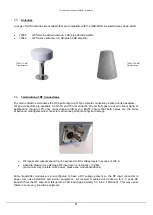
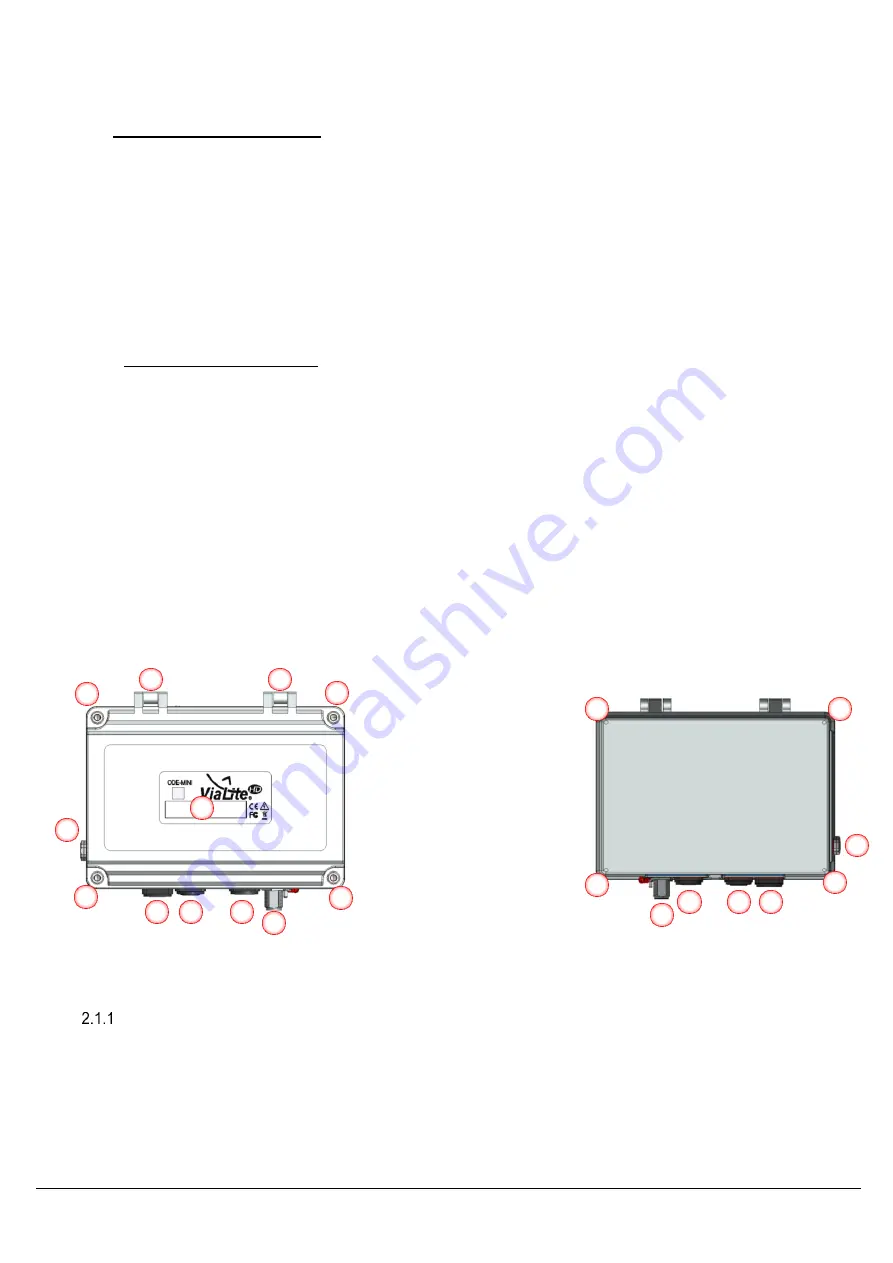
The ODE-MINI is closed via four M4 screws; this can be torqued with a 4mm AF hexagonal key. The rear
provides fixing points for mounting the unit to either a wall mount plate or a pole mounting kit. The unit may
also be fitted with a solar shield; this is advisable for any application where there may be significant solar gain.
70002-MINI
Wall mount plate for 75010 Outdoor Enclosure, Kit & Fixings
70004-XXXMINI
Pole mounting kit, pole diameter XXX (diameters range from 15
– 168 mm)
27520
Lightning Suppressor Kit for Outdoor Enclosure, 1 required per RF Channel
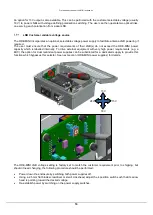
Humidity control/ventilator gland
The enclosure incorporates a side mounted vent that allows the air pressure inside the enclosure to equalise
with the external environment. Furthermore, it allows excess humidity to leave the enclosure whilst preventing
moisture from entering.
Upon installation and sealing of the enclosure, this vent facilitates a stable low pressure differential to ease
stress on the seals and a natural continual drying of the internal humidity for improved reliability of the
electronics.
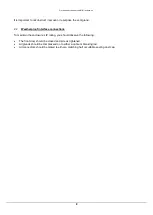
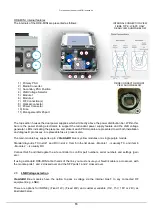
1.
Lid securing screws
2.
Serial/Part Number
3.
Hinges
4.
Securing points for
mounting hardware
5.
RF Connections
6.
Power connection
7.
Duo/Quad Fibre
connection
8.
Gore Vent
9.
RJ45 Management
Connection
Front view
1
2
1
3
3
5
6
7
Rear view
9
4
4
4
4
6
7
5
8
1
1
8
9


