1. About the Camcorder
1.3 Button Function Description
Icon
Button Name
Function Description
Power Button
Hold the POWER button for 2 seconds to turn the power on/off.
Push the POWER button to turn the IR light on/off.
Mode Button
Press the MODE button to switch between Video, Photo and
Setup Mode.
Menu Button
Press the MENU button to bring up a mode specific menu.
Playback
Button
When in Photo or Video mode, press the PLAYBACK button to
enter playback mode. Hold and press the PLAYBACK button to
bring up the wireless connectivity menu.
Photo/
OK Button
Press the PHOTO button, while in Photo mode, to take a still
image.
Record/
Stop Button
In Video mode, press the RECORD button to start/stop video
recording.
Zoom Button
When in Photo or Video mode, slide the ZOOM button from left to
right to zoom in or out. When in PLAYBACK mode or browsing a
menu, use the ZOOM button to scroll.
2.Start To Use
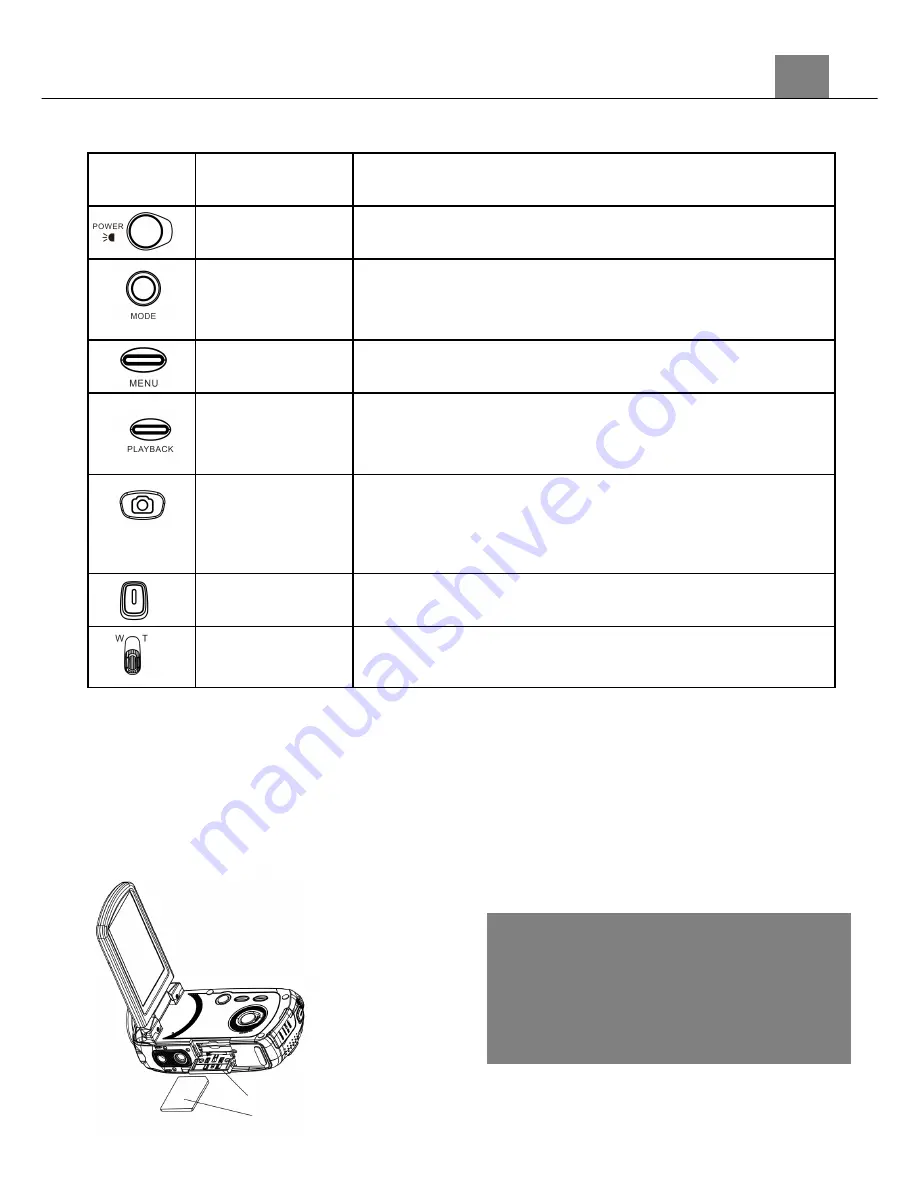
2.1 Inserting The Memory Card
To store your photos and videos insert an SD memory card. When battery is low, media
stored on the memory card will not be lost. Please insert the memory card by following
the steps below:
1.
Open the screen and push the SD card door towards the screen.
2.
Insert the memory card. Ensure that the metal contacts are inserted first.
Push the memory card down until you hear an audible click.
3.
Close the SD card door by pushing down and sliding back into place until
you hear a click.
2
Attention!
Please format the memory card before
using the camcorder.
Do not take out or insert the memory
card when recording. It may damage
the card or cause data loss.
1. Open the SD card door
2. Insert the memory card


