Page
10
of
30
Assembly Instructions
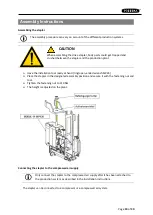
Assembling the stapler
The assembly procedure can vary on account of the different production systems.
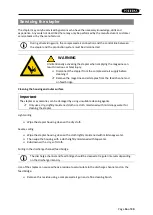
CAUTION
When assembling the drive stapler, body parts could get trapped and
crushed between the stapler and the production plant.
➢
Have the installation tool ready at hand (ring/open-ended wrench SW24)
➢
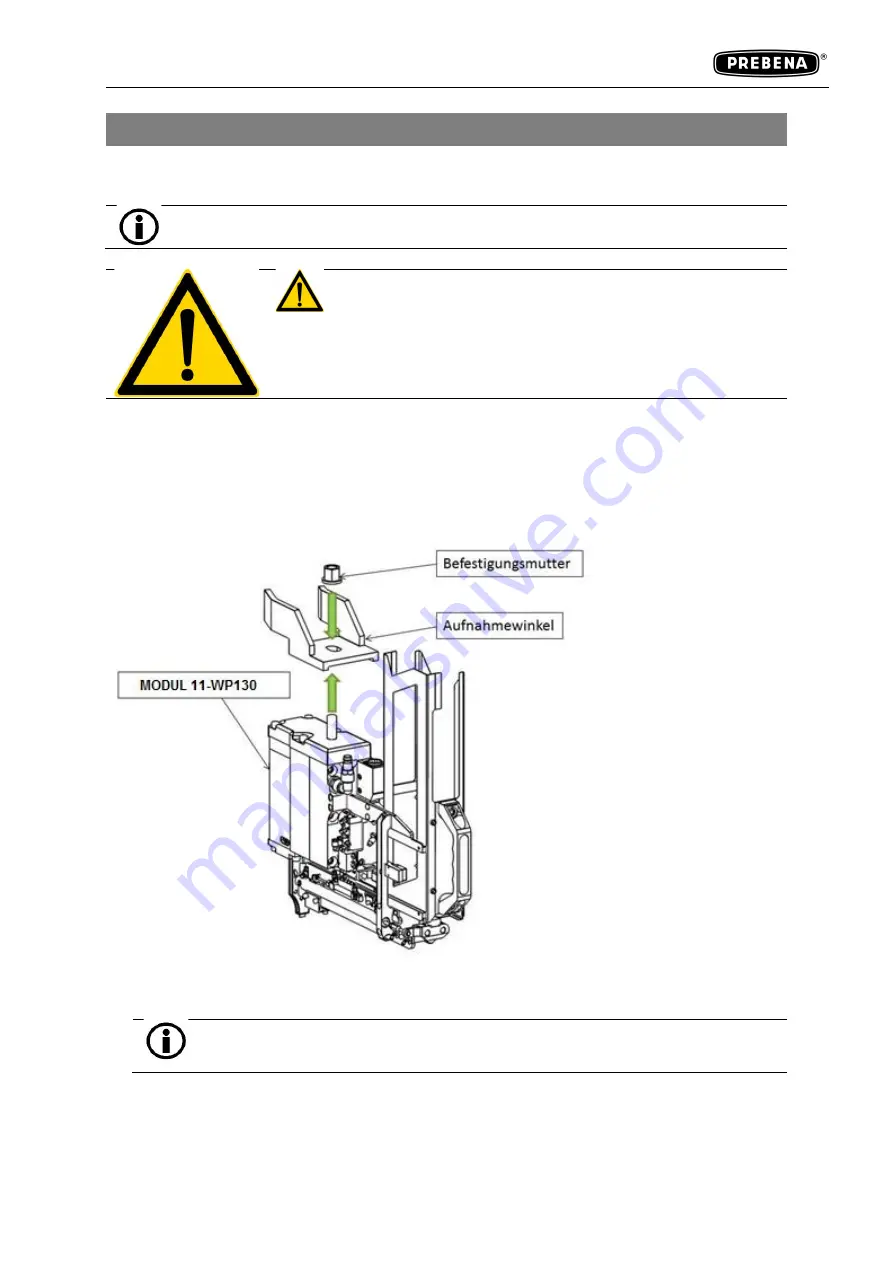
Place the stapler in the designated assembly position and secure it with the fastening nut and
tool.
➢
Tighten the fastening nut to 210 Nm.
➢
The height is adjusted on the plant.
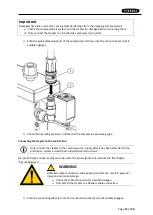
Connecting the stapler to the compressed air supply
Only connect the stapler to the compressed air supply after it has been attached to
the production system as described in the installation instructions.
The stapler can be connected to a compressor or a compressed air system.
Summary of Contents for 11-WP130
Page 7: ...Seite 7 von 30 Beschreibung ...
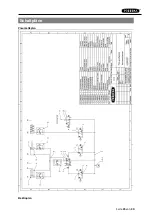
Page 25: ...Seite 25 von 30 Schaltpläne Pneumatikplan Elektroplan ...
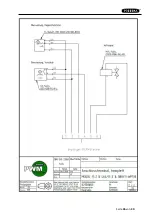
Page 26: ...Seite 26 von 30 ...
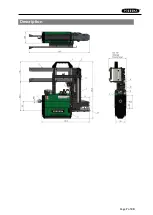
Page 35: ...Page 7 of 30 Description ...
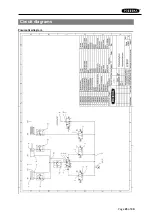
Page 53: ...Page 25 of 30 Circuit diagrams Pneumatics diagram ...
Page 54: ...Page 26 of 30 Electrical diagram ...

