Model PD650 Large Display Process Meter
Instruction Manual
18
Disassembling the Meter
To perform the steps described above, it is necessary to partially disassemble
the meter. Main Board may remain attached to enclosure’s base even during
conduit hub installation if proper precautions are taken.
1. Loosen the four screws that hold the enclosure’s cover in place and remove
cover.
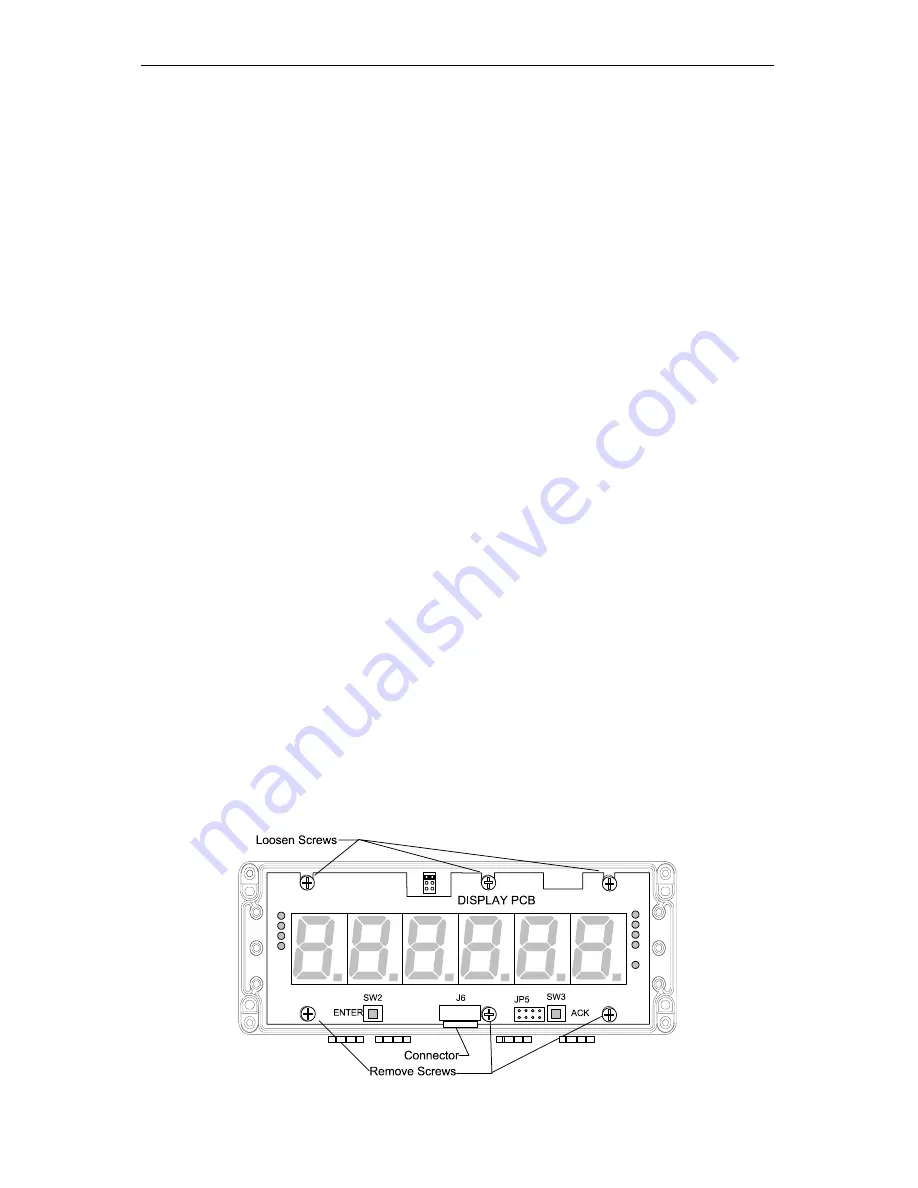
2. Loosen the top three mounting screws holding the Display Board
(see Figure 1).
3. Remove the bottom three mounting screws.
4. Slide the Display Board out from under the top three screws. The ribbon
cable to the Display Board may be removed during meter installation.
Do
not remove standoffs from Main Board
. The Main Board is secured to
enclosure’s base with four mounting standoffs.
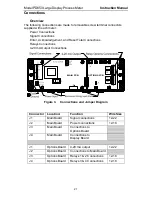
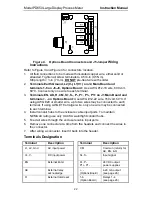
5. Change voltage selection as required, described on page 20. Set
configuration jumpers; connect power and signal wires.
6. Reassemble the Display Board prior to applying power.
7. To program meter using front panel buttons leave top cover off until meter
programming is complete.
8. Install lockout jumper to prevent accidental changes to programmed
settings.
Reassembling the Meter
After the wiring and jumper selections have been made, reassemble the Display
Board.
1. Slide the Display Board under the top three screws (see Figure 1). Make
sure the ribbon cable is connected to the connector on the Display Board.
2. Replace the bottom three mounting screws.
3. Fasten the top three mounting screws.
4. Align the enclosure cover so the alarm numbers on the cover are on the left
side of the unit and aligned with the alarm status LEDs.
5. To program the meter using the front panel buttons leave top cover off until
meter programming is complete.
6. Replace the enclosure cover and fasten the four screws that hold it in place.
Figure 1.
Removing the Display Board


