•
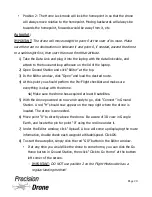
Position 2: The Home Lock mode will lock the homepoint in so that the drone
will always move relative to the homepoint. Moving backwards will always be
towards the homepoint, forwards would be away from it, etc.
Autopilot:
IMPORTANT:
The drone will move straight to point 0 at the start of its route. Make
sure there are no obstructions in between it and point 0, if needed, ascend the drone
to a safe height first, then start the route from that altitude.
1) Take the Data Link and plug it into the laptop with the data link cable, and
attach to the hook-and-loop adhesive on the lid of the laptop.
2) Open Ground Station and click “Editor” at the top.
3) In the Editor window, click “Open” and load the desired route.
4) At this point you should perform the Pre-Flight checklist and make sure
everything is okay with the drone.
4a) Make sure the drone has acquired at least 8 satellites.
5) With the drone powered on now and ready to go, click “Connect” in Ground
Station. A red “H” should now appear on the map right where the drone is
located. The drone is connected.
6) Move point “0” to directly above the drone. Be aware of 3D view in Google
Earth, and locate the pin for point “0” using the red line under it.
7) Under the Editor window, click “Upload”. A box will come up displaying the route
information, double check each waypoint altitude/speed. Click OK.
8) To start the autopilot, simply click the red “GO” button in the Editor window.
•
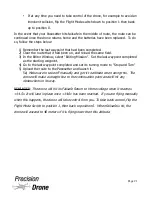
If at any time you would like the drone to come home, you can click the Go
Home button in Ground Station, then click “Click to Go Home” at the bottom
left corner of the screen.
◦
IMPORTANT:
DO NOT use position 2 on the Flight Mode switch as a
regular landing method!
1
21
Page 20
Summary of Contents for Pacesetter 2015
Page 1: ...User s Manual Pacesetter Model 2015 Serial Number Version 1 12...
Page 6: ...Components DX8 Controller 1 6 Page 5...
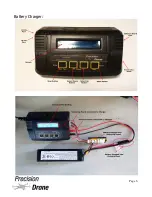
Page 7: ...Battery Charger 1 7 Page 6...
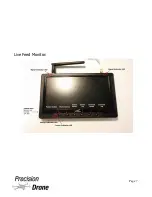
Page 8: ...Live Feed Monitor 1 8 Page 7...
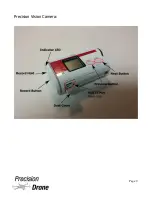
Page 10: ...Precision Vision Camera 1 10 Page 9...
Page 15: ...1 15 Page 14...
Page 18: ...1 18 Page 17...
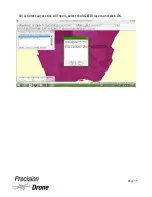
Page 36: ...10 A Select Layers box will open select the RGB IR layers and click OK 1 36 Page 35...
Page 42: ...3 A Select Export Format window will pop up make sure GeoTIFF is selected 1 42 Page 41...
Page 48: ...Blade Motor Rotation 1 48 Page 47...
Page 49: ...1 49 Page 48...

