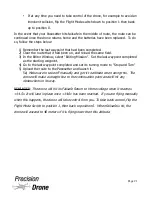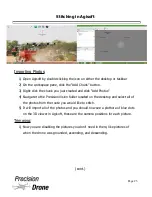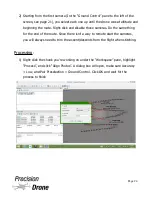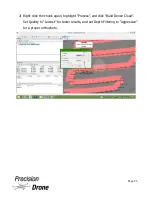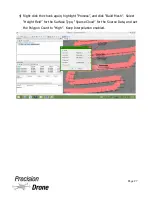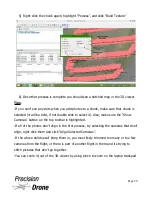
2) Starting from the first camera (In the “Ground Control” pane to the left of the
screen, see page 21), you select each one up until the drone was at altitude and
beginning the route. Right-click and disable those cameras. Do the same thing
for the end of the route. Since there isn't a way to remote start the cameras,
you will always need to trim the ascent/descents from the flight when stitching.
Processing
:
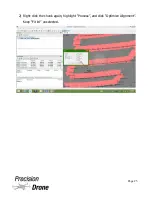
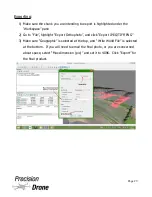
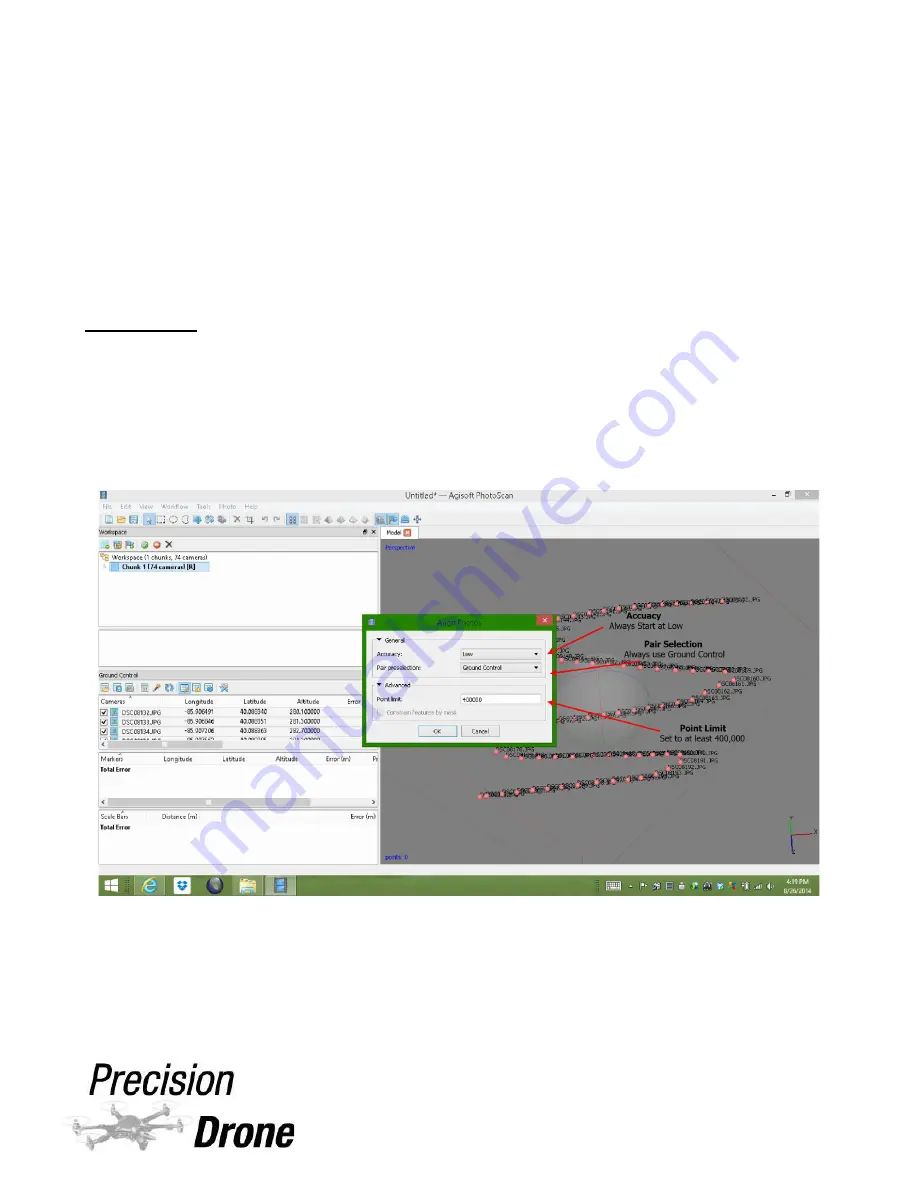
1) Right-click the chunk you're working on under the “Workspace” pane, highlight
“Process”, and click “Align Photos”. A dialog box will open, make sure Accuracy
= Low, and Pair Preselection = Ground Control. Click OK and wait for the
process to finish
1
25
Page 24
Summary of Contents for Pacesetter 2015
Page 1: ...User s Manual Pacesetter Model 2015 Serial Number Version 1 12...
Page 6: ...Components DX8 Controller 1 6 Page 5...
Page 7: ...Battery Charger 1 7 Page 6...
Page 8: ...Live Feed Monitor 1 8 Page 7...
Page 10: ...Precision Vision Camera 1 10 Page 9...
Page 15: ...1 15 Page 14...
Page 18: ...1 18 Page 17...
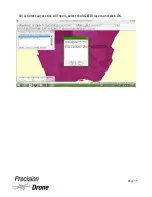
Page 36: ...10 A Select Layers box will open select the RGB IR layers and click OK 1 36 Page 35...
Page 42: ...3 A Select Export Format window will pop up make sure GeoTIFF is selected 1 42 Page 41...
Page 48: ...Blade Motor Rotation 1 48 Page 47...
Page 49: ...1 49 Page 48...

