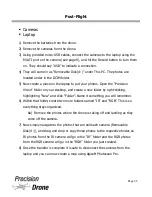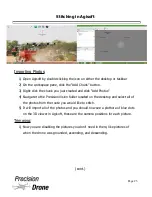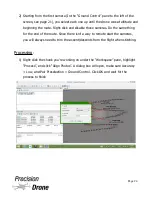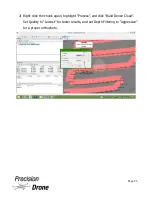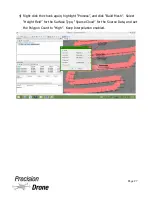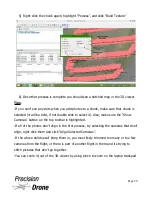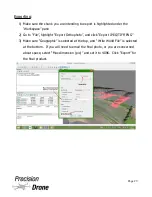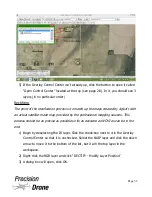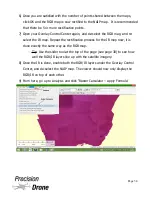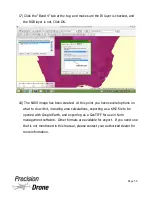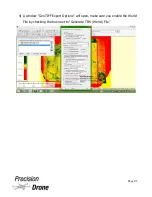
5) If the Overlay Control Center isn't already up, click the button to open it called
“Open Control Center” located at the top (see page 28). In it, you should see 3
layers (in no particular order)
Rectifying
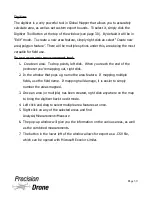
The point of the rectification process is to match up the maps created by Agisoft with
an actual satellite-made map provided by the professional mapping sources. This
process should be as precise as possible so its as accurate an NDVI as can be in the
end.
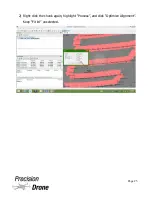
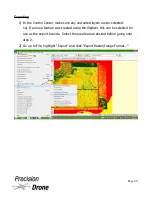
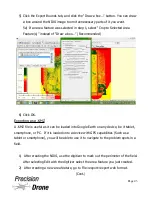
1) Begin by deselecting the IR layer. Click the check-box next to it in the Overlay
Control Center so that it is unchecked. Select the NAIP layer and click the down
arrow to move it to the bottom of the list, but it will the top layer in the
workspace.
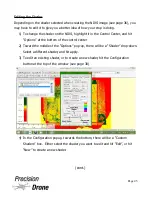
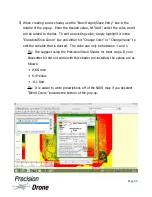
2) Right-click the RGB layer and click “RECTIFY - Modify Layer Position”
3) A dialog box will open, click OK.
1
33
Page 32
Summary of Contents for Pacesetter 2015
Page 1: ...User s Manual Pacesetter Model 2015 Serial Number Version 1 12...
Page 6: ...Components DX8 Controller 1 6 Page 5...
Page 7: ...Battery Charger 1 7 Page 6...
Page 8: ...Live Feed Monitor 1 8 Page 7...
Page 10: ...Precision Vision Camera 1 10 Page 9...
Page 15: ...1 15 Page 14...
Page 18: ...1 18 Page 17...
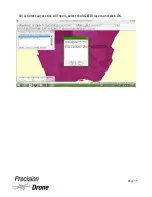
Page 36: ...10 A Select Layers box will open select the RGB IR layers and click OK 1 36 Page 35...
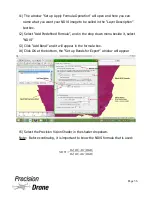
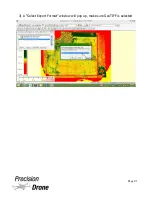
Page 42: ...3 A Select Export Format window will pop up make sure GeoTIFF is selected 1 42 Page 41...
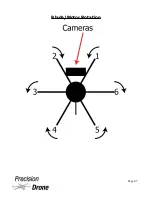
Page 48: ...Blade Motor Rotation 1 48 Page 47...
Page 49: ...1 49 Page 48...

