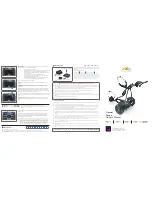
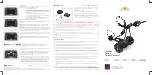
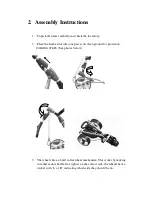
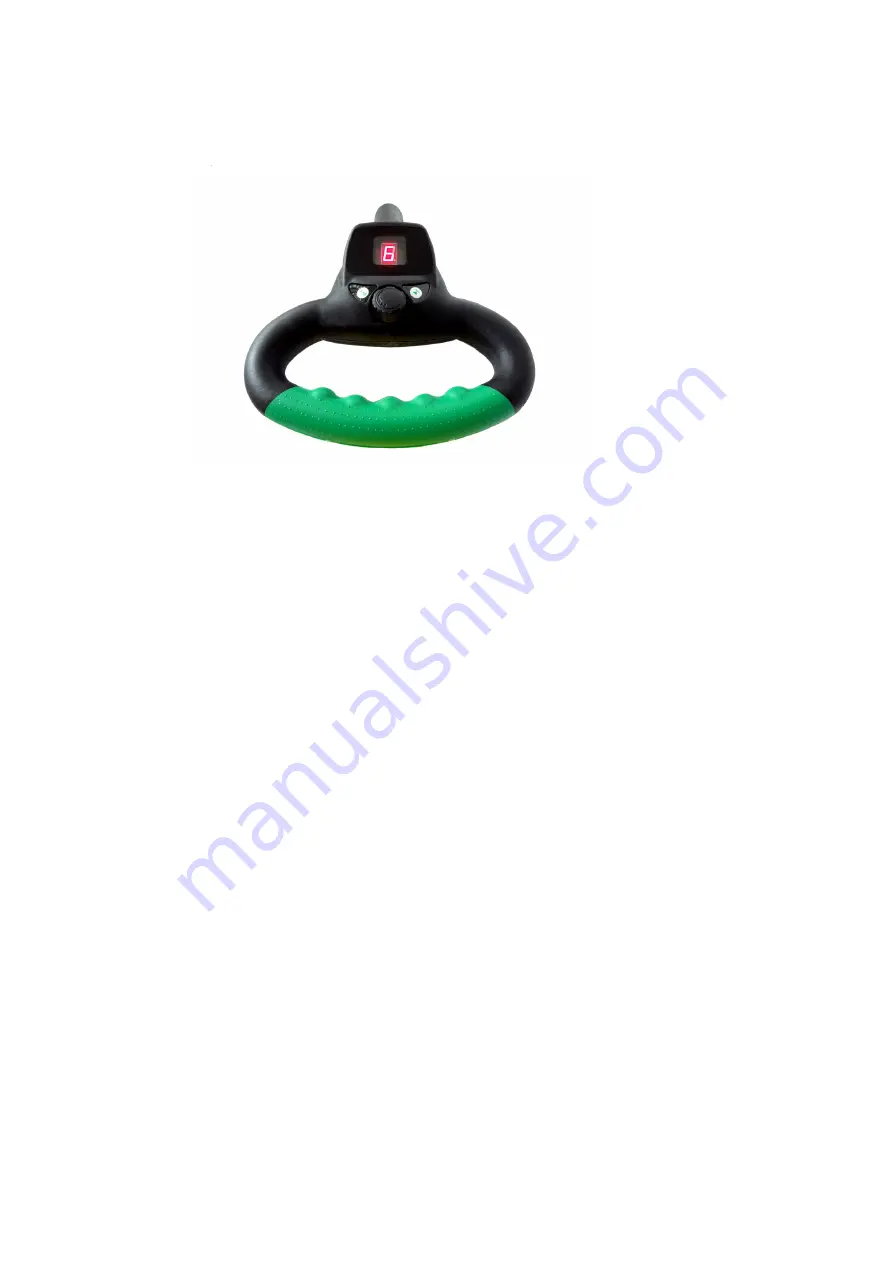
background image

3.    Handle Control   


1. New


Cruise and Stop Function: 

BUTTON   

►│

    Has two separate functions 


POWER

  -  If  held  for  1  second  works  as  an

  ON/OFF 

button. 

(similar  to  a  mobile  phone 

operation)   


SPEED SETTING 

Using the rotary speed knob control will let you choose your preferred speed 

to suit your space perfectly.    The display will show the speed from level is from 0 to 7.    Please 

remember  different  conditions  on  the  course  the  speed may  need  to  be  altered  i.e.  if  the  grass  is 

wet or slightly longer in semi-rough.    It is recommended not to take the trolley onto the rough as 

no trolley systems are designed for this. 


GO/STOP - 

Once the power is on and the display is set to speed and trolley moving, pressing without 

holding this button the trolley will either stop or go, press another time and the trolley will start or stop.   

It  is  possible  to  use  this  stop  function  to  cancel  the  auto-distance  setting,  the  display  will  revert 

back to the former speed level set.   


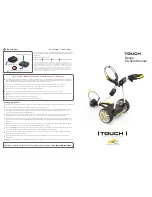
2. Auto-Distance Function 

  BUTTON 

A

B

:   

When pressed once, 

the display will show 

A


, and the trolley will run 

10 Meters

 and stop by itself. 

When press twice, 

the display will show 

B

, and the trolley will run 

20 Meters

When press three times, , 

the display will show 

C

, and the trolley will run 

30 Meters


Summary of Contents for GTX 36

Page 1: ...Precision GTX 36 User Manual WARNING PLEASE FOLLOW ALL ASSEMBLY INSTRUCTIONS AND READ AND UNDERSTAND THE OPERATING INSTRUCTIONS BEFORE YOU OPERATE THE CADDY www precisiongolftrolleys co uk ...

Page 2: ...ery Bag Leads 1 x Charger 1 x Tool kit Transport Bag Umbrella holder Rain cover Score card ball pencil holder Glossary 1 Handle 7 Wheel Rubber 2 Upper Holder 8 Battery Tray 3 Upper holder belt 9 Lower Holder 4 Battery 10 Front Wheel 5 Rear Wheel 11 Folding part 6 Wheel Cap 12 Charger ...

Page 3: ...rame structure one piece on clean ground for protection FOLDING STEPS See photos below 3 The wheels have a built in freewheel mechanism This works by making sure that each wheel left or right is on the correct side the wheels have a sticker with L or R indicating which side they should be on ...

Page 4: ... not be propelled Make sure the locking button is out fully before testing the wheel is locked in position by lightly pulling it out To disassemble the wheels proceed in reverse order See photos below 5 The trolley can be stored with the wheels on the trolley but it is recommended to clean the wheel hubs including some basic lubrication for long life 6 Place battery on the battery tray and fasten ...

Page 5: ...t to take the trolley onto the rough as no trolley systems are designed for this GO STOP Once the power is on and the display is set to speed and trolley moving pressing without holding this button the trolley will either stop or go press another time and the trolley will start or stop It is possible to use this stop function to cancel the auto distance setting the display will revert back to the ...

Page 6: ... is not too cold Because batteries are fragile although heavy if dropped it will damage the plates inside most times this damage will not show symptoms of any impact for sometimes months after e The battery s poles red color stands for positive and the black for negative In case of battery replacement please reconnect the poles of the battery correctly Otherwise your caddy could suffer severe dama...

Page 7: ...r gear boxes of the trolley 3 Remove the rear wheels every couple of uses and remove any debris that might cause the wheels to drag Then you may also apply some lubricant such as WD 40 or household oil to the axle length and moving parts such as wheel hubs this keeps the moving parts smooth 4 Always disconnect the battery when you store the trolley and always put it together before re connecting t...

Page 8: ...plit pin check right and left wheel position Trolley pulls to left or right Check each wheel is fitted over the clutch and latched to axle Check if axle pin is visible at both sides of the axle Check the wheel itself the clutch will turn freely in one direction only Battery lacks power Check cable connections Check charger functions as described earlier Problems attaching wheels Remove outer cap a...

Reviews: