


5. General Maintenance
The steps below will ensure that you get a prolonged and reliable life out of your golf
trolley.
1)
Precision golf trolleys have been designed so that the user can concentrate on playing golf,
while the trolley does the work of carrying your bag. In order to keep your golf trolley looking
at its best, we advise that you wipe any mud or grass from the frame, wheels and chassis after
every round with a damp cloth or paper towel.
2)
Do
NOT
use any high-pressure jet washers to prevent moisture entering the electronic systems,
motors or gear boxes of the trolley.
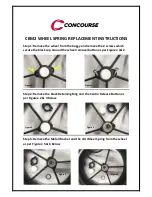
3)
Remove the rear wheels every couple of uses and remove any debris that might cause the
wheels to drag. Then you may also apply some lubricant, such as WD-40 or household oil to
the axle length and moving parts such as wheel hubs this keeps the moving parts smooth.
4)
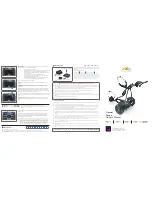
Always disconnect the battery when you store the trolley, and always put it together before
re-connecting the battery. If you are not planning to play for at least a month, store the
battery in a warm and dry place (not on concrete floor).
5)
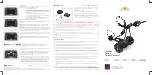
BATTERY -
THE GOLDEN RULE
. The less the capacity drops from full charge with each use, then
the longer the life of the battery - like filling your petrol tank each time you go a journey and don't let it go
below a quarter tank