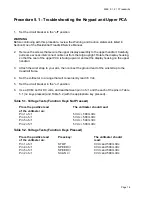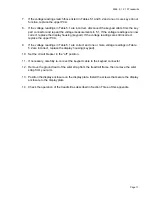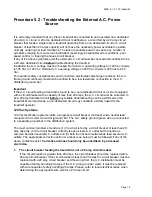
905E, 9.1, 9.10 Treadmills
Page 21
THEN . . .
OTHERWISE . . .
Set aside the electronic console
Continue with the next step.
until maintenance operations are
complete (see Diagram 6.3);
then skip to Step 24.
6.
If you are replacing the upper PCA
. . .
THEN . . .
OTHERWISE . . .
Continue with the next step.
Skip to Step 16.
Removing the Upper PCA
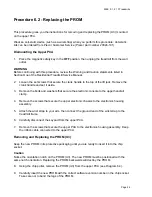
The PROM (U3) is mounted on the upper PCA. If the PROM is malfunctioning, you do not need
to install the entire upper PCA. Before you install a new PCA, remove and replace the PROM
(U3) as described in Procedure 6.2 of this appendix.
7.
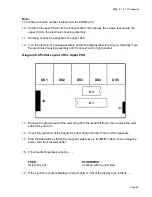
Remove the screws that secure the electronic chassis to the electronics housing assembly.
Note:
The electronics housing assembly is the ‘frame’ that holds together the electronic console
components. The electronics housing assembly consists of the electronics housing, magnet
keeper, ACTIVATE label, OFF label, control panel spacer, and crank housing label. These
components are shipped from Precor as a single unit
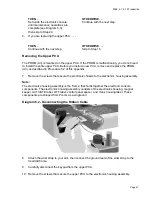
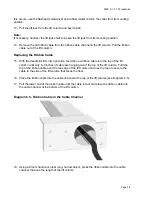
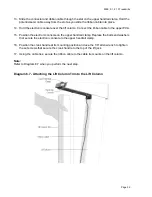
Diagram 6.2 - Disconnecting the Ribbon Cable
8.
Attach the wrist strap to your arm, then connect the ground lead of the wrist strap to the
treadmill frame.
9.
Carefully disconnect the keypad from the upper PCA.
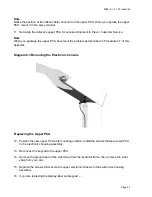
10. Remove the screws that secure the upper PCA to the electronics housing assembly.
Summary of Contents for 9.10
Page 5: ...905E 9 1 9 10 Treadmills Page 5 9 1 Electronic Console 9 10 Electronic Console...
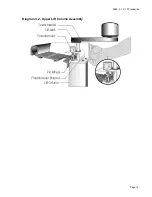
Page 15: ...905E 9 1 9 10 Treadmills Page 15 Diagram 4 2 Upper Lift Column Assembly...
Page 44: ...905E 9 1 9 10 Treadmills Page 44 Diagram 7 1 Wiring Diagram 905e 9 1 9 10...
Page 45: ...905E 9 1 9 10 Treadmills Page 45 Diagram 7 2 Block Diagram 905e 9 1 9 10 Treadmills...

