905E, 9.1, 9.10 Treadmills
Page 22
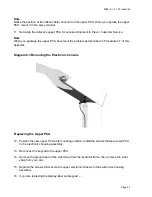
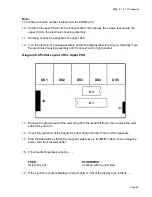
Note:
Notice the position of the ribbon cable connector on the upper PCA. When you replace the upper
PCA, mount it in the same manner.
11. Set aside the defective upper PCA for eventual shipment to Precor Customer Service.
Note
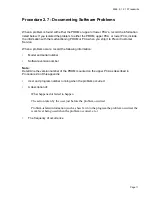
When you package the upper PCA, document the problem as described in Procedure 2.7 of this
appendix.
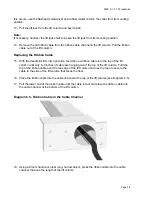
Diagram 6.3 Removing the Electronic Console
Replacing the Upper PCA
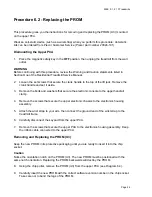
12. Position the new upper PCA at its mounting location. Install the screws that secure the PCA
to the electronics housing assembly.
13. Reconnect the keypad to the upper PCA.
14. Remove the ground lead of the wrist strap from the treadmill frame, then remove the wrist
strap from your arm.
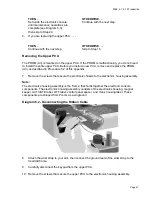
15. Replace the screws that secure the upper electronic chassis to the electronics housing
assembly.
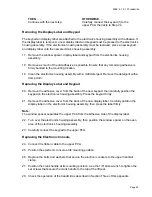
16. If you are replacing the display label and keypad
. . .
Summary of Contents for 9.10
Page 5: ...905E 9 1 9 10 Treadmills Page 5 9 1 Electronic Console 9 10 Electronic Console...
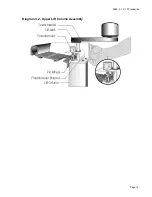
Page 15: ...905E 9 1 9 10 Treadmills Page 15 Diagram 4 2 Upper Lift Column Assembly...
Page 44: ...905E 9 1 9 10 Treadmills Page 44 Diagram 7 1 Wiring Diagram 905e 9 1 9 10...
Page 45: ...905E 9 1 9 10 Treadmills Page 45 Diagram 7 2 Block Diagram 905e 9 1 9 10 Treadmills...

